1. Effect Overview
In the previous post Next.js + Cloudflare R2: Higher Performance, Lower Cost, we achieved the separation of Next.js static assets from Vercel to Cloudflare R2, leveraging edge nodes to improve loading speeds.
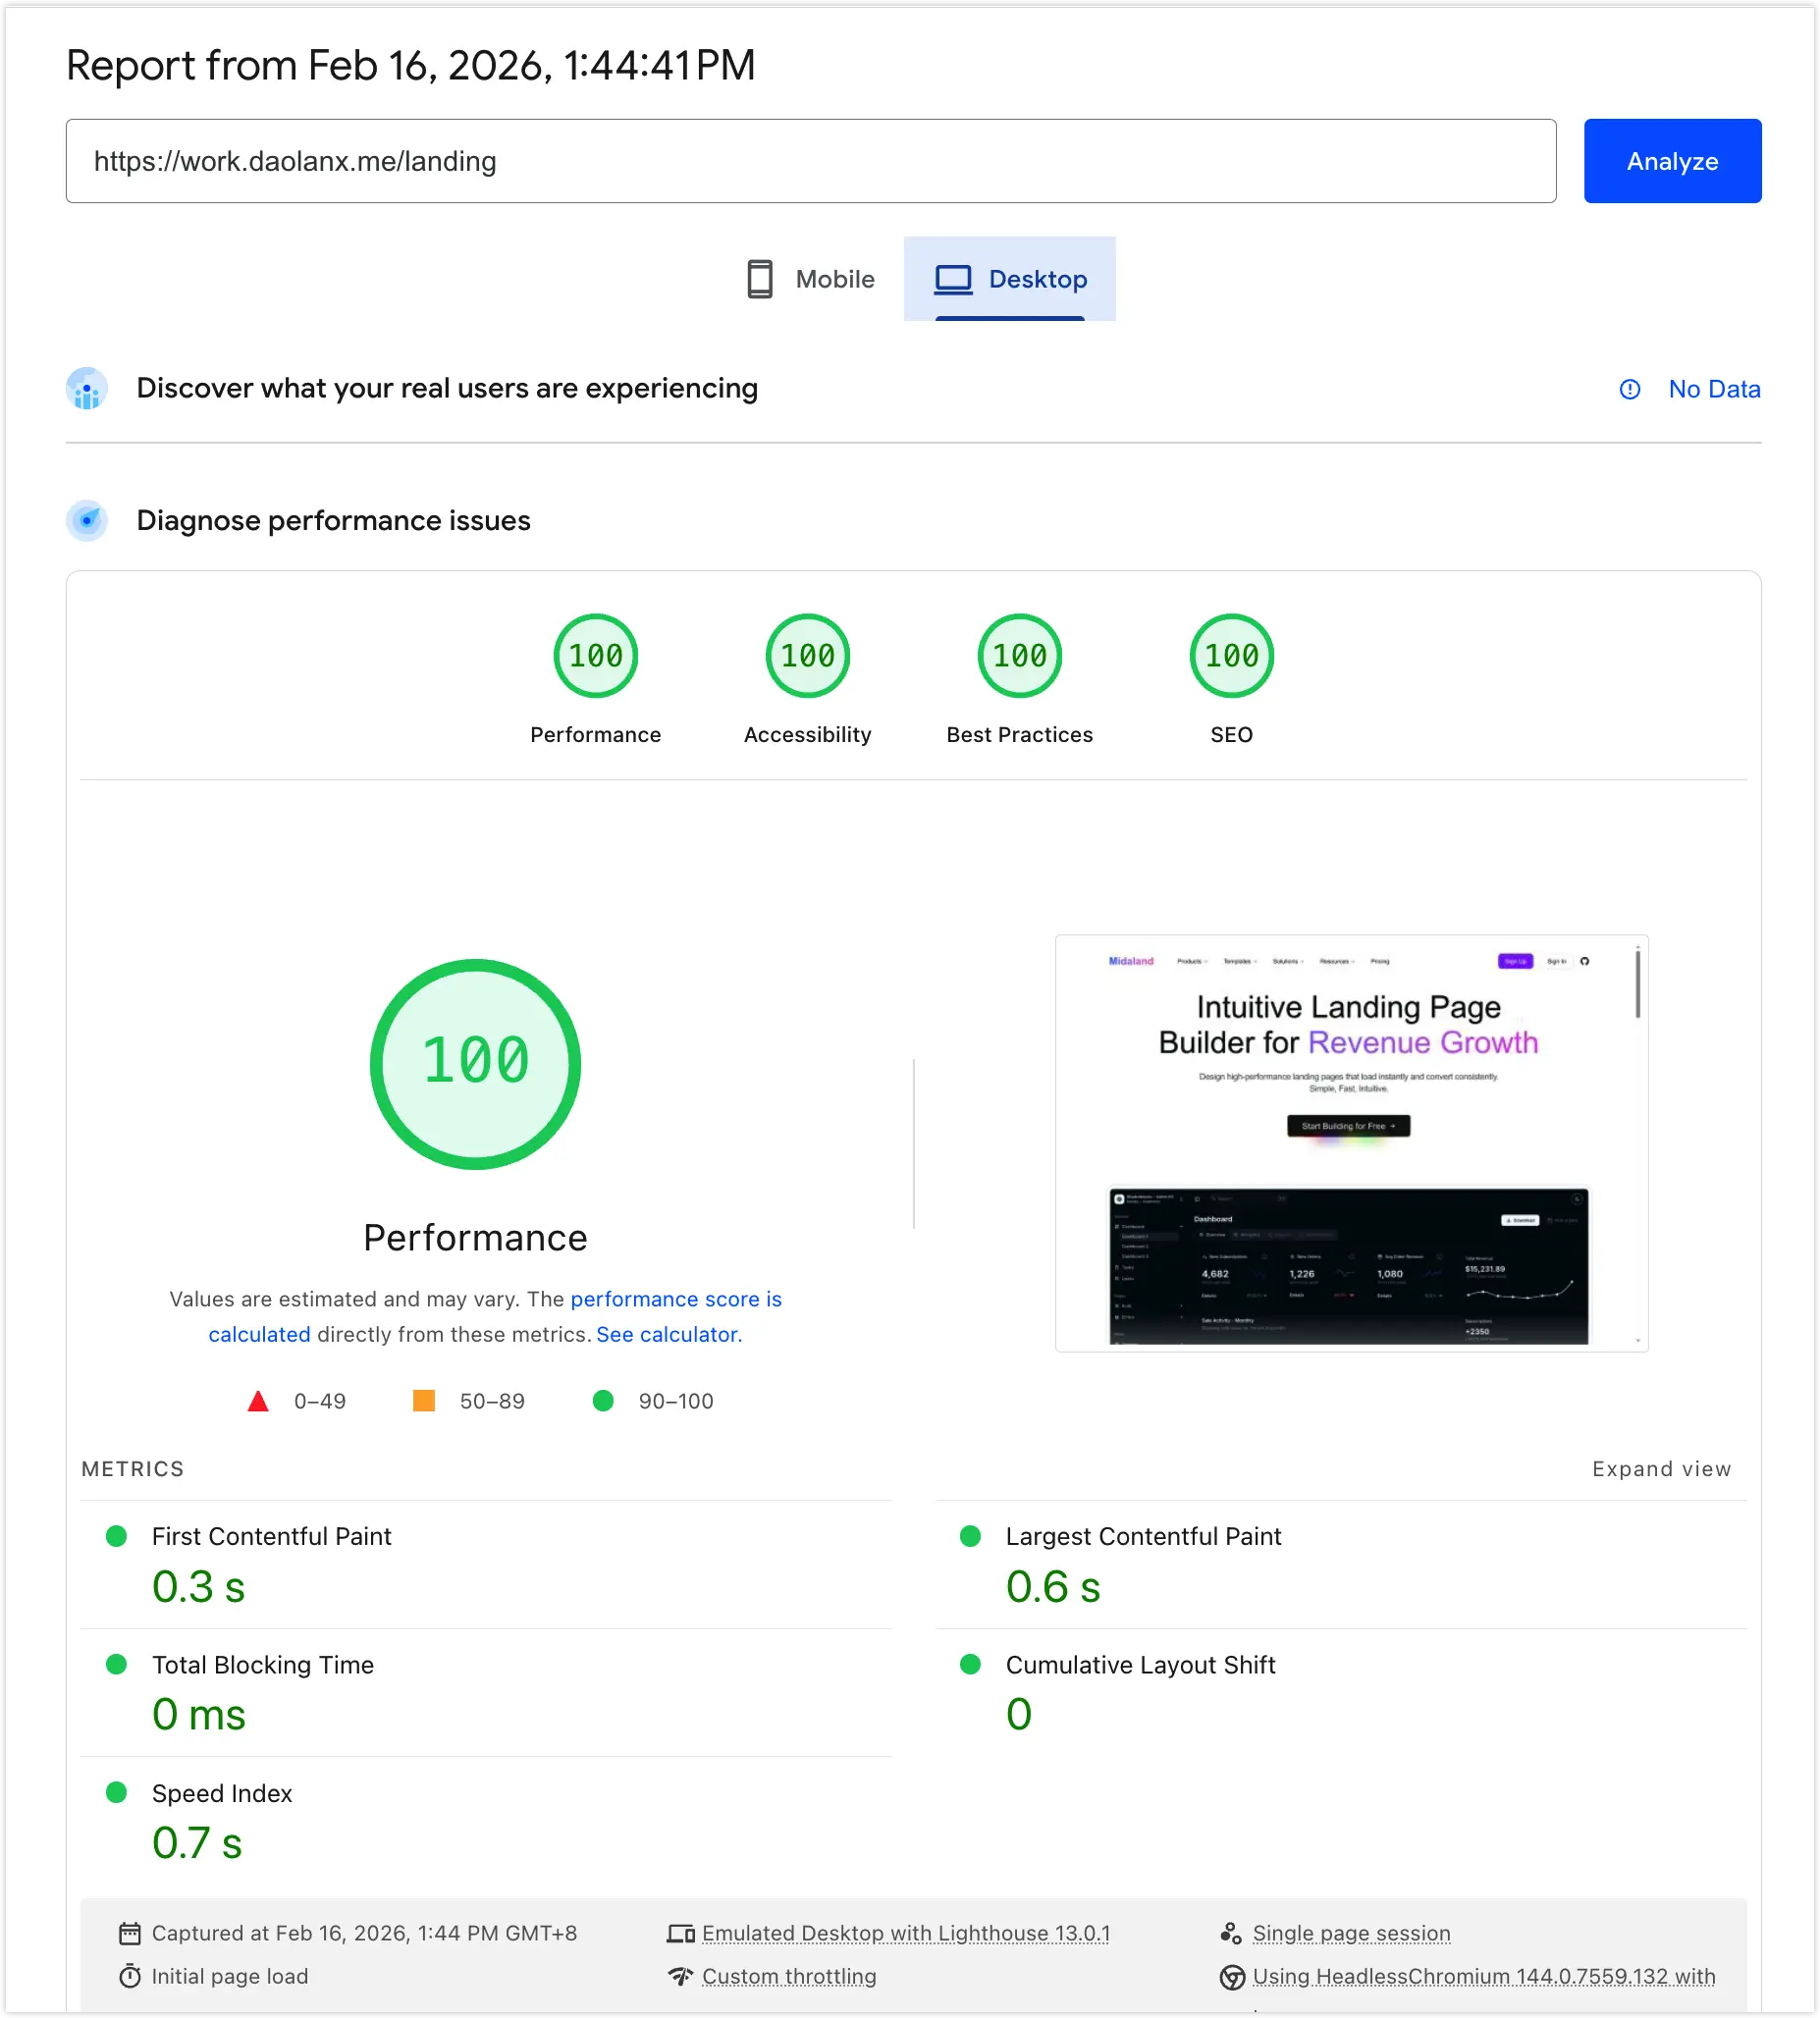
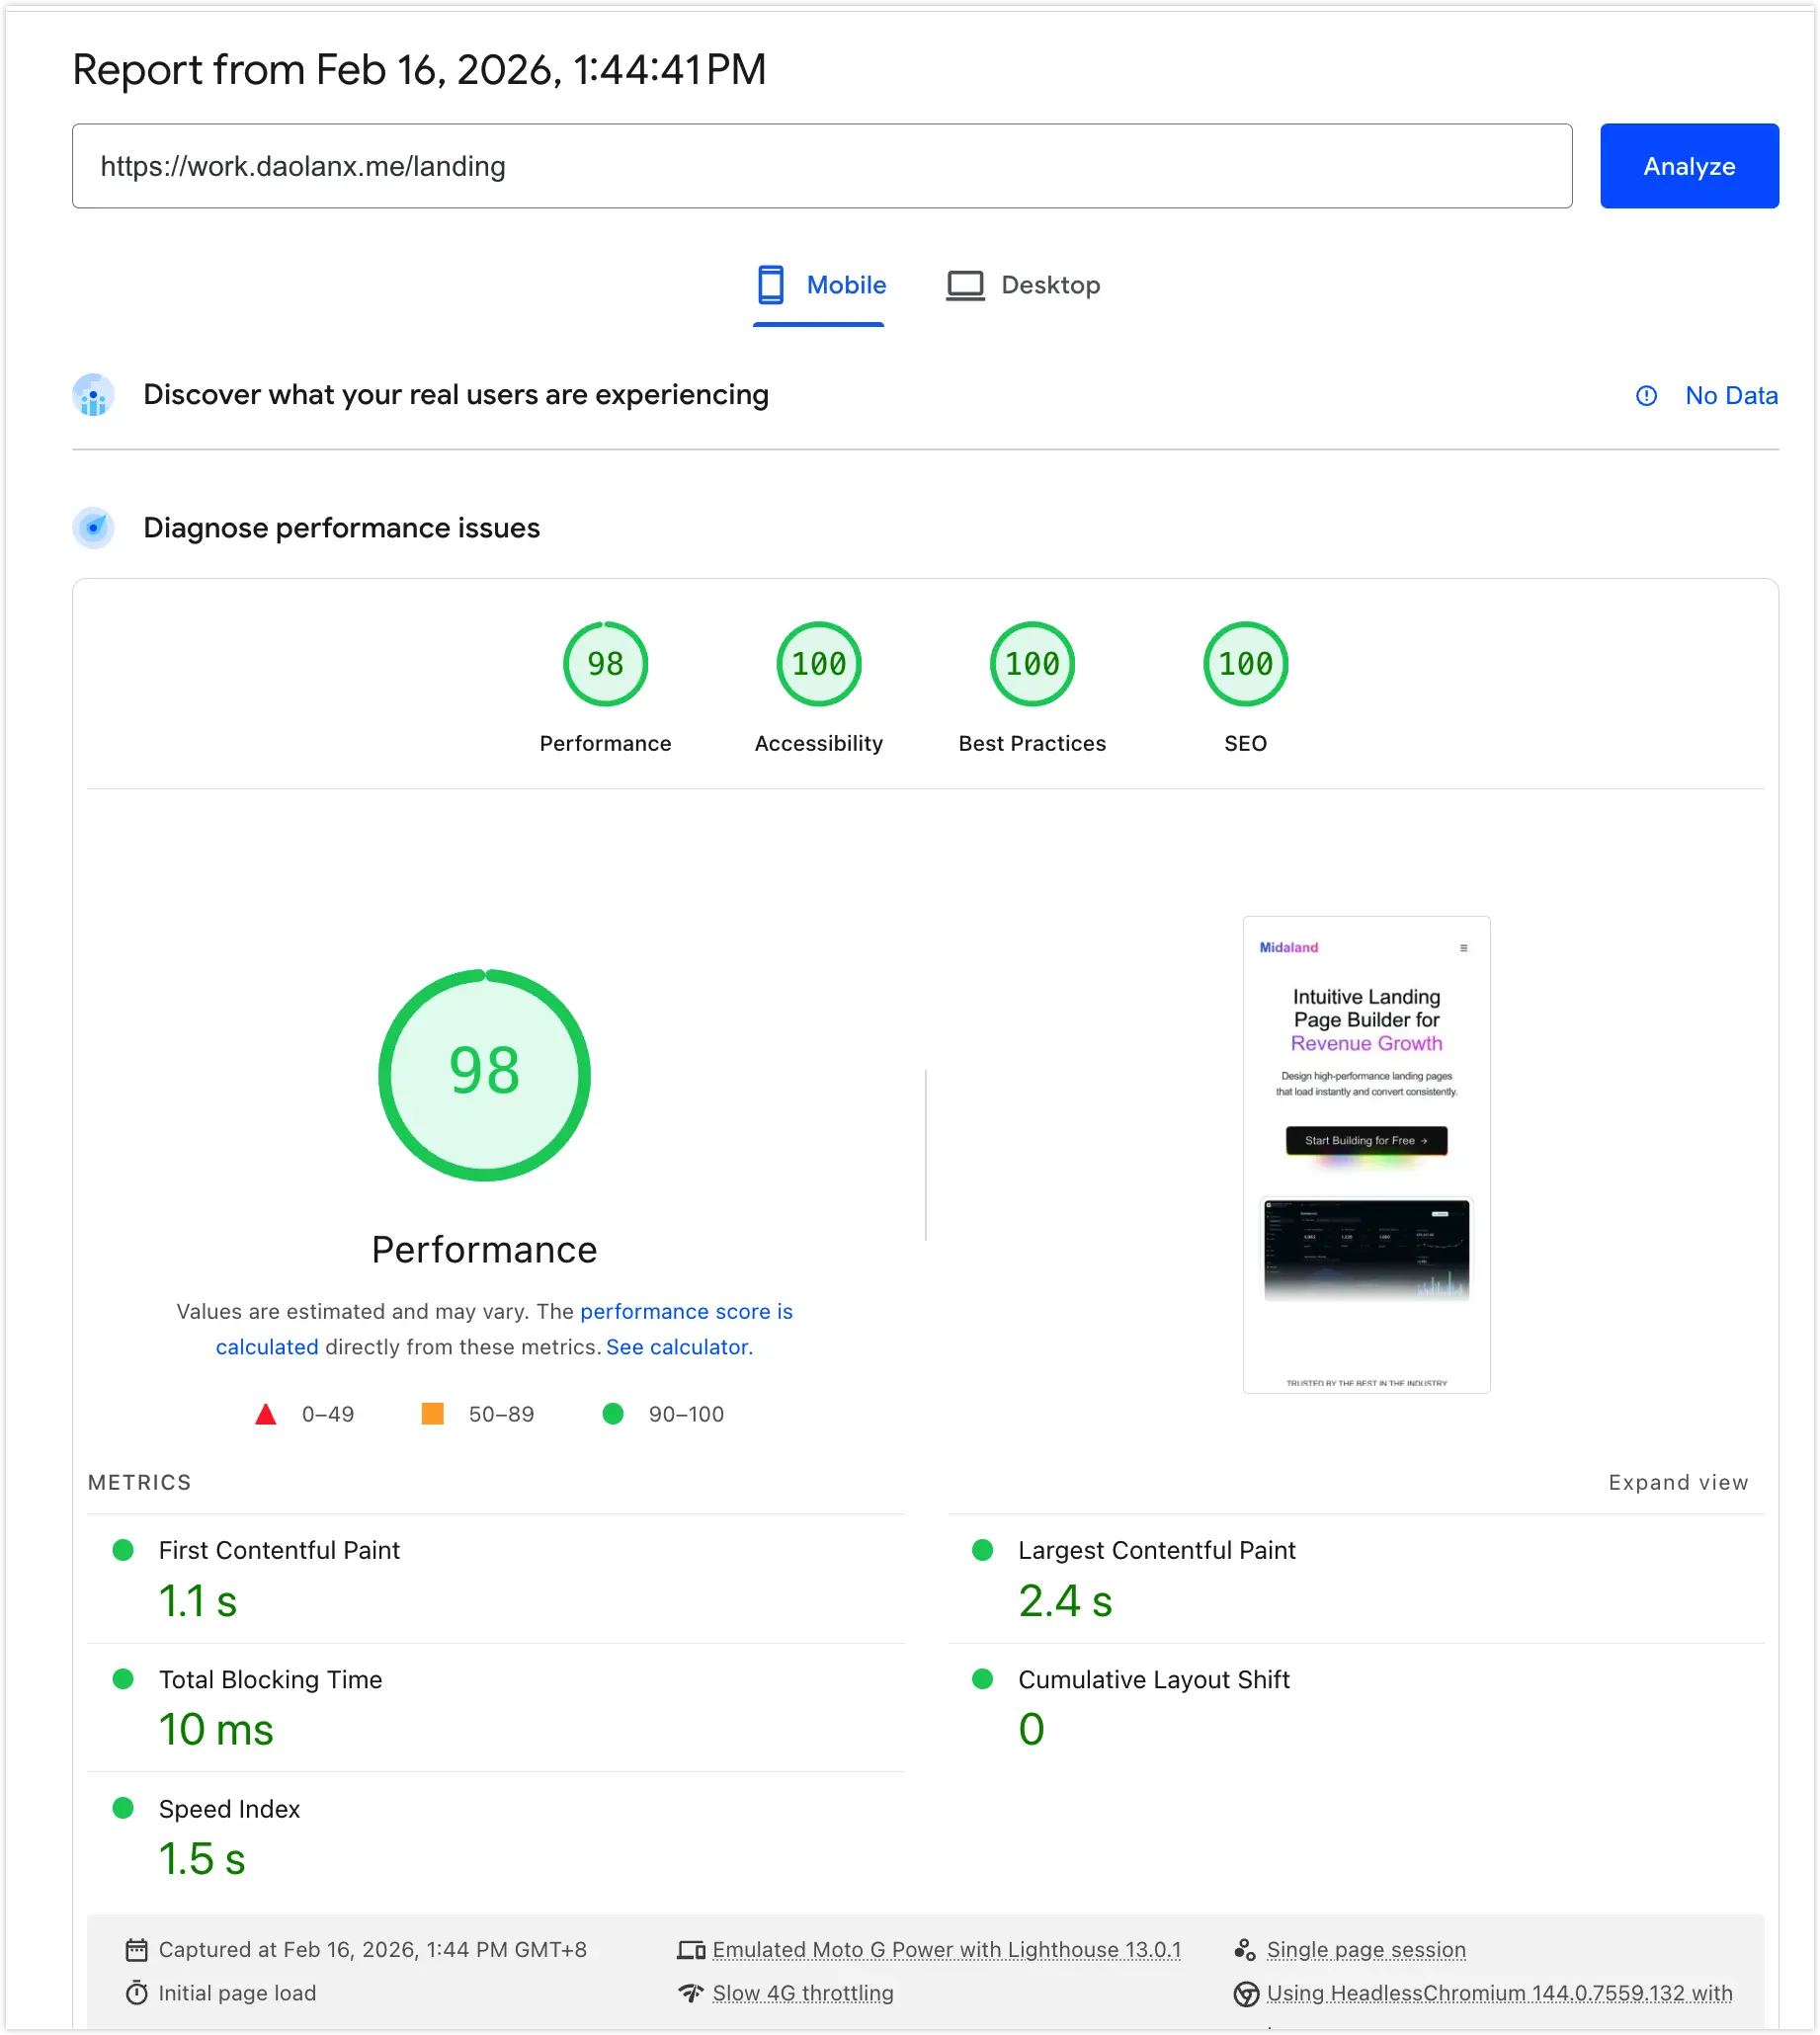
After further optimization, static assets and web pages are now served from the same domain, and images support responsive on-demand transformation. Lighthouse scores show a perfect 100 across all PC indicators and a 98 for mobile performance, with all other scores at 100. The performance is exceptional.
Next, we will discuss the problems exposed in the previous optimization and their corresponding solutions.
2. Problems after Separating Next.js Static Assets via R2
While separating assets improved some aspects, it introduced two new issues affecting performance and user experience:
- Increased Network Overhead: Previously, both pages and assets were on Vercel, using relative paths. After separation, assets used a separate
assetsprefix domain. Although modern browsers are no longer limited by the HTTP/1.1 single-domain concurrent connection limit, cross-domain requests still require extra time for DNS resolution, TCP handshakes, and TLS negotiation. This latency is particularly noticeable on mobile networks. - Inability to Load Images Responsively: Ideally, images should be returned in sizes corresponding to the device dimensions. After using a custom Image Loader, the native Next.js image optimization functionality was lost, leading to original-sized images being returned regardless of device size, which wastes bandwidth and lowers LCP (Largest Contentful Paint) performance.
3. Secondary Exploration of Cloudflare Core Capabilities
If your domain’s DNS is hosted on Cloudflare with proxying enabled (the “orange cloud”), we can utilize two key features for deep optimization.
3.1 Images Transformations
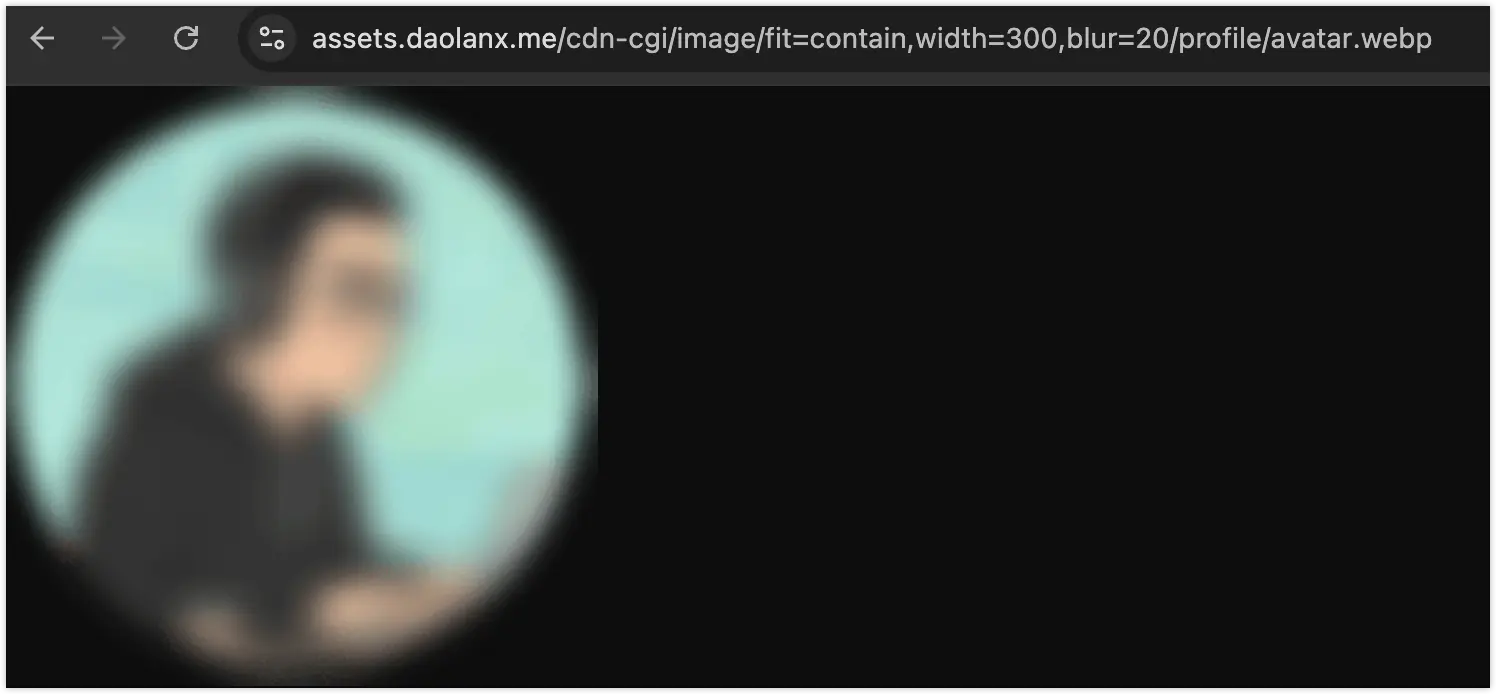
According to Make responsive images, by enabling Transformations under the Images > Transformations menu for your domain, you can modify image dimensions on the fly. For example:
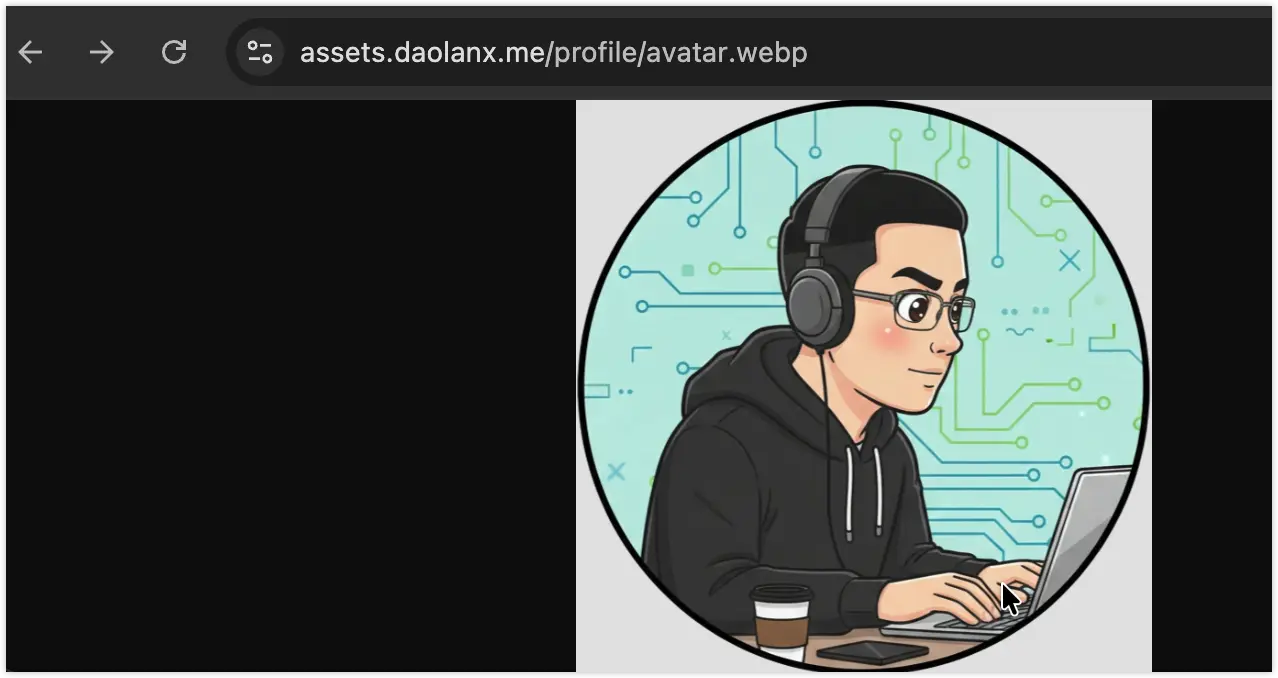
- Original path: https://my-r2-bucket-domain.com/avatar.webp
- Transformed path: https://my-r2-bucket-domain.com /cdn-cgi/image/fit=contain,width=100,blur=30/ avatar.webp
3.2 Workers Routes
According to Workers Routes, when DNS proxying is enabled, Cloudflare Workers can intercept and intervene in logic for specific URL requests.
For instance, by writing a Worker script and mounting it to a specific path in Workers Routes, all requests matching that path will return “Hello World!” directly instead of pointing to the original origin resources.
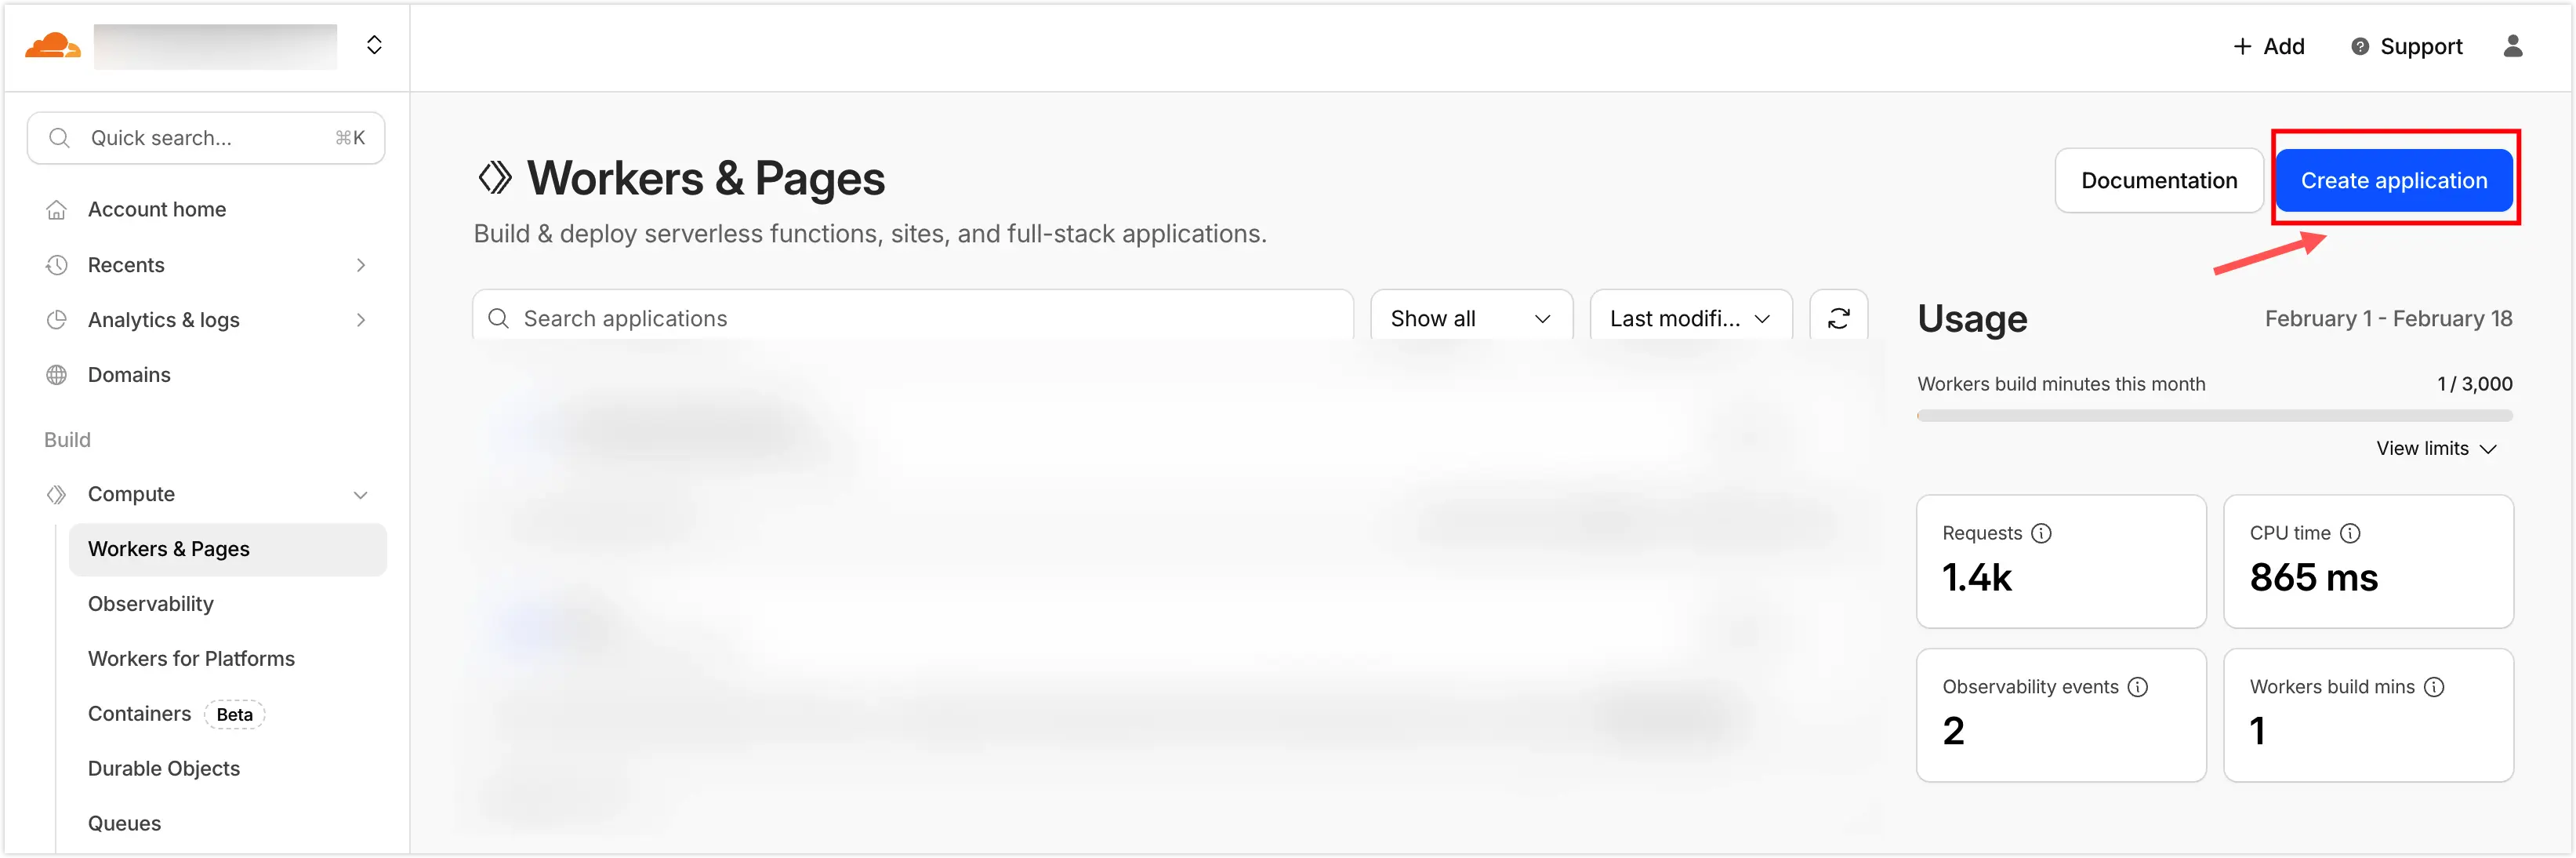
3.2.1 Click Create in the Workers & Pages page.
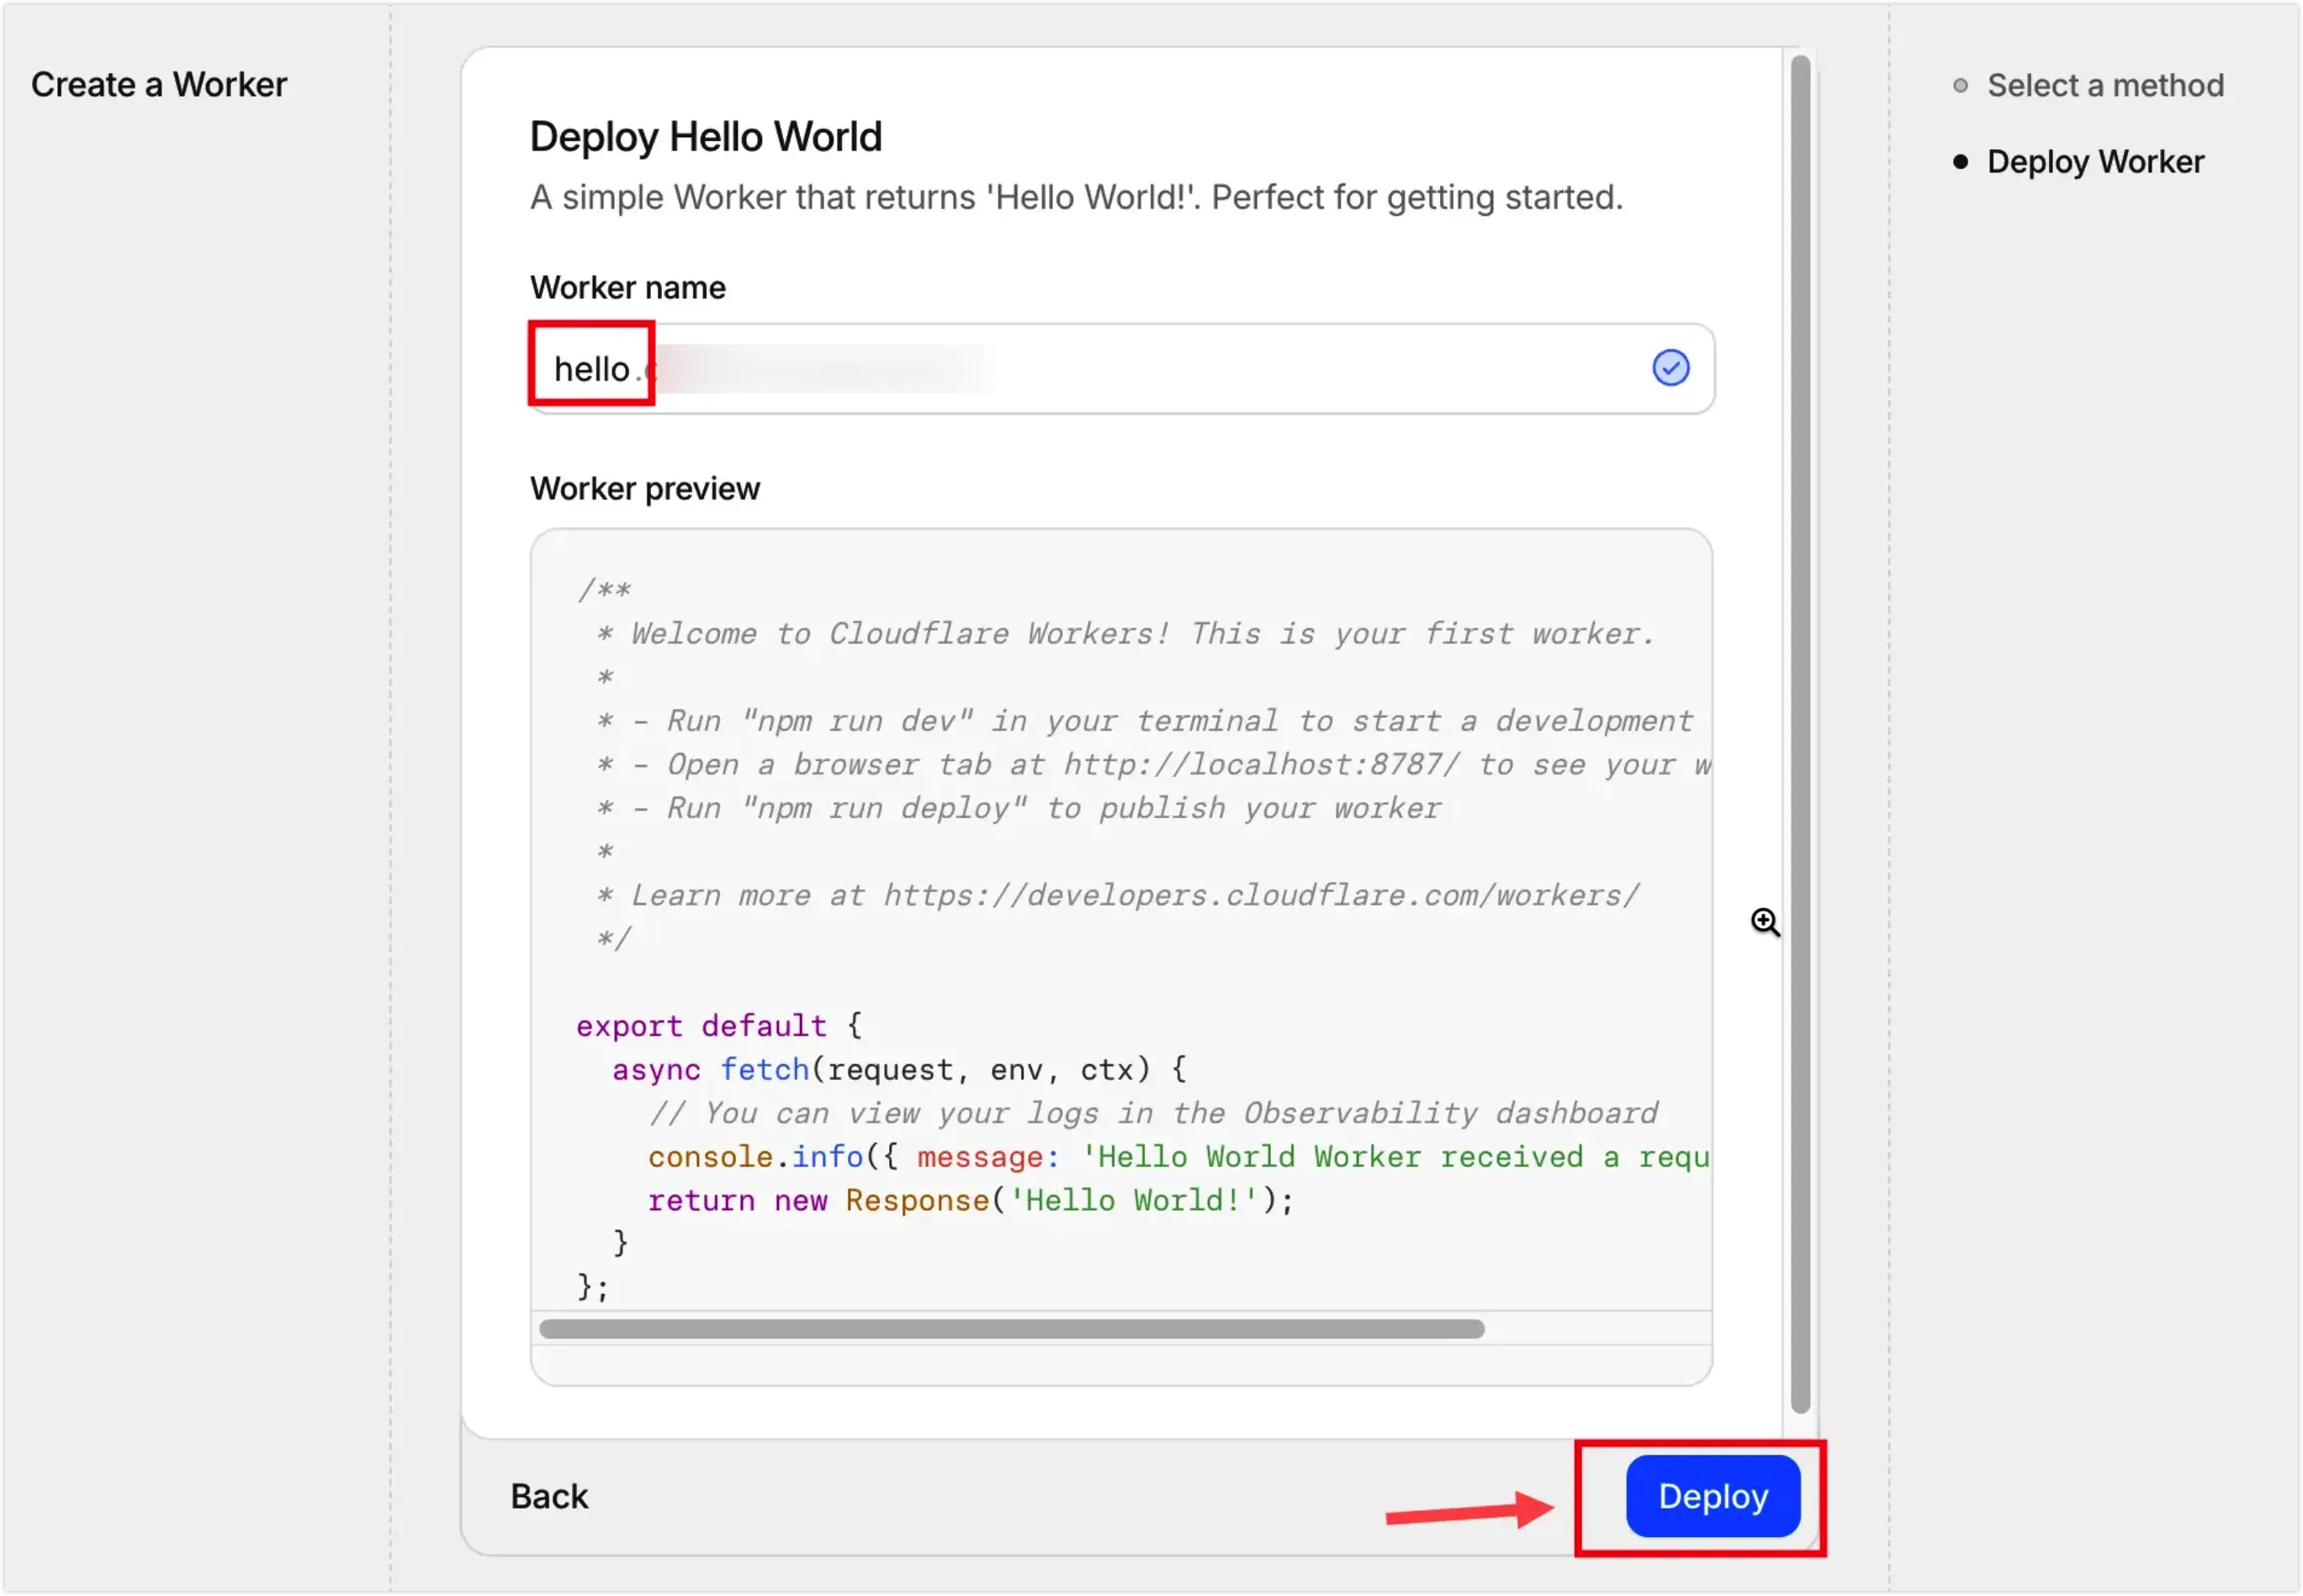
3.2.2 Select the Hello World Worker, name it hello, and deploy.
3.2.3 In the Workers Routes page, set up the domain wildcard and select the hello worker you just deployed.
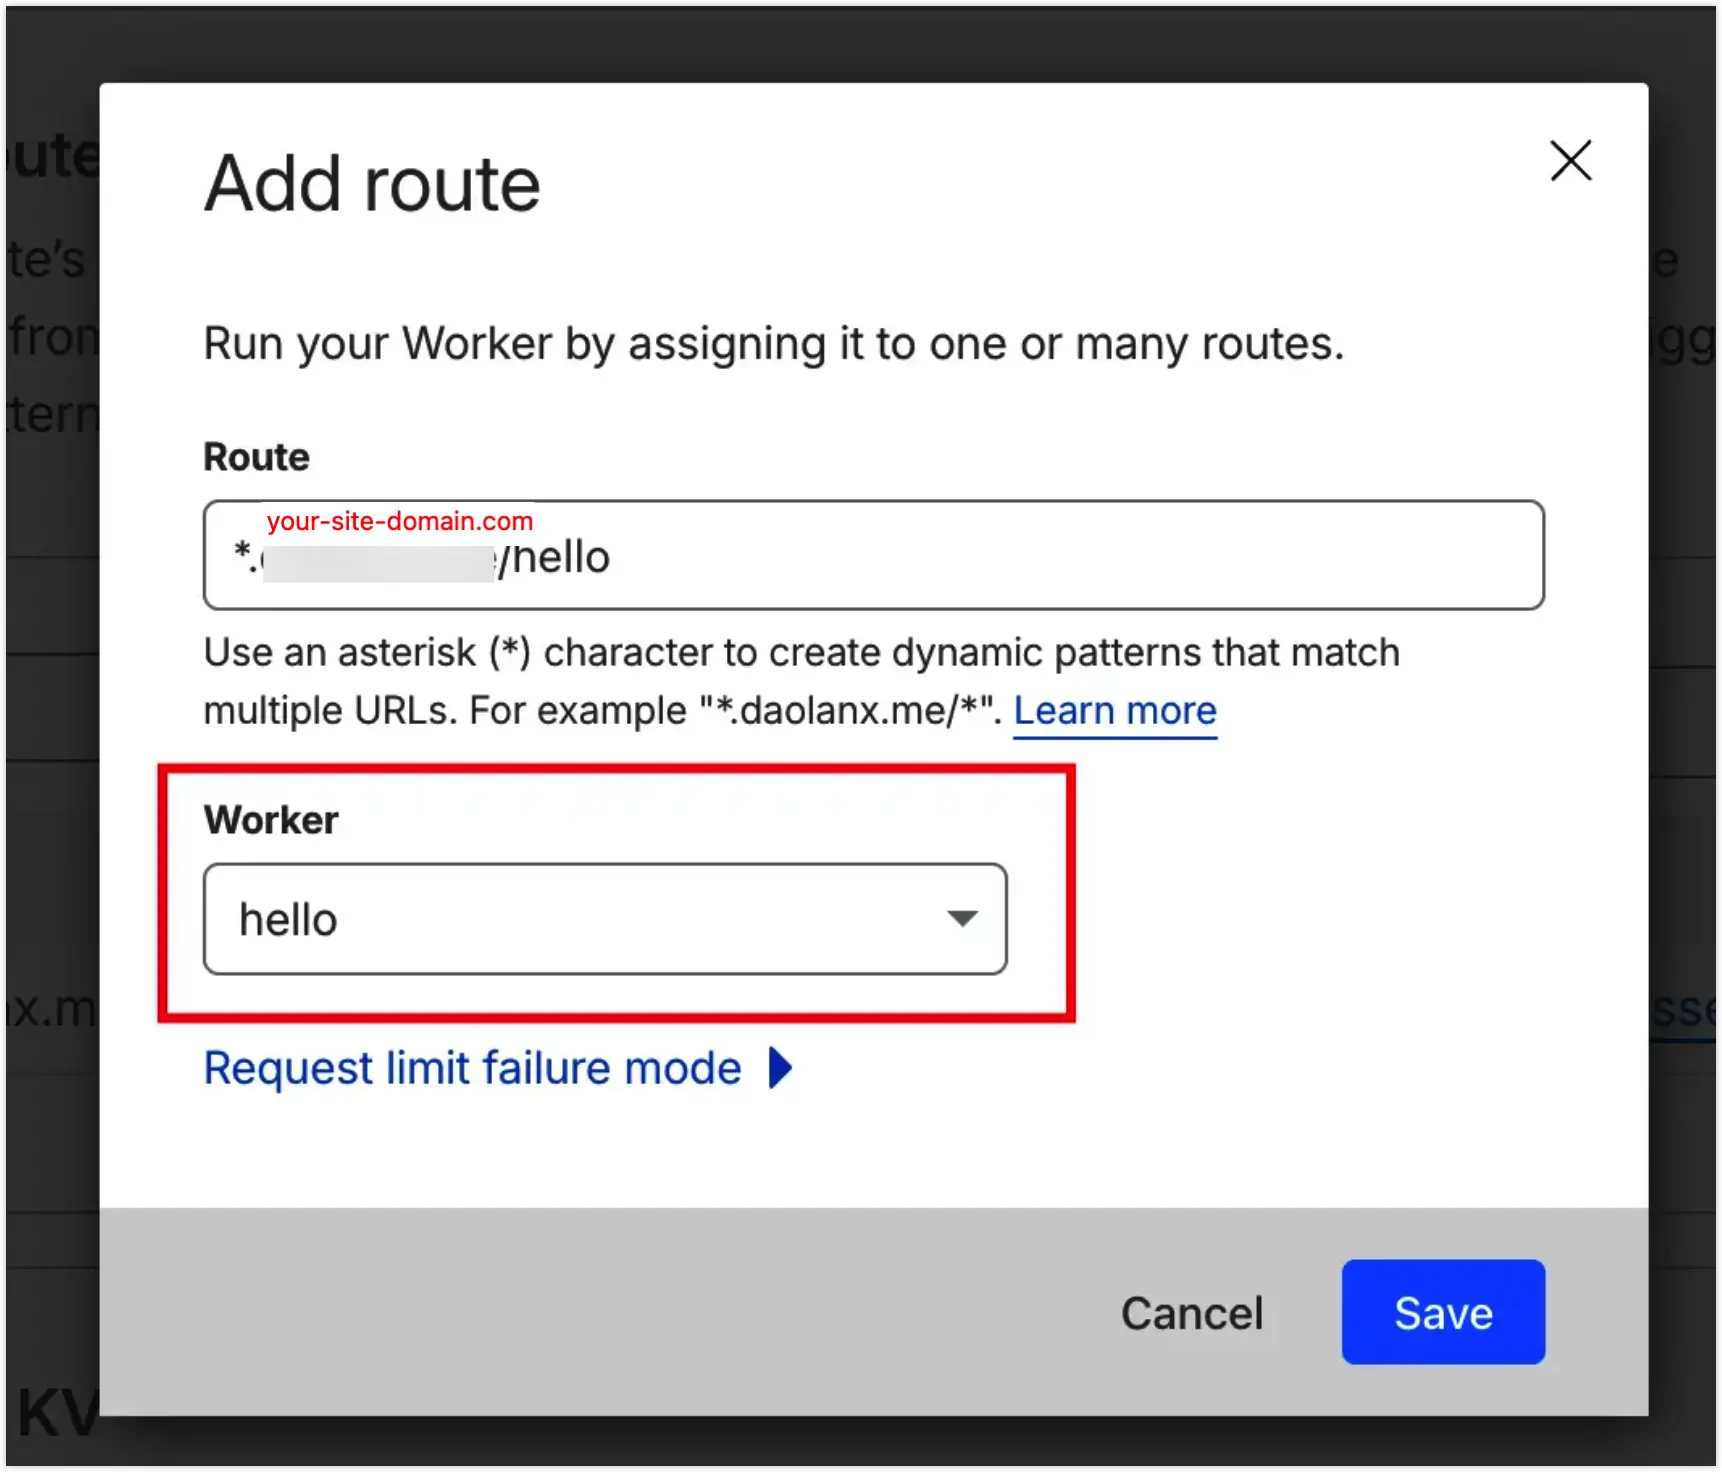
3.2.4 Finally, visiting the configured route will show the data processed by the worker.

With these mechanisms, our goal becomes clear:
- Use Workers Routes to intercept static asset requests.
- Fetch resources from R2 within the Worker and output them.
- For image requests, call Image Resizing within the Worker for on-demand cropping.
4. Specific Steps
Our goal is to achieve static asset serving and on-demand image processing under https://your-site-domain.com/remote-assets/.
4.1 Create a Static Asset Proxy Worker and Mount to Workers Routes
/** * Remote Assets Proxy Worker (Final Version) * Utilizes Cloudflare Built-in Image Resizing & R2 Storage */
export default { async fetch(request, env, ctx) { const url = new URL(request.url) const { pathname, searchParams } = url
// 1. Match custom prefix for remote assets if (pathname.startsWith(env.REMOTE_PREFIX)) { // Clean up path to ensure no double slashes during concatenation let originPath = pathname.replace(env.REMOTE_PREFIX, "") if (originPath.startsWith("/")) originPath = originPath.slice(1)
const staticResUrl = `${env.R2_DOMAIN}/${originPath}`
const isImage = /\.(jpg|jpeg|png|webp|avif|gif)$/i.test(originPath) const width = searchParams.get("w") const quality = searchParams.get("q") || "75"
// 2. Trigger Image Resizing if 'w' parameter is present if (isImage && width) { return fetch(staticResUrl, { headers: request.headers, cf: { image: { width: parseInt(width), quality: parseInt(quality), format: "auto", // Auto-select best format (WebP/AVIF) based on browser support fit: "scale-down", }, }, cacheEverything: true, cacheTtl: 31536000, }) }
// 3. Standard asset request (JS, CSS, or non-resized images) const response = await fetch(staticResUrl, { headers: request.headers, })
// Apply aggressive caching for hashed Next.js static assets if (pathname.includes("/_next/static/")) { const newHeaders = new Headers(response.headers) /** * 'immutable' prevents browsers from revalidating the file, * reducing server round-trips to zero for repeat visits. */ newHeaders.set("Cache-Control", "public, max-age=31536000, immutable") return new Response(response.body, { status: response.status, statusText: response.statusText, headers: newHeaders, }) }
return response }
// 4. Passthrough all other requests to the main origin (e.g., Vercel) return fetch(request) },}name = "remote-assets-proxy"main = "src/index.js"compatibility_date = "2024-12-01"
[vars]R2_DOMAIN = "https://your-r2-assets-domain.com"REMOTE_PREFIX = "/remote-assets/"
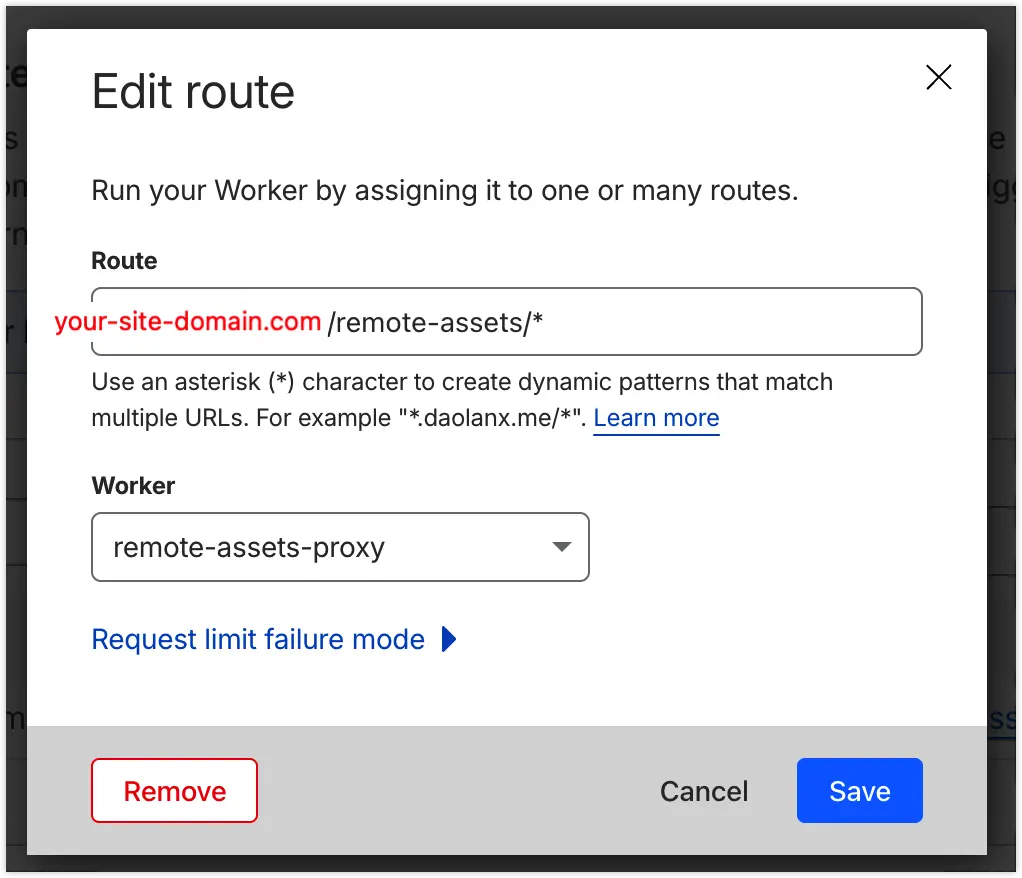
[[routes]]pattern = "your-site-domain/remote-assets/*"zone_name = "your-site-domain.com"After completing these files, refer to the workers/wrangler documentation. In the remote-assets folder, execute:
pnpm dlx wrangler loginpnpm dlx wrangler deployThis deploys your local worker to the cloud. Then, mount it in the Workers Route page.
Once mounted, visiting the path should return the correct static asset, for example:
- https://your-r2-bucket-domain.com/profile/avatar.webp
- https://your-site-domain.com/remote-assets/profile/avatar.webp
4.2 Modify Next.js Content
4.2.1 Modify Custom ImgLoader
interface LoaderProps { src: string width: number quality?: number}
const ALL_SIZES = [64, 256, 640, 828, 1120, 1920]
export default function myImageLoader({ src, width, quality }: LoaderProps) { const isProd = process.env.NODE_ENV === "production" const isExternal = src.startsWith("http")
// Local development or External images: Use original URL if (!isProd || isExternal) { return src }
// Find the closest larger bucket size const targetWidth = ALL_SIZES.find((s) => s >= width) || ALL_SIZES[ALL_SIZES.length - 1]
// Clean path: remove leading slash for consistency const normalizedSrc = src.startsWith("/") ? src.slice(1) : src
// Final Production URL: Relative path to trigger Cloudflare Worker return `/remote-assets/${normalizedSrc}?w=${targetWidth}&q=${quality || 75}`}4.3.2 Finally, Update Next.js Config
import type { NextConfig } from "next"import createNextIntlPlugin from "next-intl/plugin"const isProd = process.env.NODE_ENV === "production"
const nextConfig: NextConfig = { /** * IMPORTANT: Point this to your Worker path on the MAIN domain. * This ensures all JS/CSS are served from your-site-domain.com/remote-assets/ */ assetPrefix: isProd ? "https://your-site-domain.com/remote-assets" : undefined,
images: { loader: "custom", loaderFile: "./lib/image-loader.ts", deviceSizes: [640, 828, 1120, 1920], imageSizes: [64, 256], },}
export default nextConfig5. Conclusion
Through these modifications, we have implemented mechanisms that further enhance website performance:
- Domain Convergence: Static assets and pages share the same domain connection, eliminating extra DNS/TLS handshake time.
- On-demand Image Loading: Leveraging Cloudflare Image Resizing restores the responsive image capabilities lost when using a custom loader in Next.js.
- Ultimate Caching: Manually injecting
immutableheaders via the Worker significantly increases the secondary loading speed of static assets.