1. Why Fumadocs + Cloudflare Workers & R2
The core requirements for a documentation site are simple: fast access, low maintenance, and minimal cost. Fumadocs is one of the most popular Next.js documentation frameworks, with a rich feature set out of the box. Cloudflare Workers provides a global edge network so users are served from the nearest location, and the free tier is more than enough for personal projects. Together, they make a highly cost-effective stack for a production-ready docs site.
The one challenge is compatibility: Next.js relies on the Node.js runtime (file system, native streams, etc.), while Cloudflare Workers runs in a custom V8 isolate environment that does not support the full Node.js API. @opennextjs/cloudflare bridges this gap — it repackages the Next.js build output into a Worker-executable format and uploads static assets (JS, CSS, images, etc.) to R2 object storage, which the Worker reads on demand. This sidesteps the Worker bundle size limit while preserving SSR/ISR capabilities.
Here’s the demo I built: https://web.daolanx.me/. The steps are documented below.
2. Scaffold a Fumadocs App
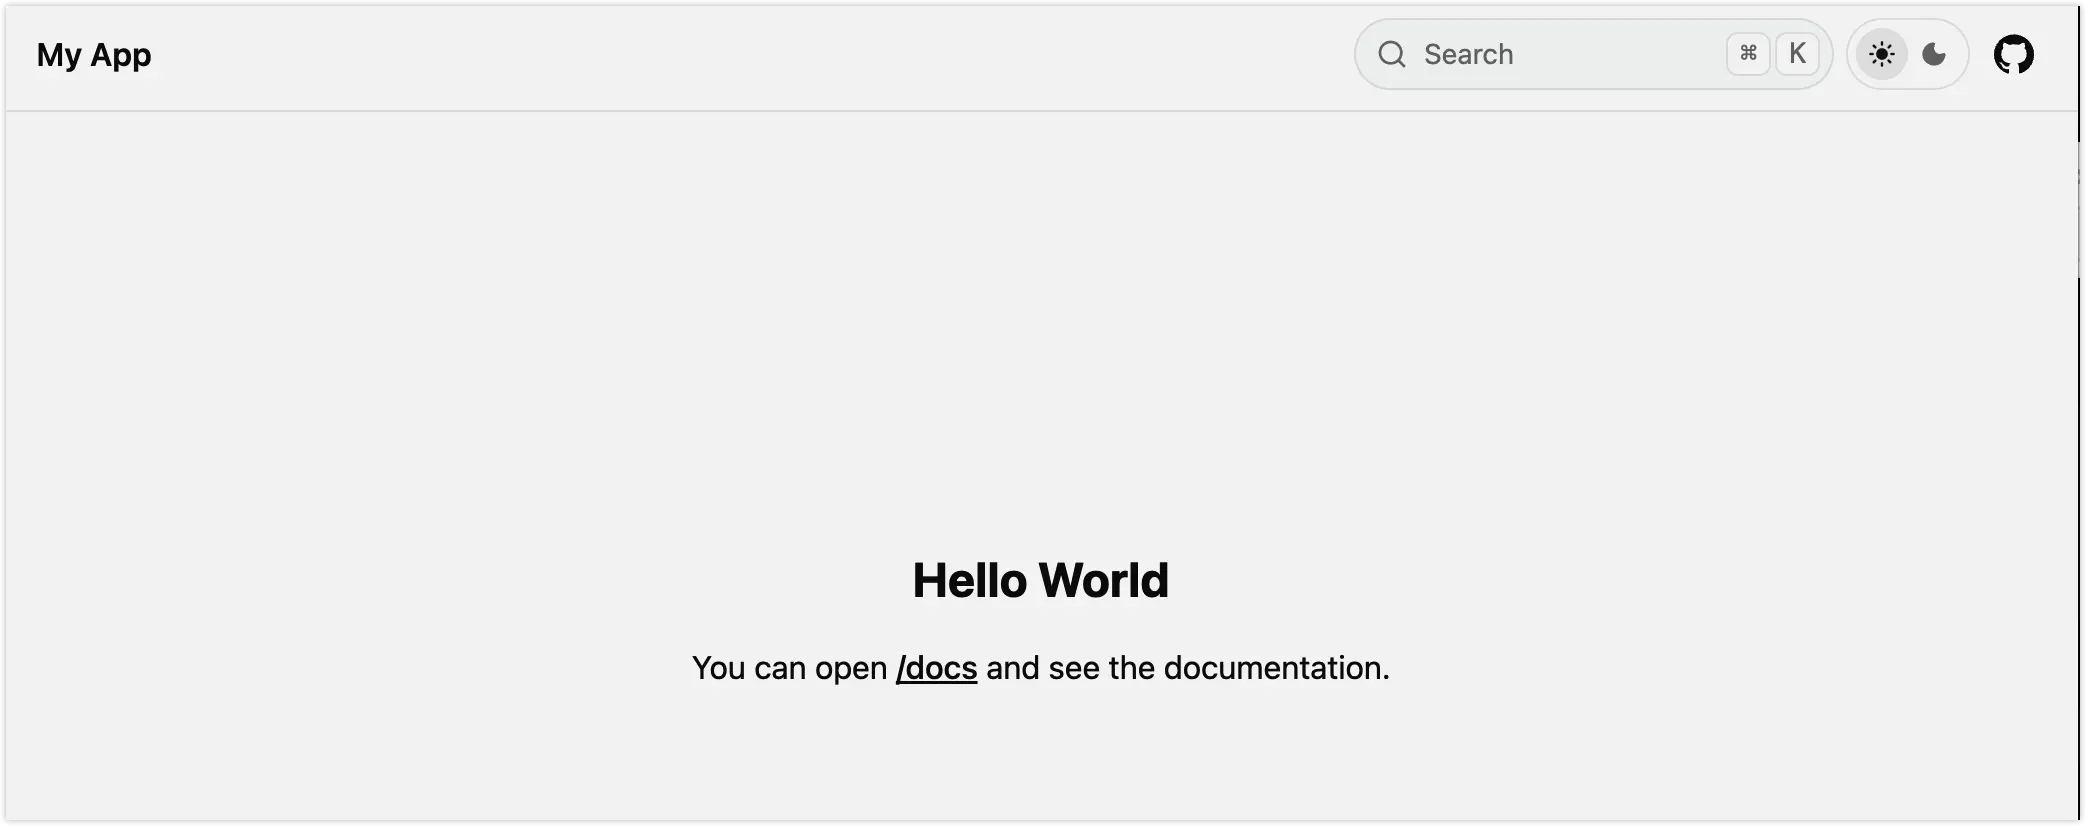
Follow the fumadocs quick start to generate the app and verify it runs as prompted. Pay attention to the search-related options during setup.
pnpm create fumadocs-app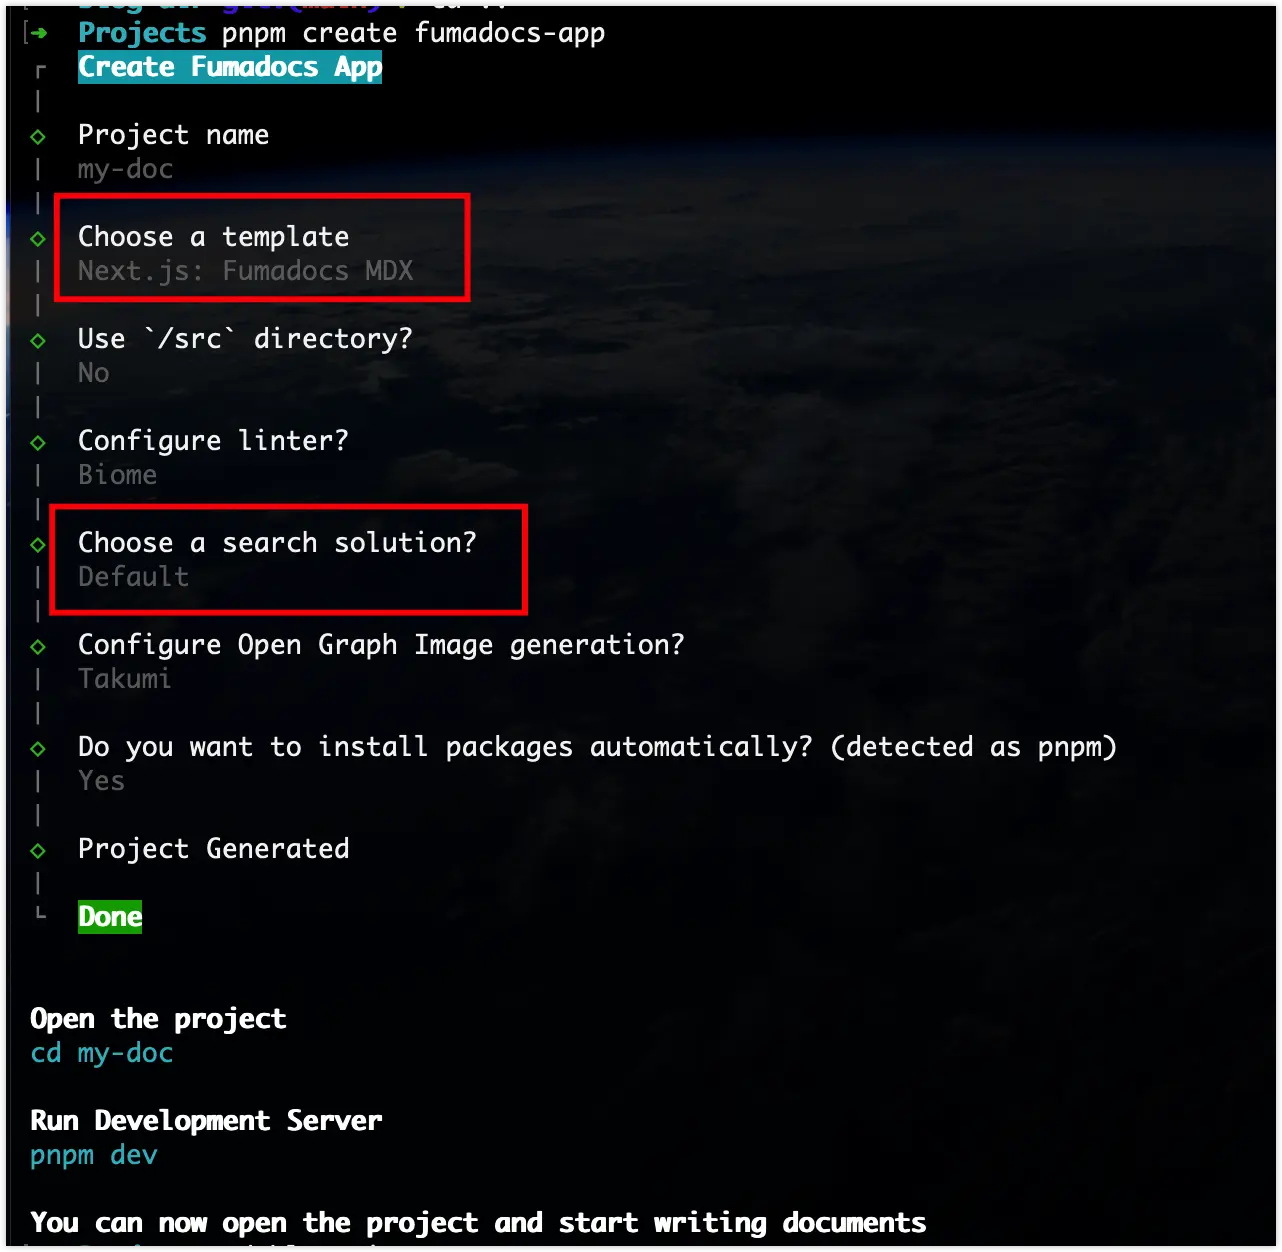
3. Adapt for the Cloudflare Worker Runtime
Fumadocs generates a standard Next.js app by default. To run it in a Cloudflare Worker environment, we use @opennextjs/cloudflare as an adapter.
3.1 Prerequisites
You need a Cloudflare account with Cloudflare R2 enabled. R2 is used to store static assets from the build output, which the Worker reads when handling requests.
3.2 Auto-adapt Using the CLI
Following opennext/get-started, run this command in the project root:
pnpm dlx @opennextjs/cloudflare migrate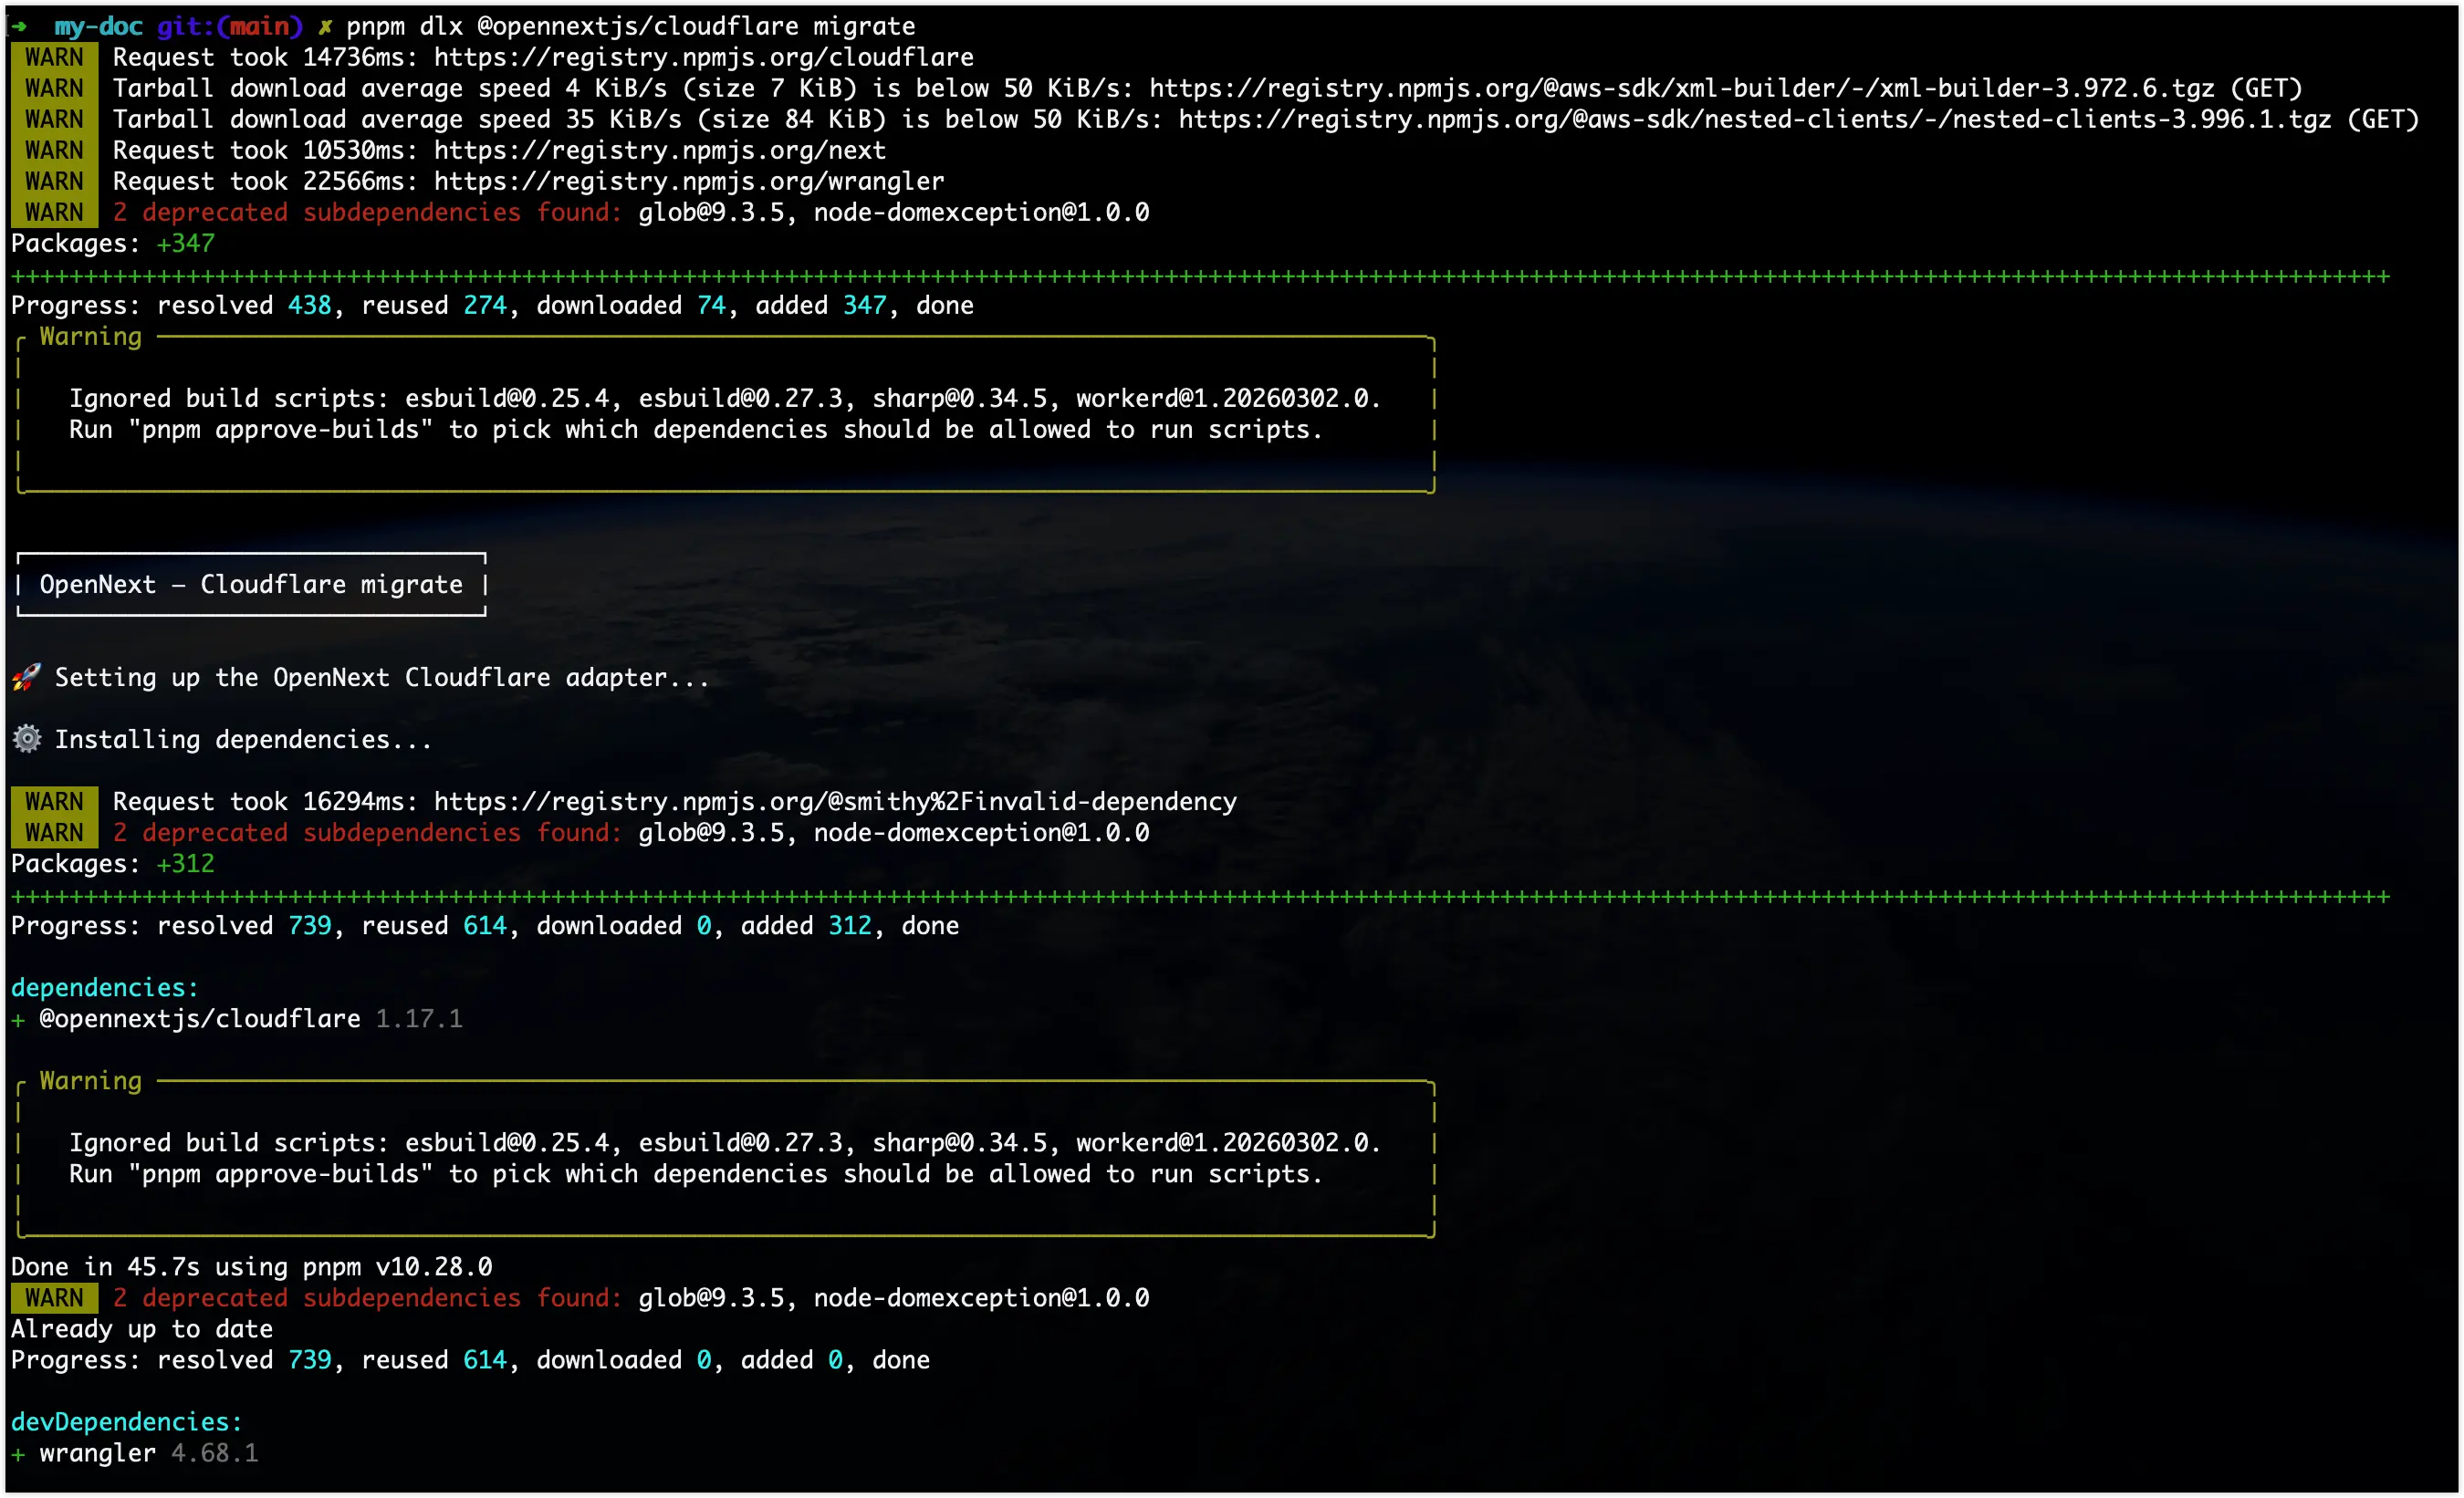
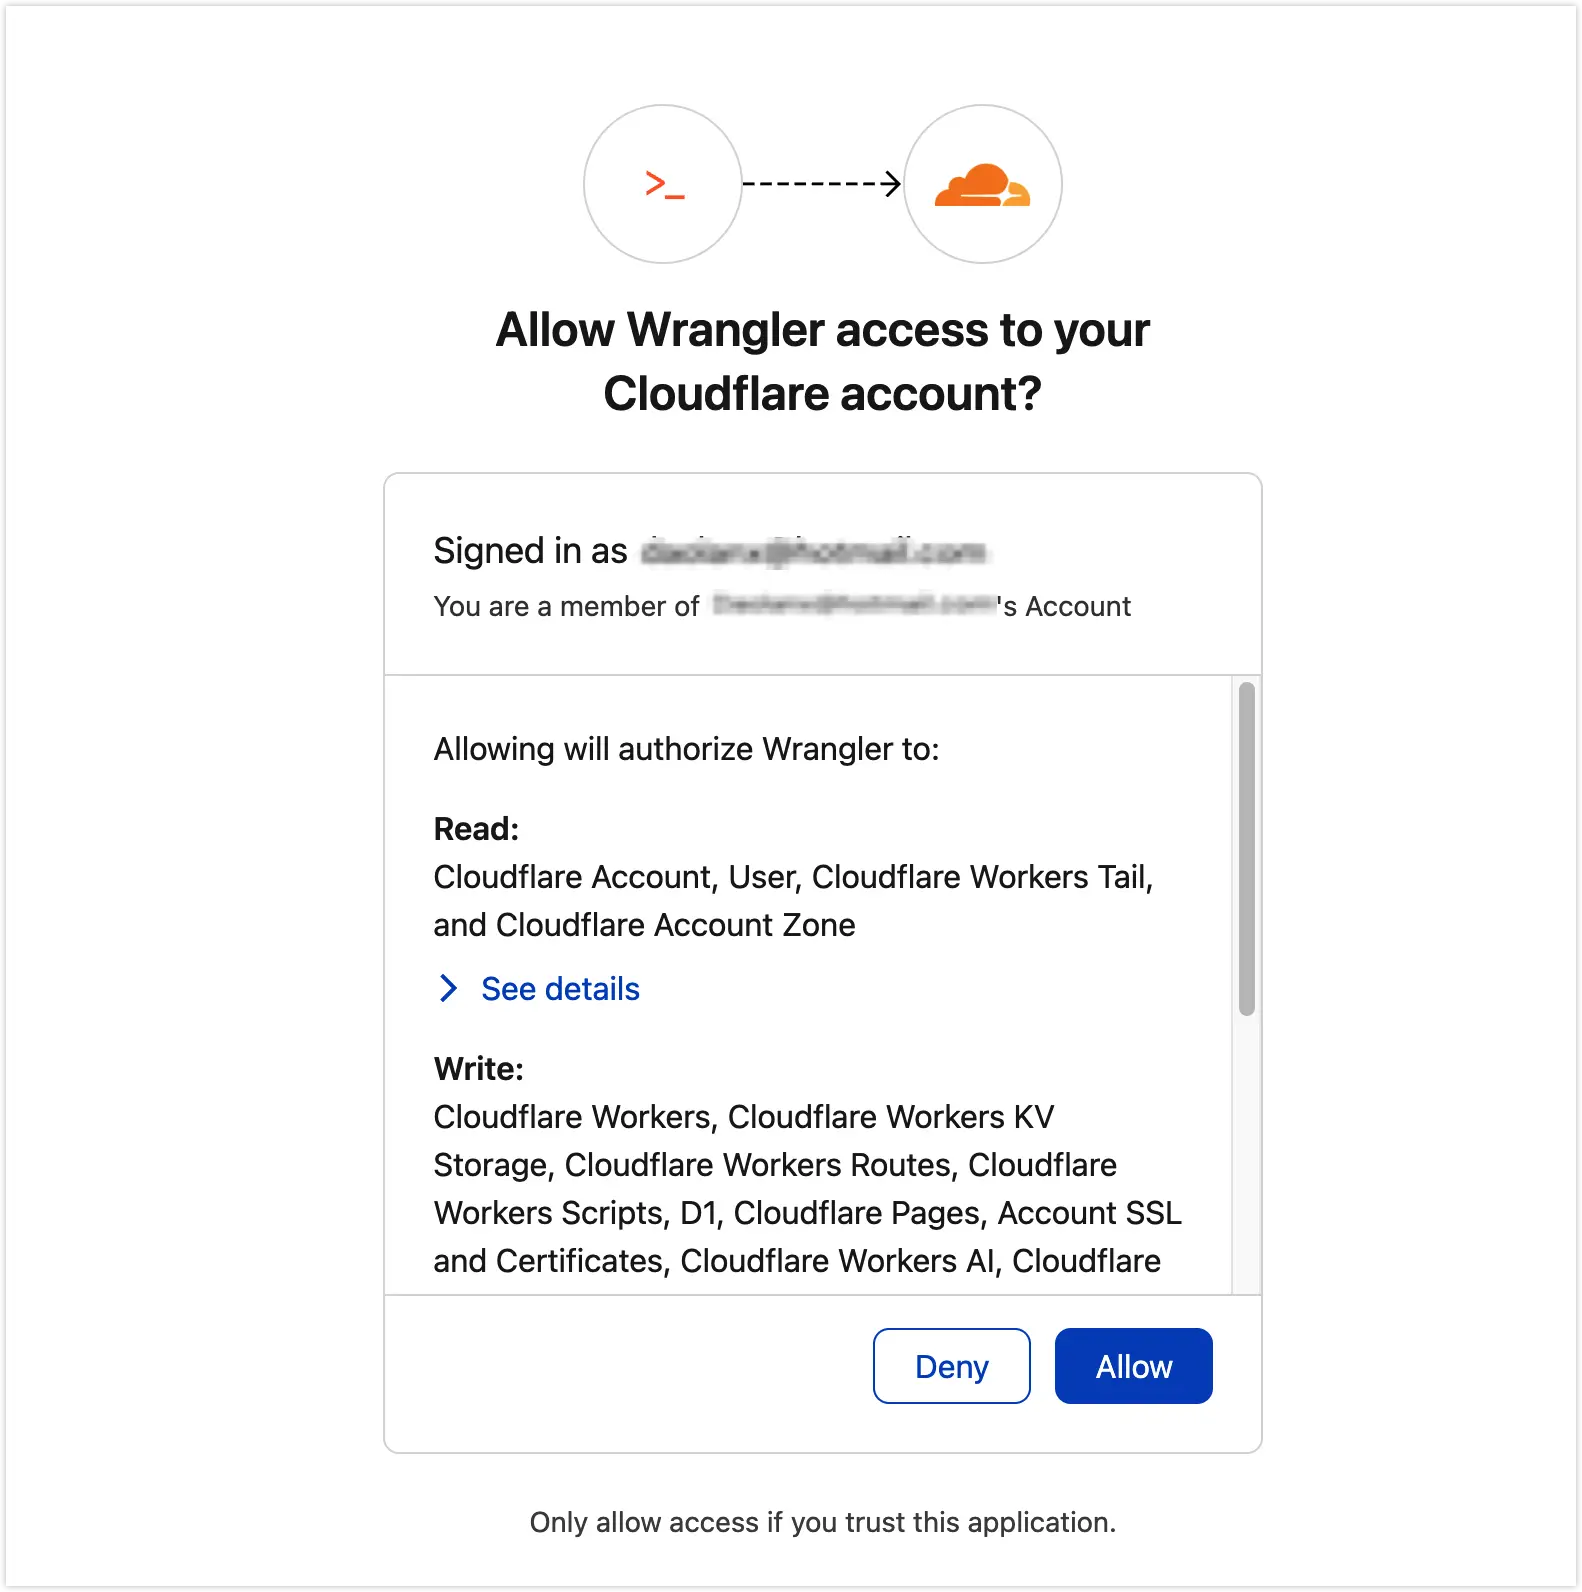
During the process, you’ll be prompted to authorize via Cloudflare OAuth:
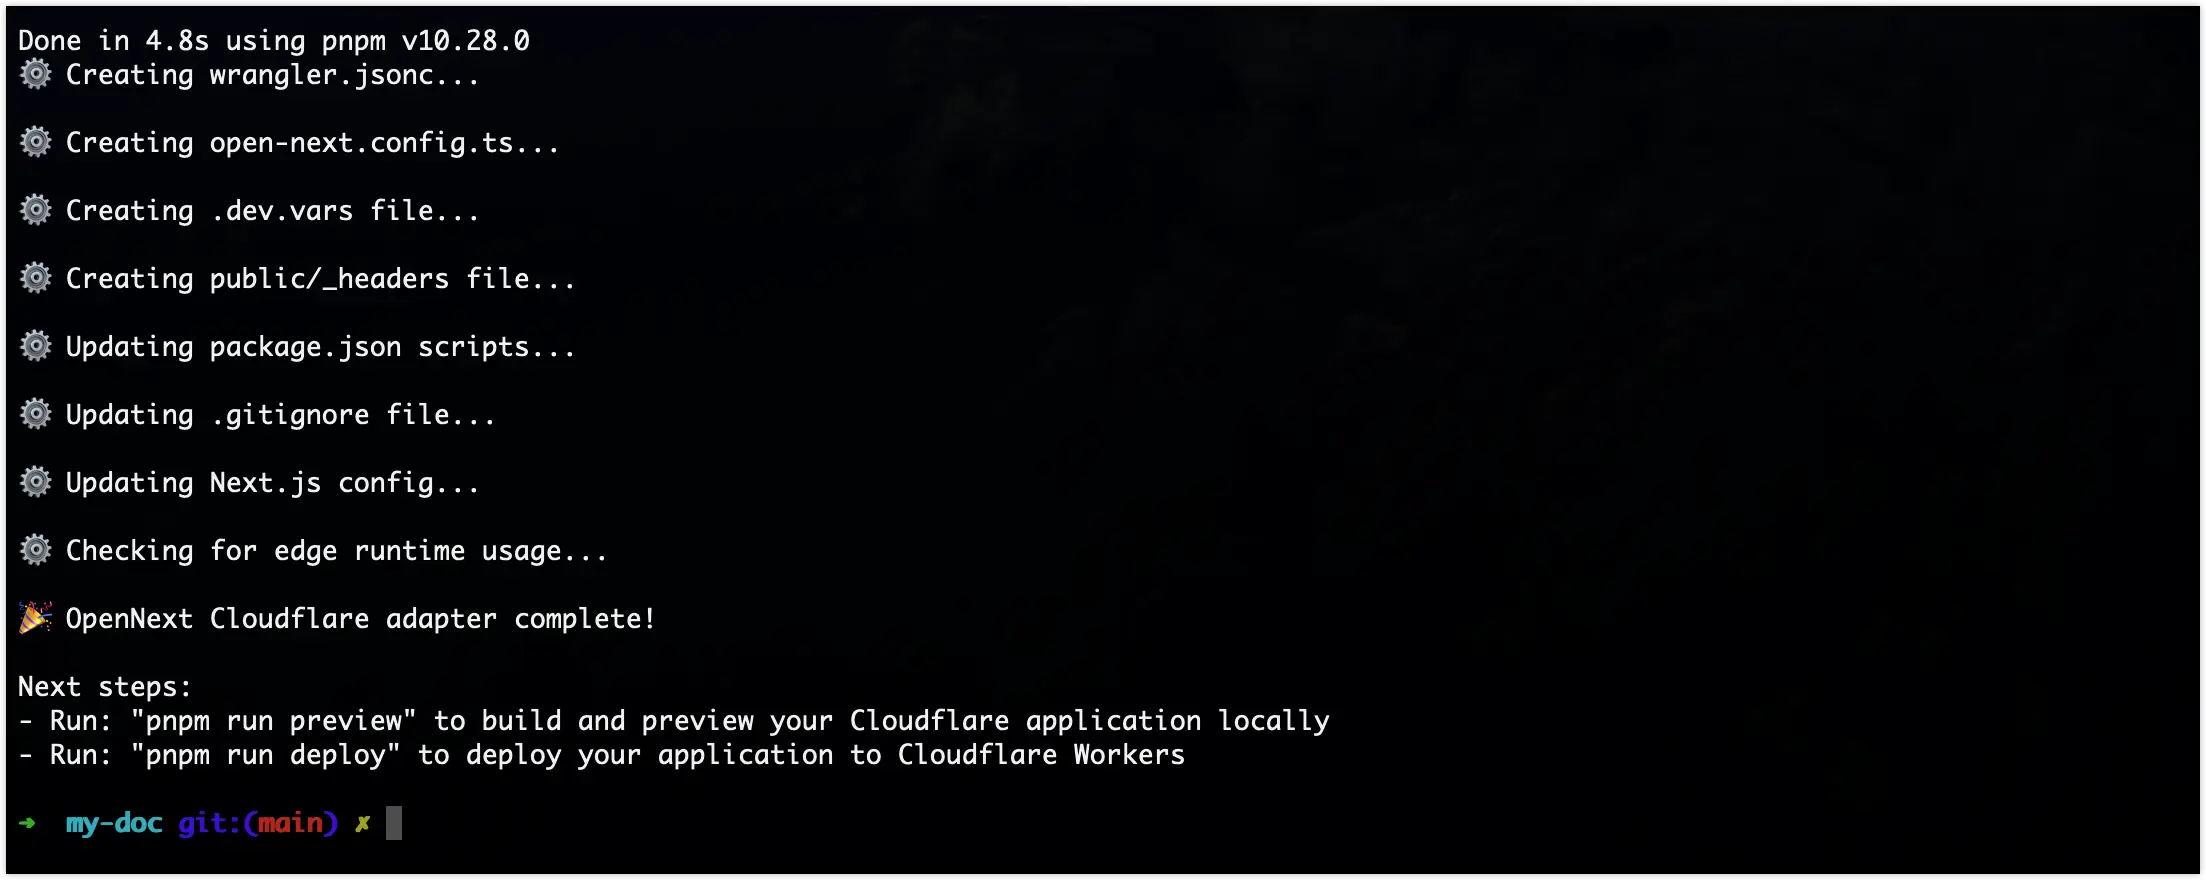
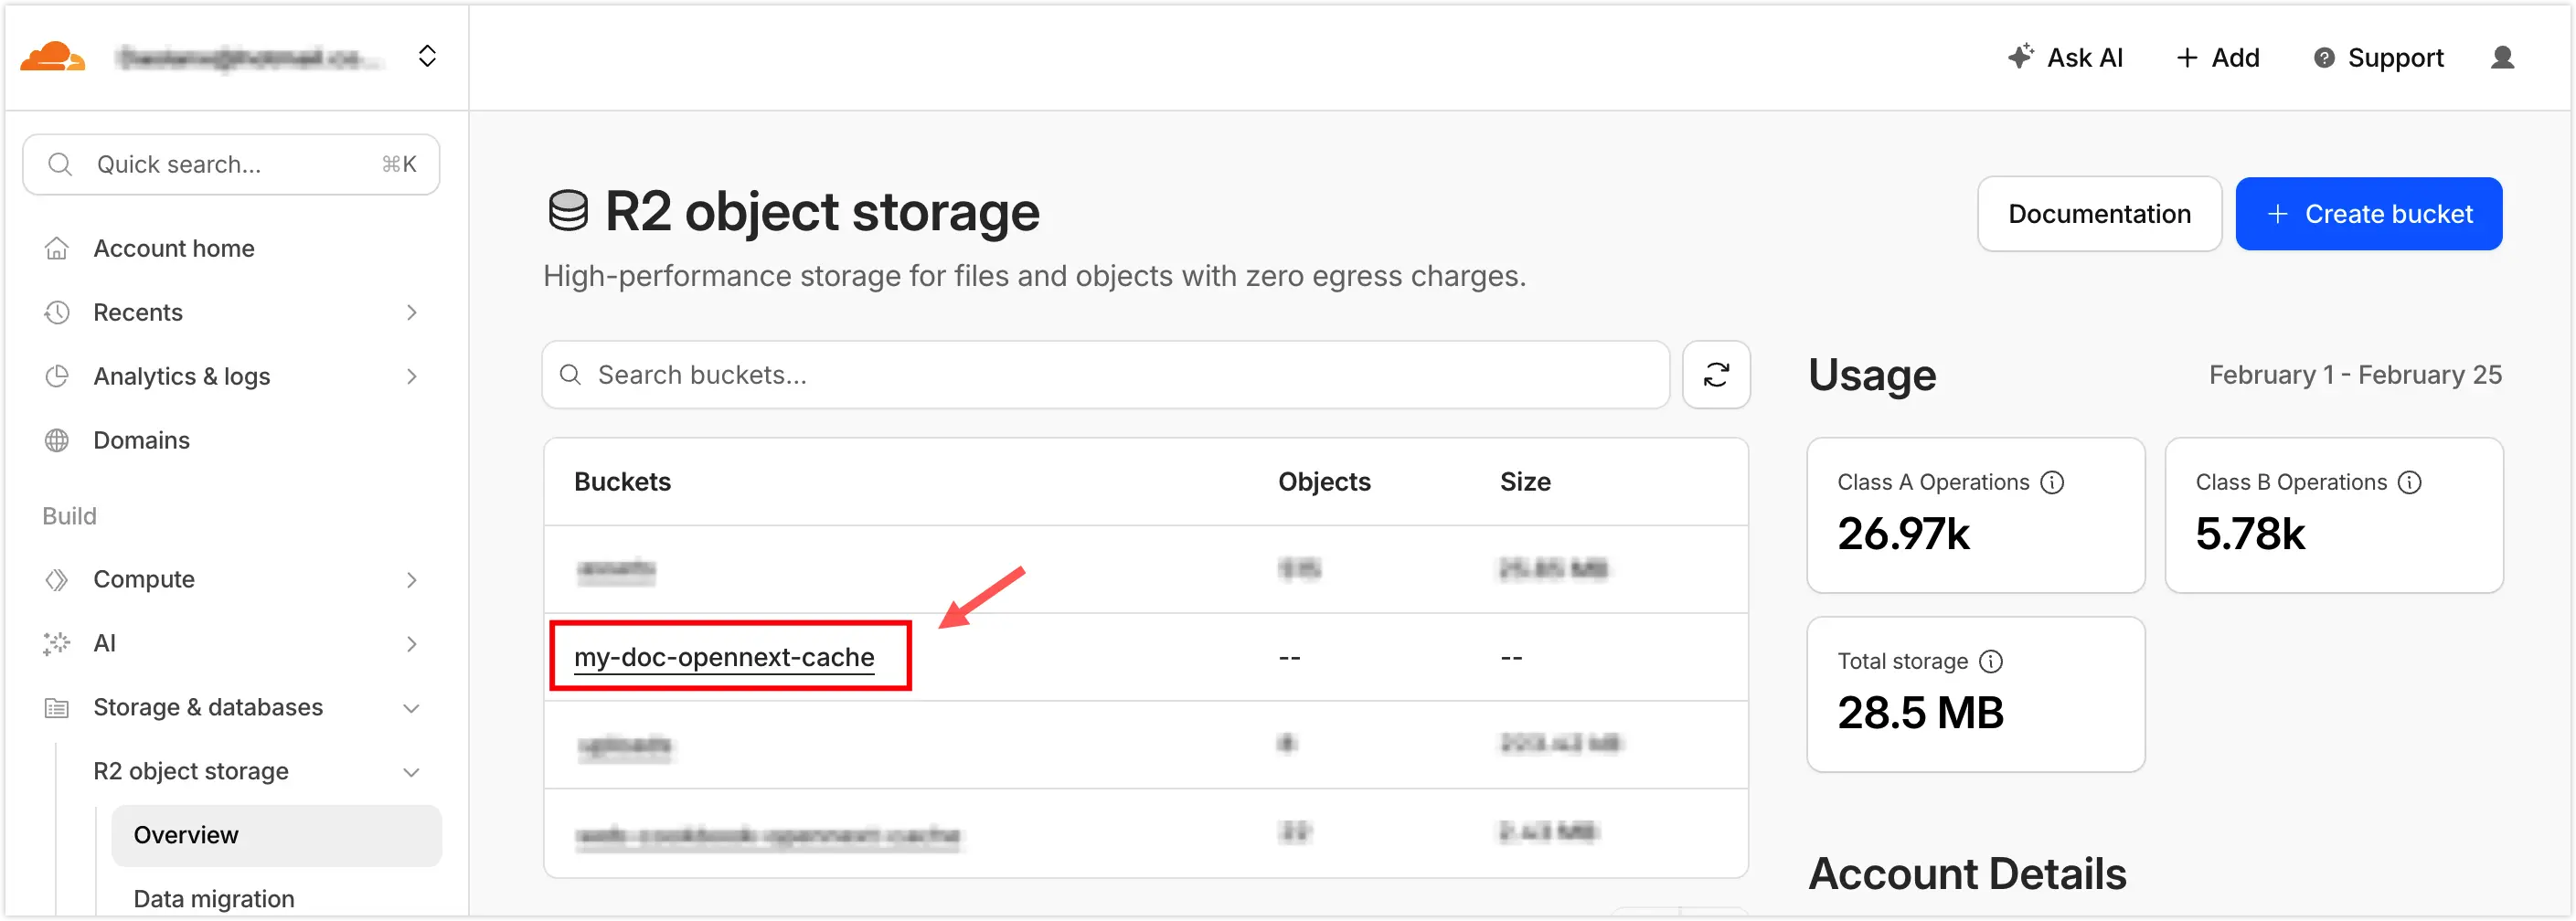
An R2 bucket will also be created automatically:
4. Preview and Deploy Locally
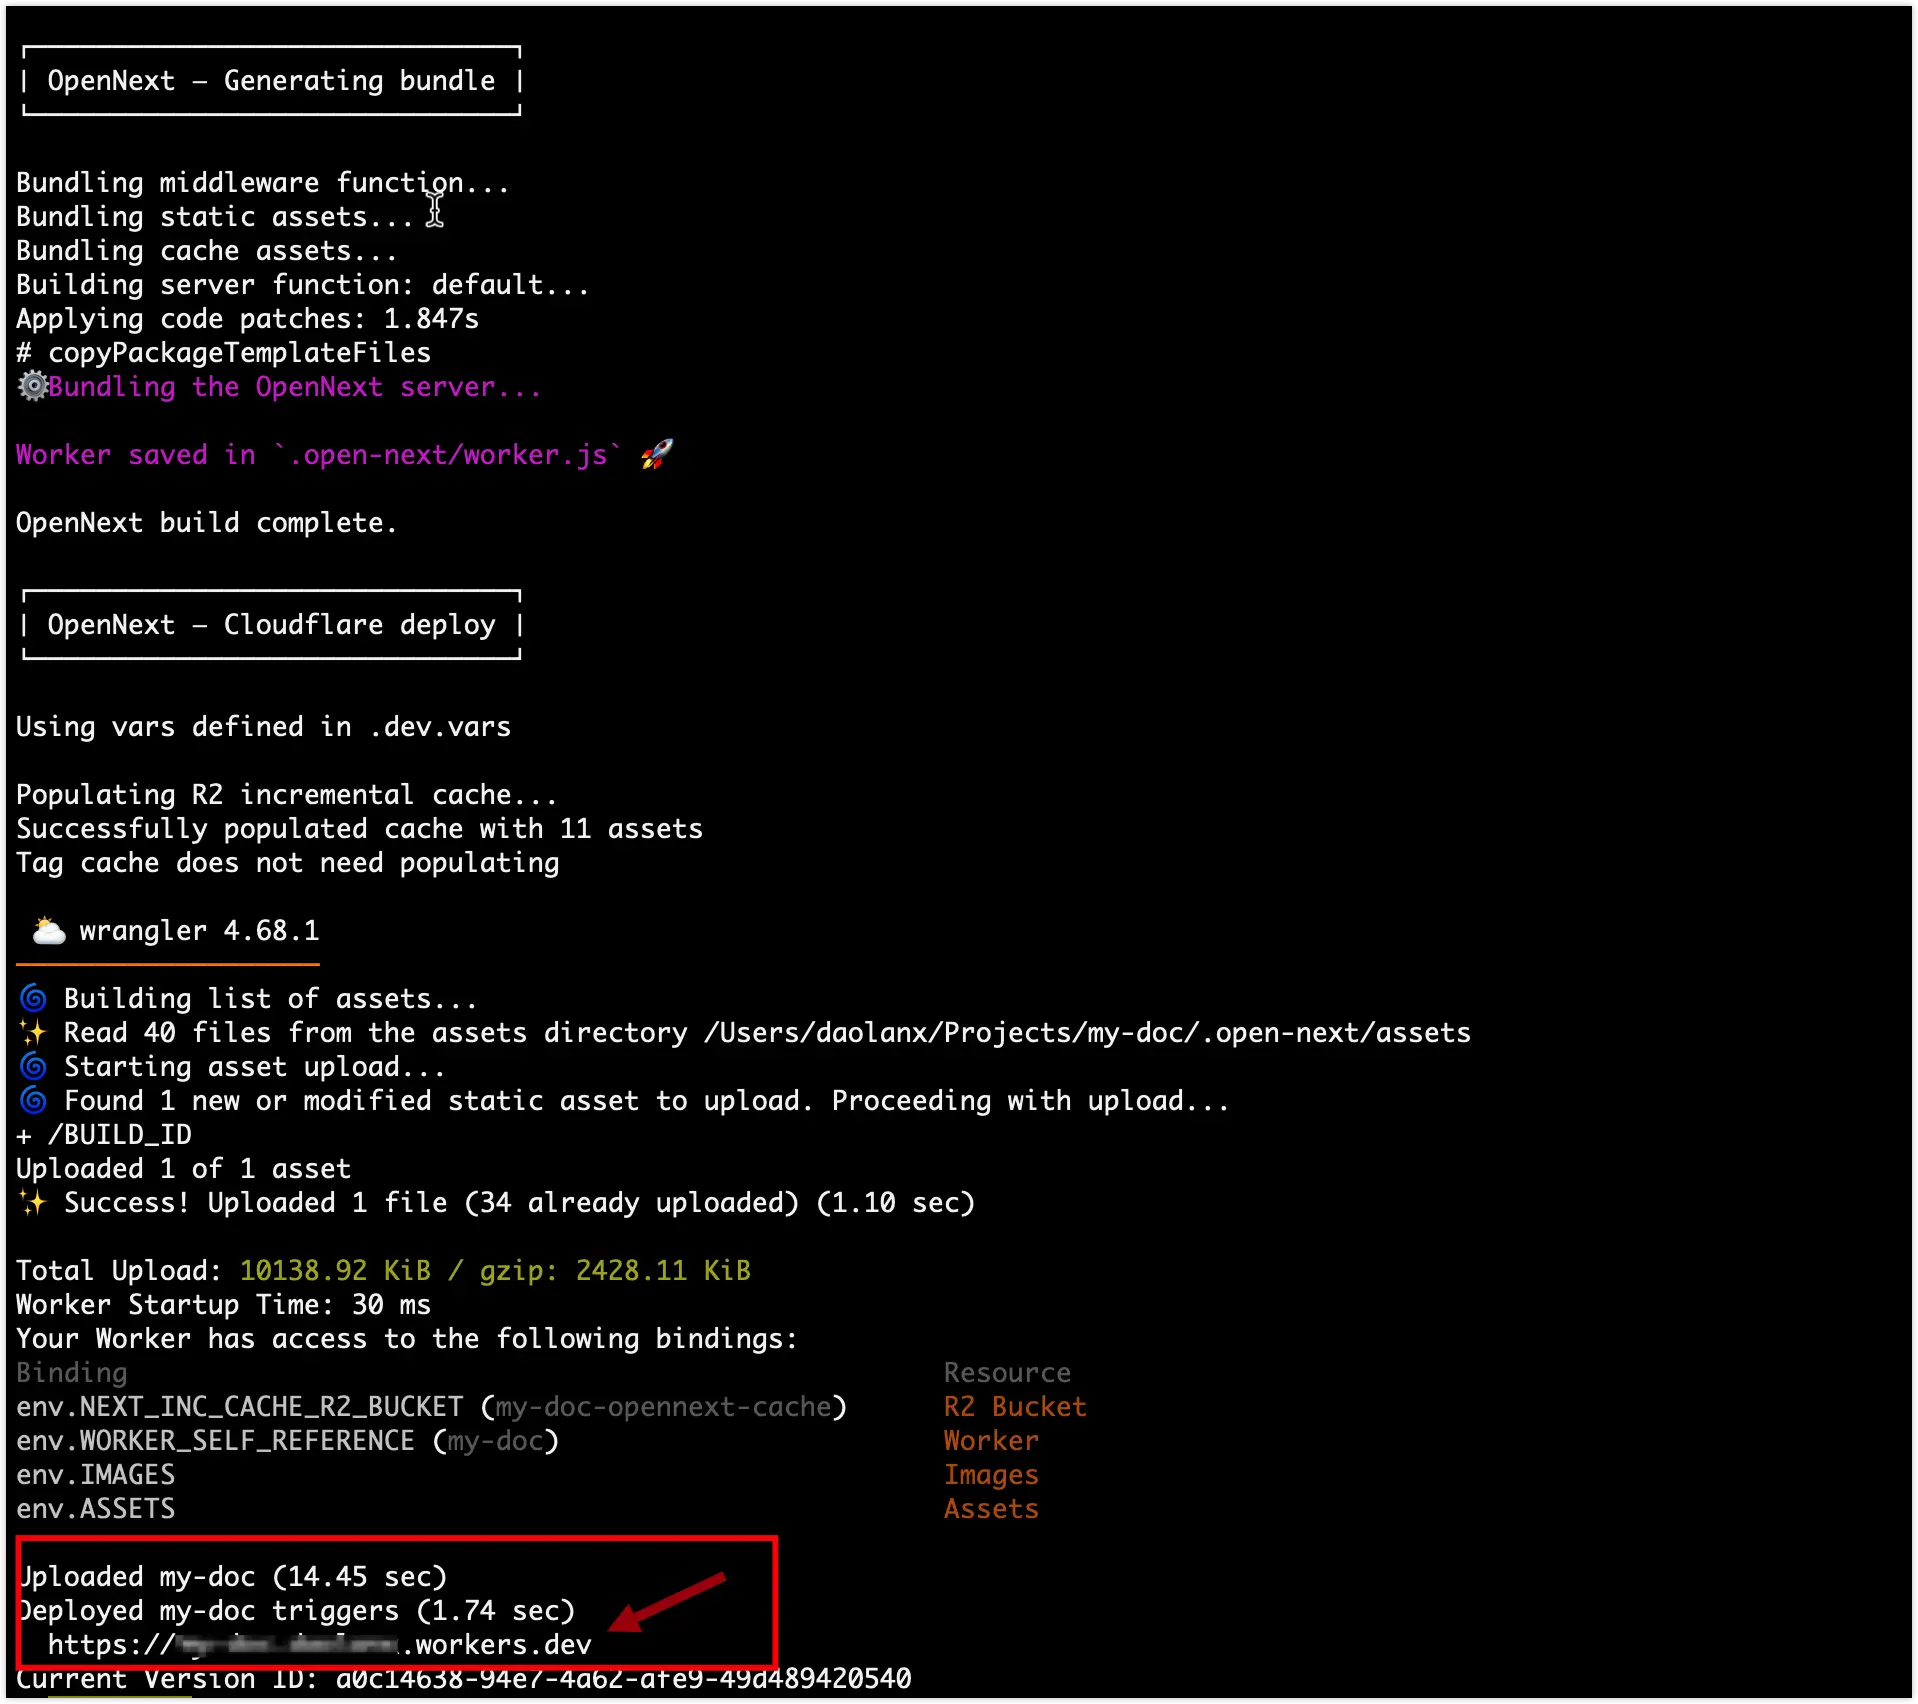
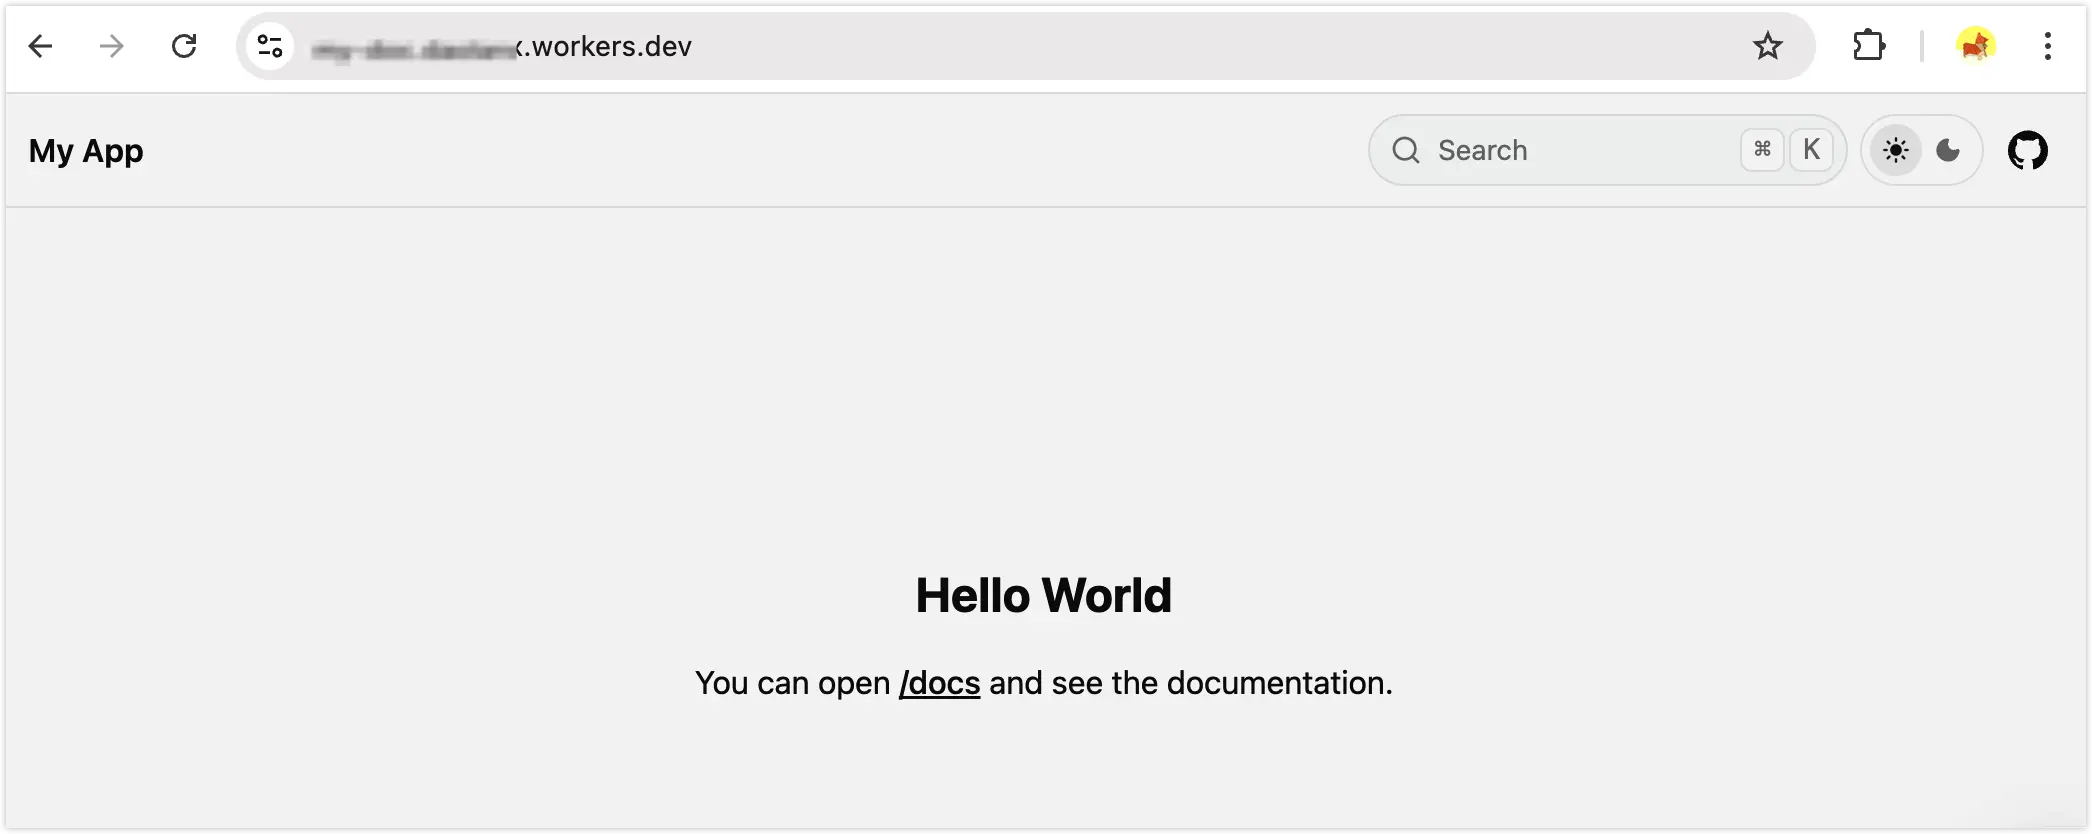
pnpm run preview # Build and preview your Cloudflare app locallypnpm run deploy # Deploy your app to Cloudflare WorkersAfter running pnpm run deploy, your site will be live on Cloudflare:
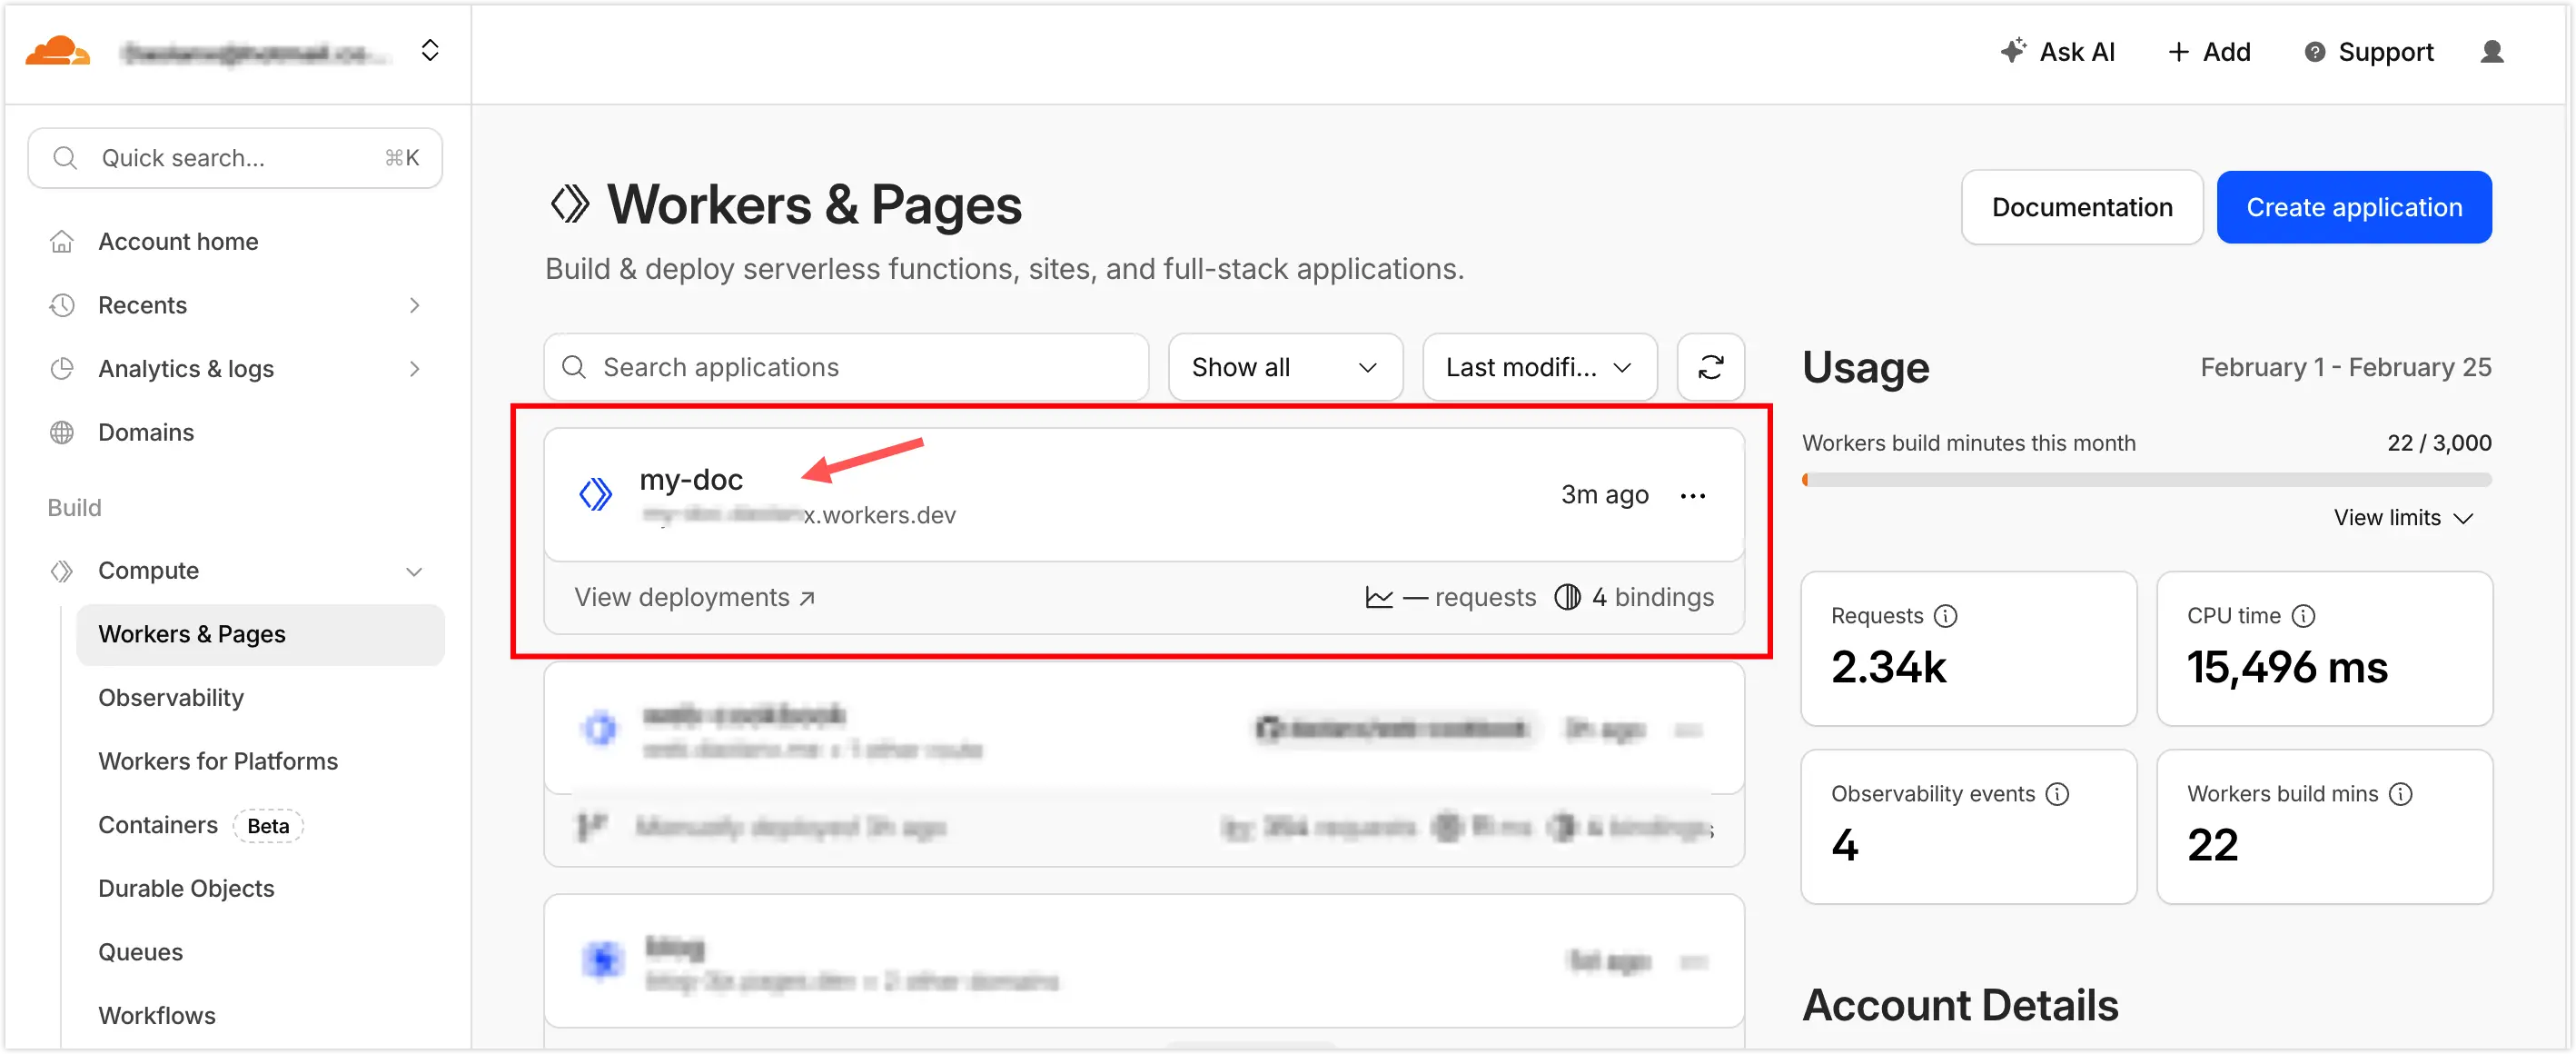
You can also see the app listed in the Workers & Pages dashboard:
5. Configure a Custom Domain
Set up a custom domain from the Workers & Pages console:
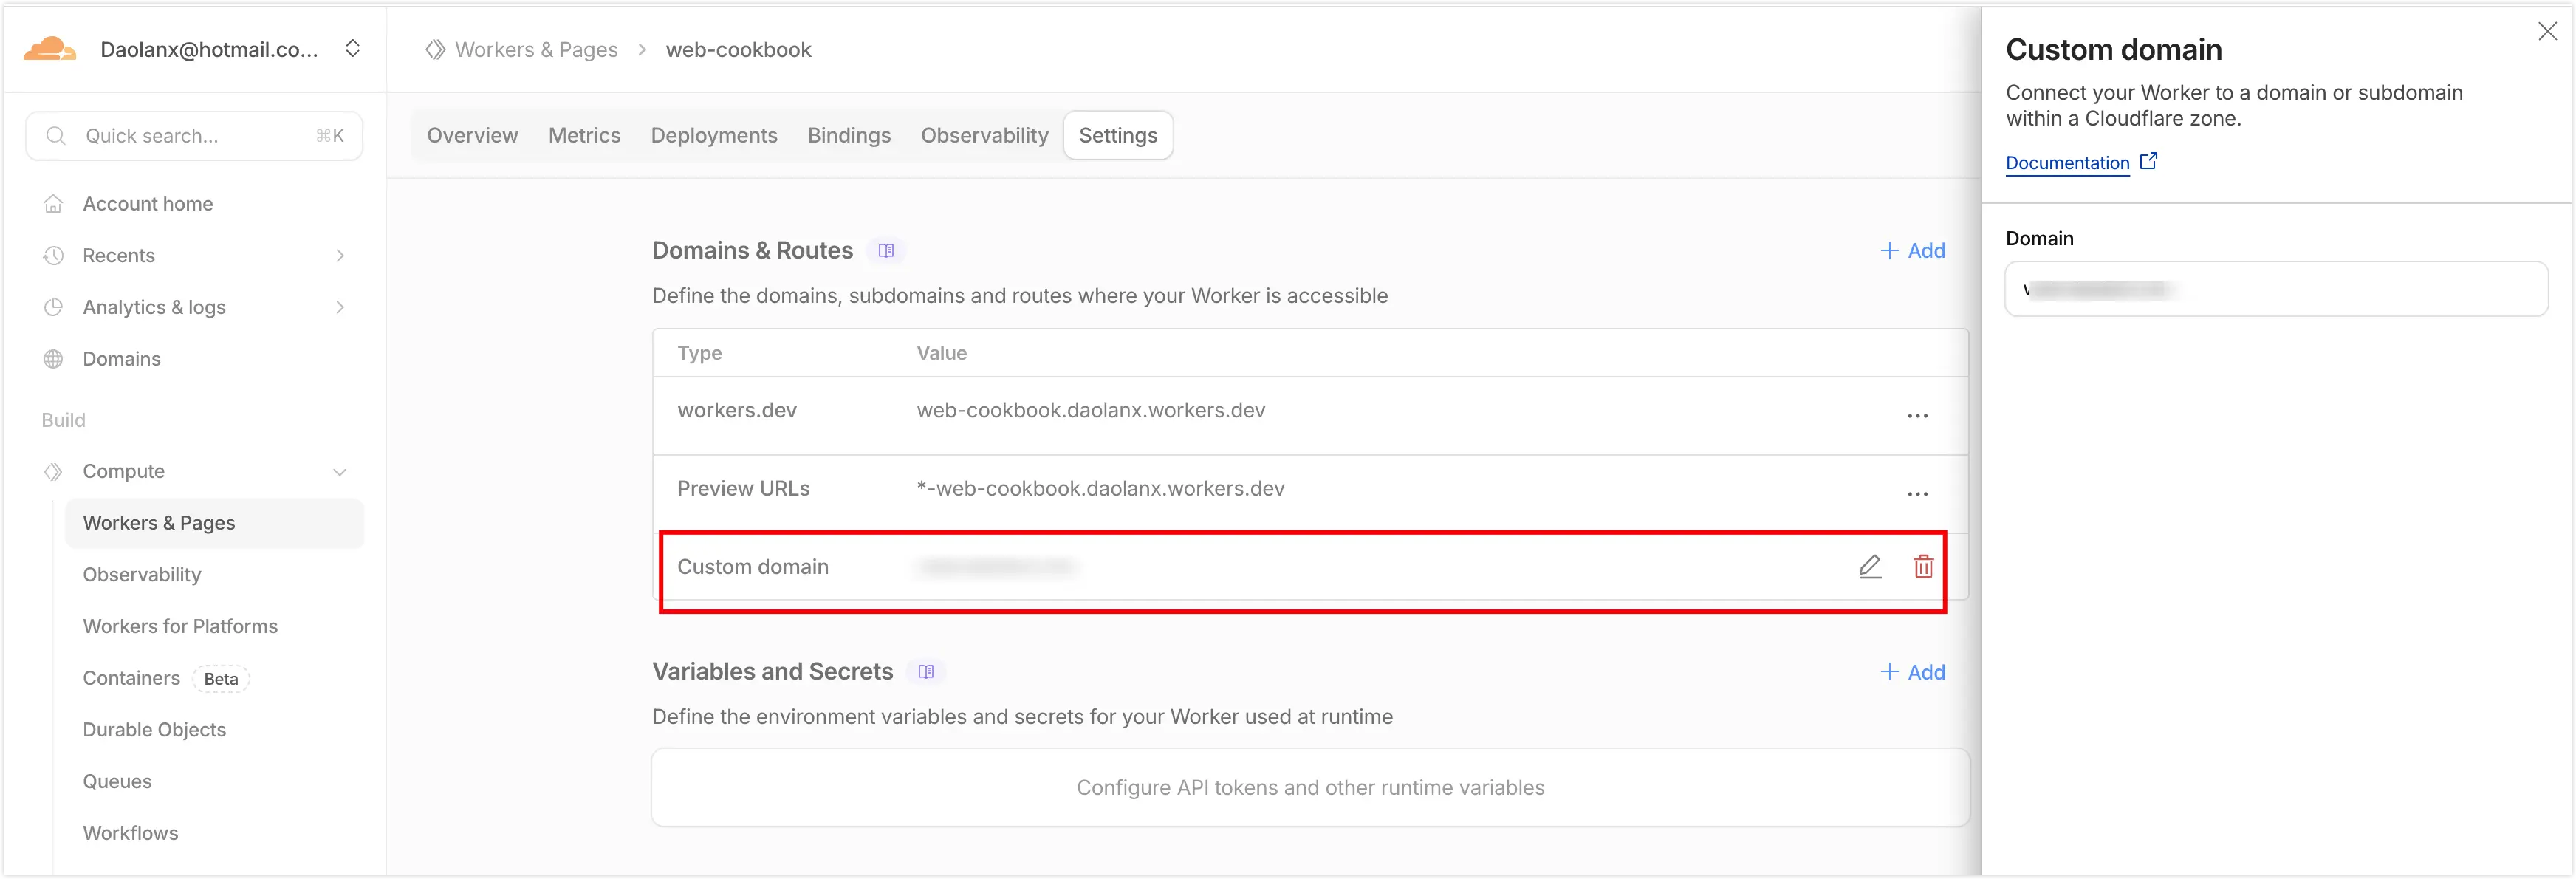
At this point, Fumadocs is deployed via Cloudflare Worker and accessible through your custom domain!
6. Auto Build & Deploy on Git Push
Deploying manually from your local machine makes version tracking and rollback harder. A better approach is to trigger builds and deployments automatically on every git push.
6.1 Update .gitignore
Add .dev.vars and .wrangler/ to avoid committing local credentials and build cache:
# OpenNext.open-next.dev.vars # Local environment variables, contains sensitive credentials.wrangler/ # Wrangler build cache6.2 Update scripts in package.json
Refer to opennext/get-started and adjust the build and deploy scripts, making sure build still points to the standard next build so the Cloudflare CI environment handles the rest.
Before
"scripts": { "build": "next build", "dev": "next dev", "start": "next start", "types:check": "fumadocs-mdx && next typegen && tsc --noEmit", "postinstall": "fumadocs-mdx", "lint": "biome check", "format": "biome format --write", "preview": "opennextjs-cloudflare build && opennextjs-cloudflare preview", "deploy": "opennextjs-cloudflare build && opennextjs-cloudflare deploy", "upload": "opennextjs-cloudflare build && opennextjs-cloudflare upload", "cf-typegen": "wrangler types --env-interface CloudflareEnv cloudflare-env.d.ts" },After
"scripts": { "dev": "next dev", "start": "next start", "build": "next build", "preview": "opennextjs-cloudflare build && opennextjs-cloudflare preview", "deploy": "opennextjs-cloudflare build && opennextjs-cloudflare deploy", "upload": "opennextjs-cloudflare build && opennextjs-cloudflare upload", "cf-typegen": "wrangler types --env-interface CloudflareEnv cloudflare-env.d.ts", "types:check": "fumadocs-mdx && next typegen && tsc --noEmit", "postinstall": "fumadocs-mdx", "lint": "biome check", "format": "biome format --write" },Once updated, commit and push to your git repository to trigger the Cloudflare build pipeline.
6.3 Link GitHub to Cloudflare and Configure Build Commands
In the Cloudflare Workers & Pages dashboard, go to the Settings → Build section for your Worker and set the build and deploy commands:
# Buildpnpm run build
# Deploypnpm run deploy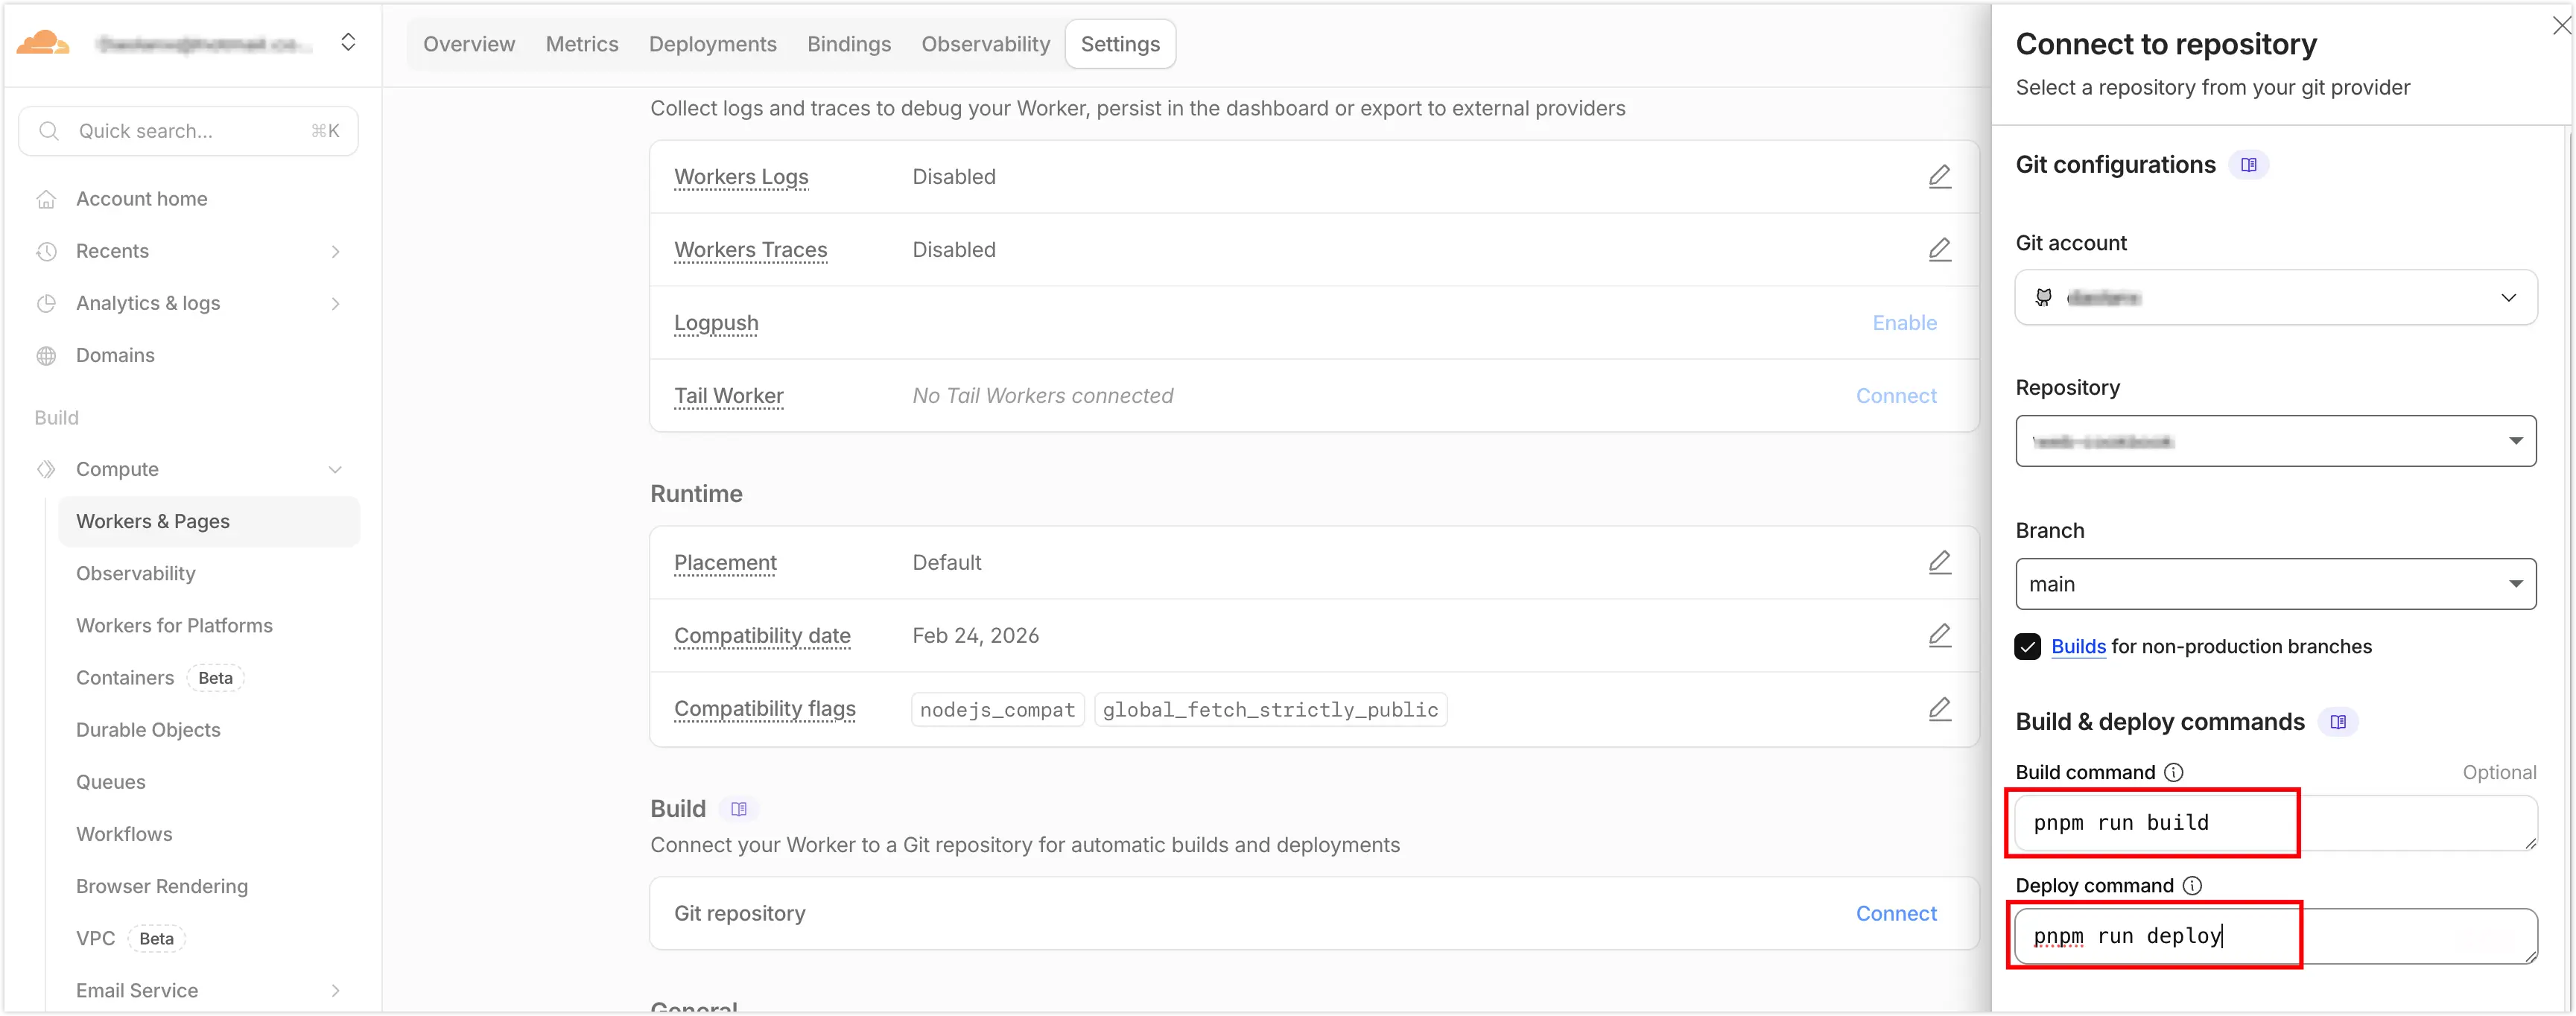
6.4 Verify That GitHub Commits Are Linked to Cloudflare Deployments
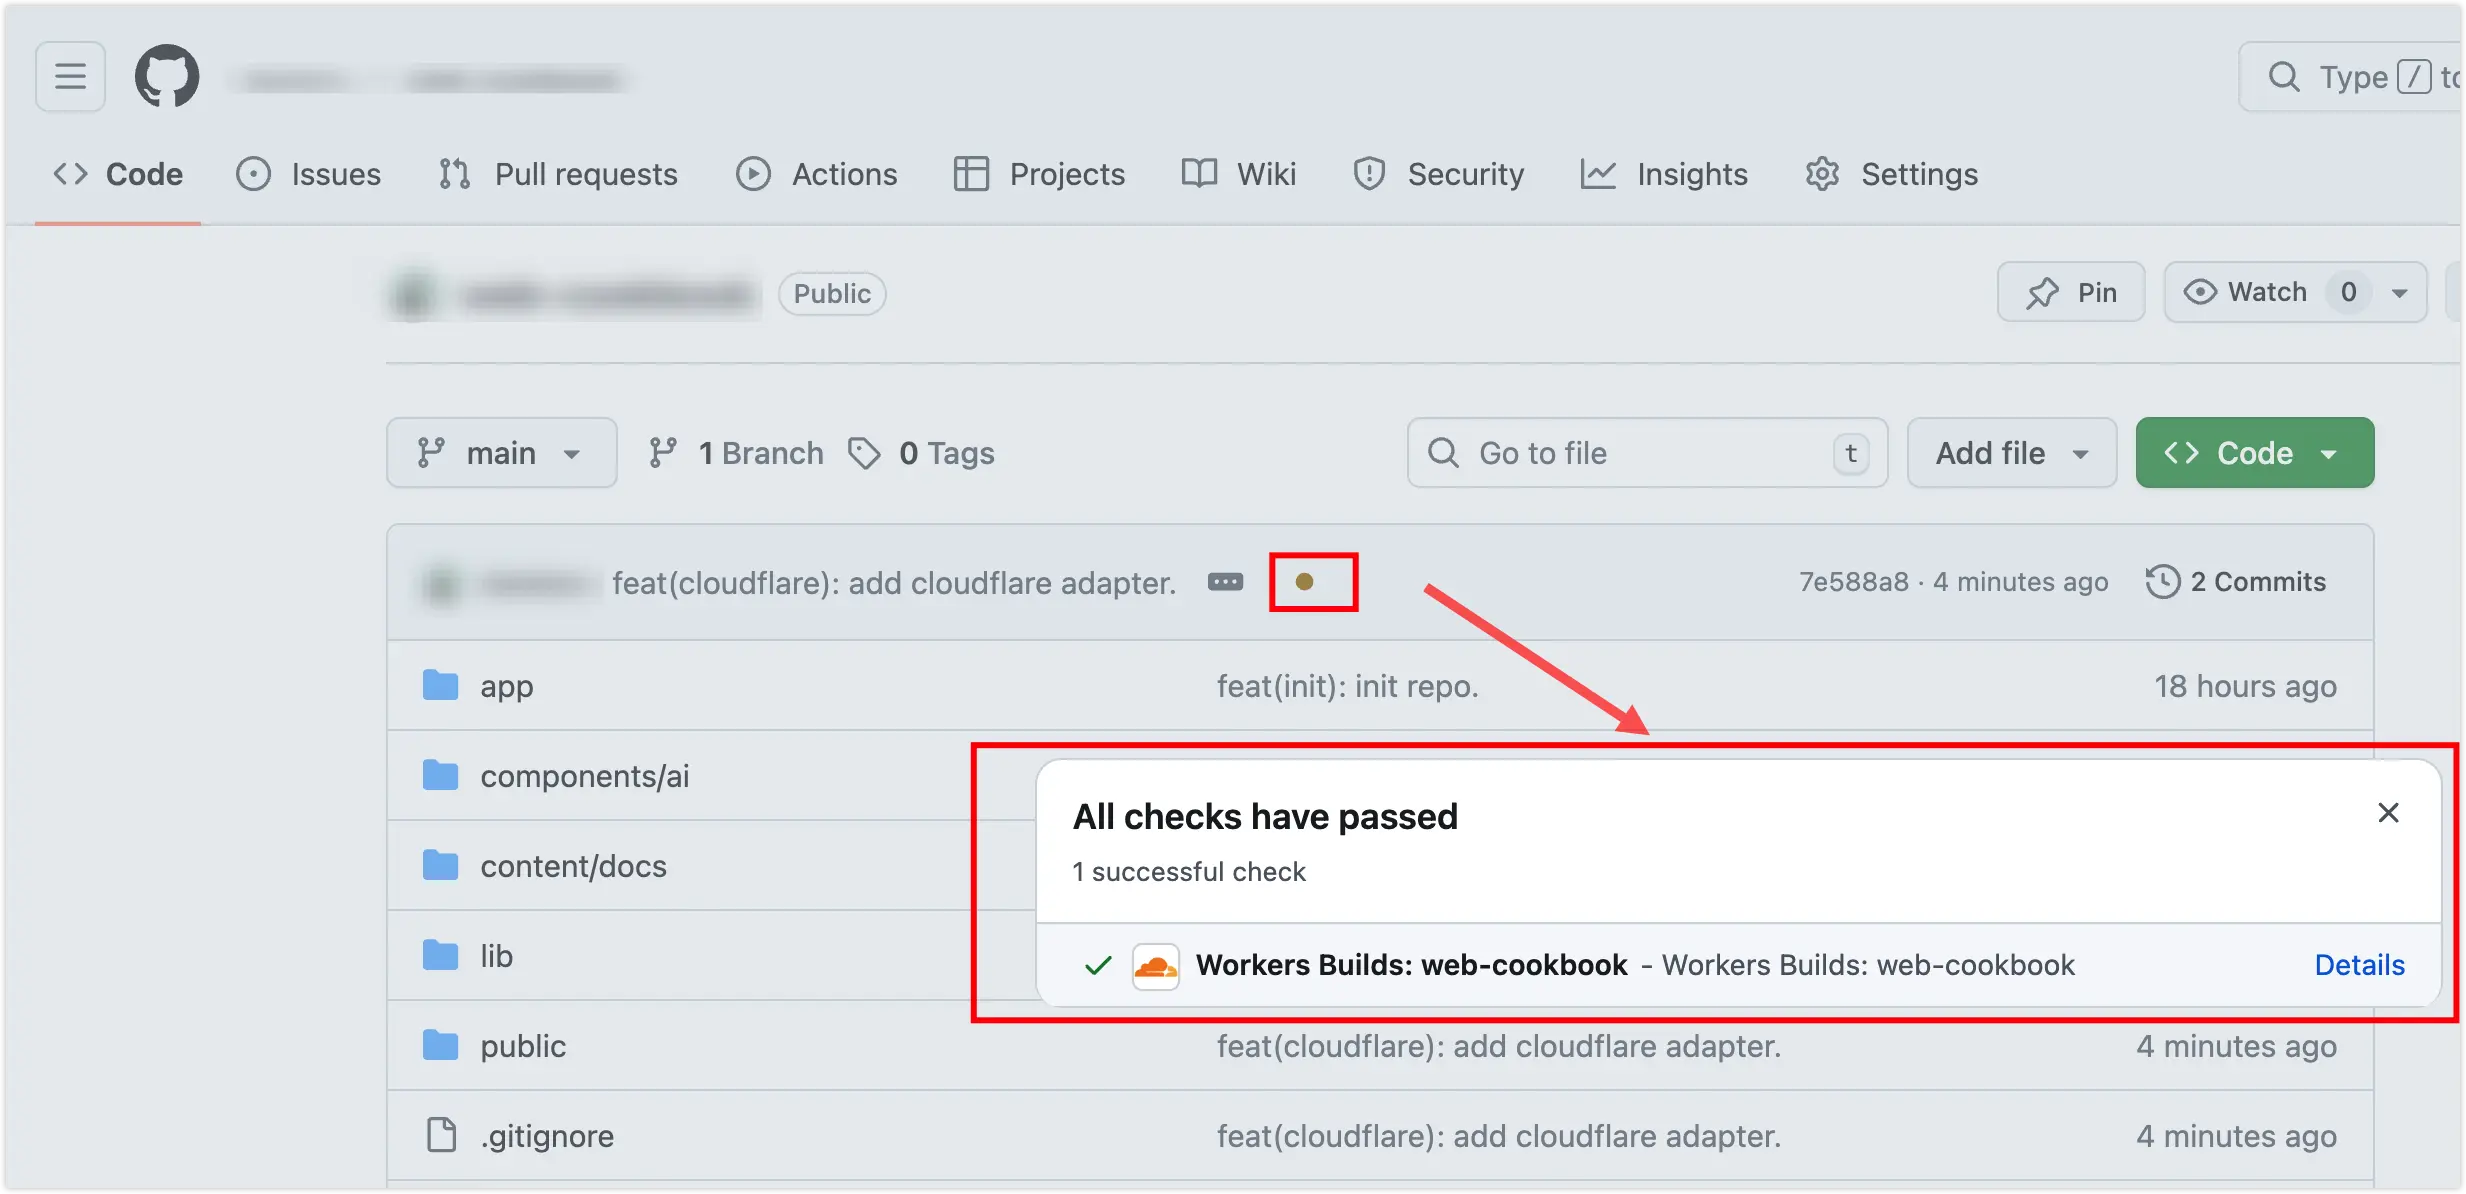
Click through to view the detailed build and deployment logs.
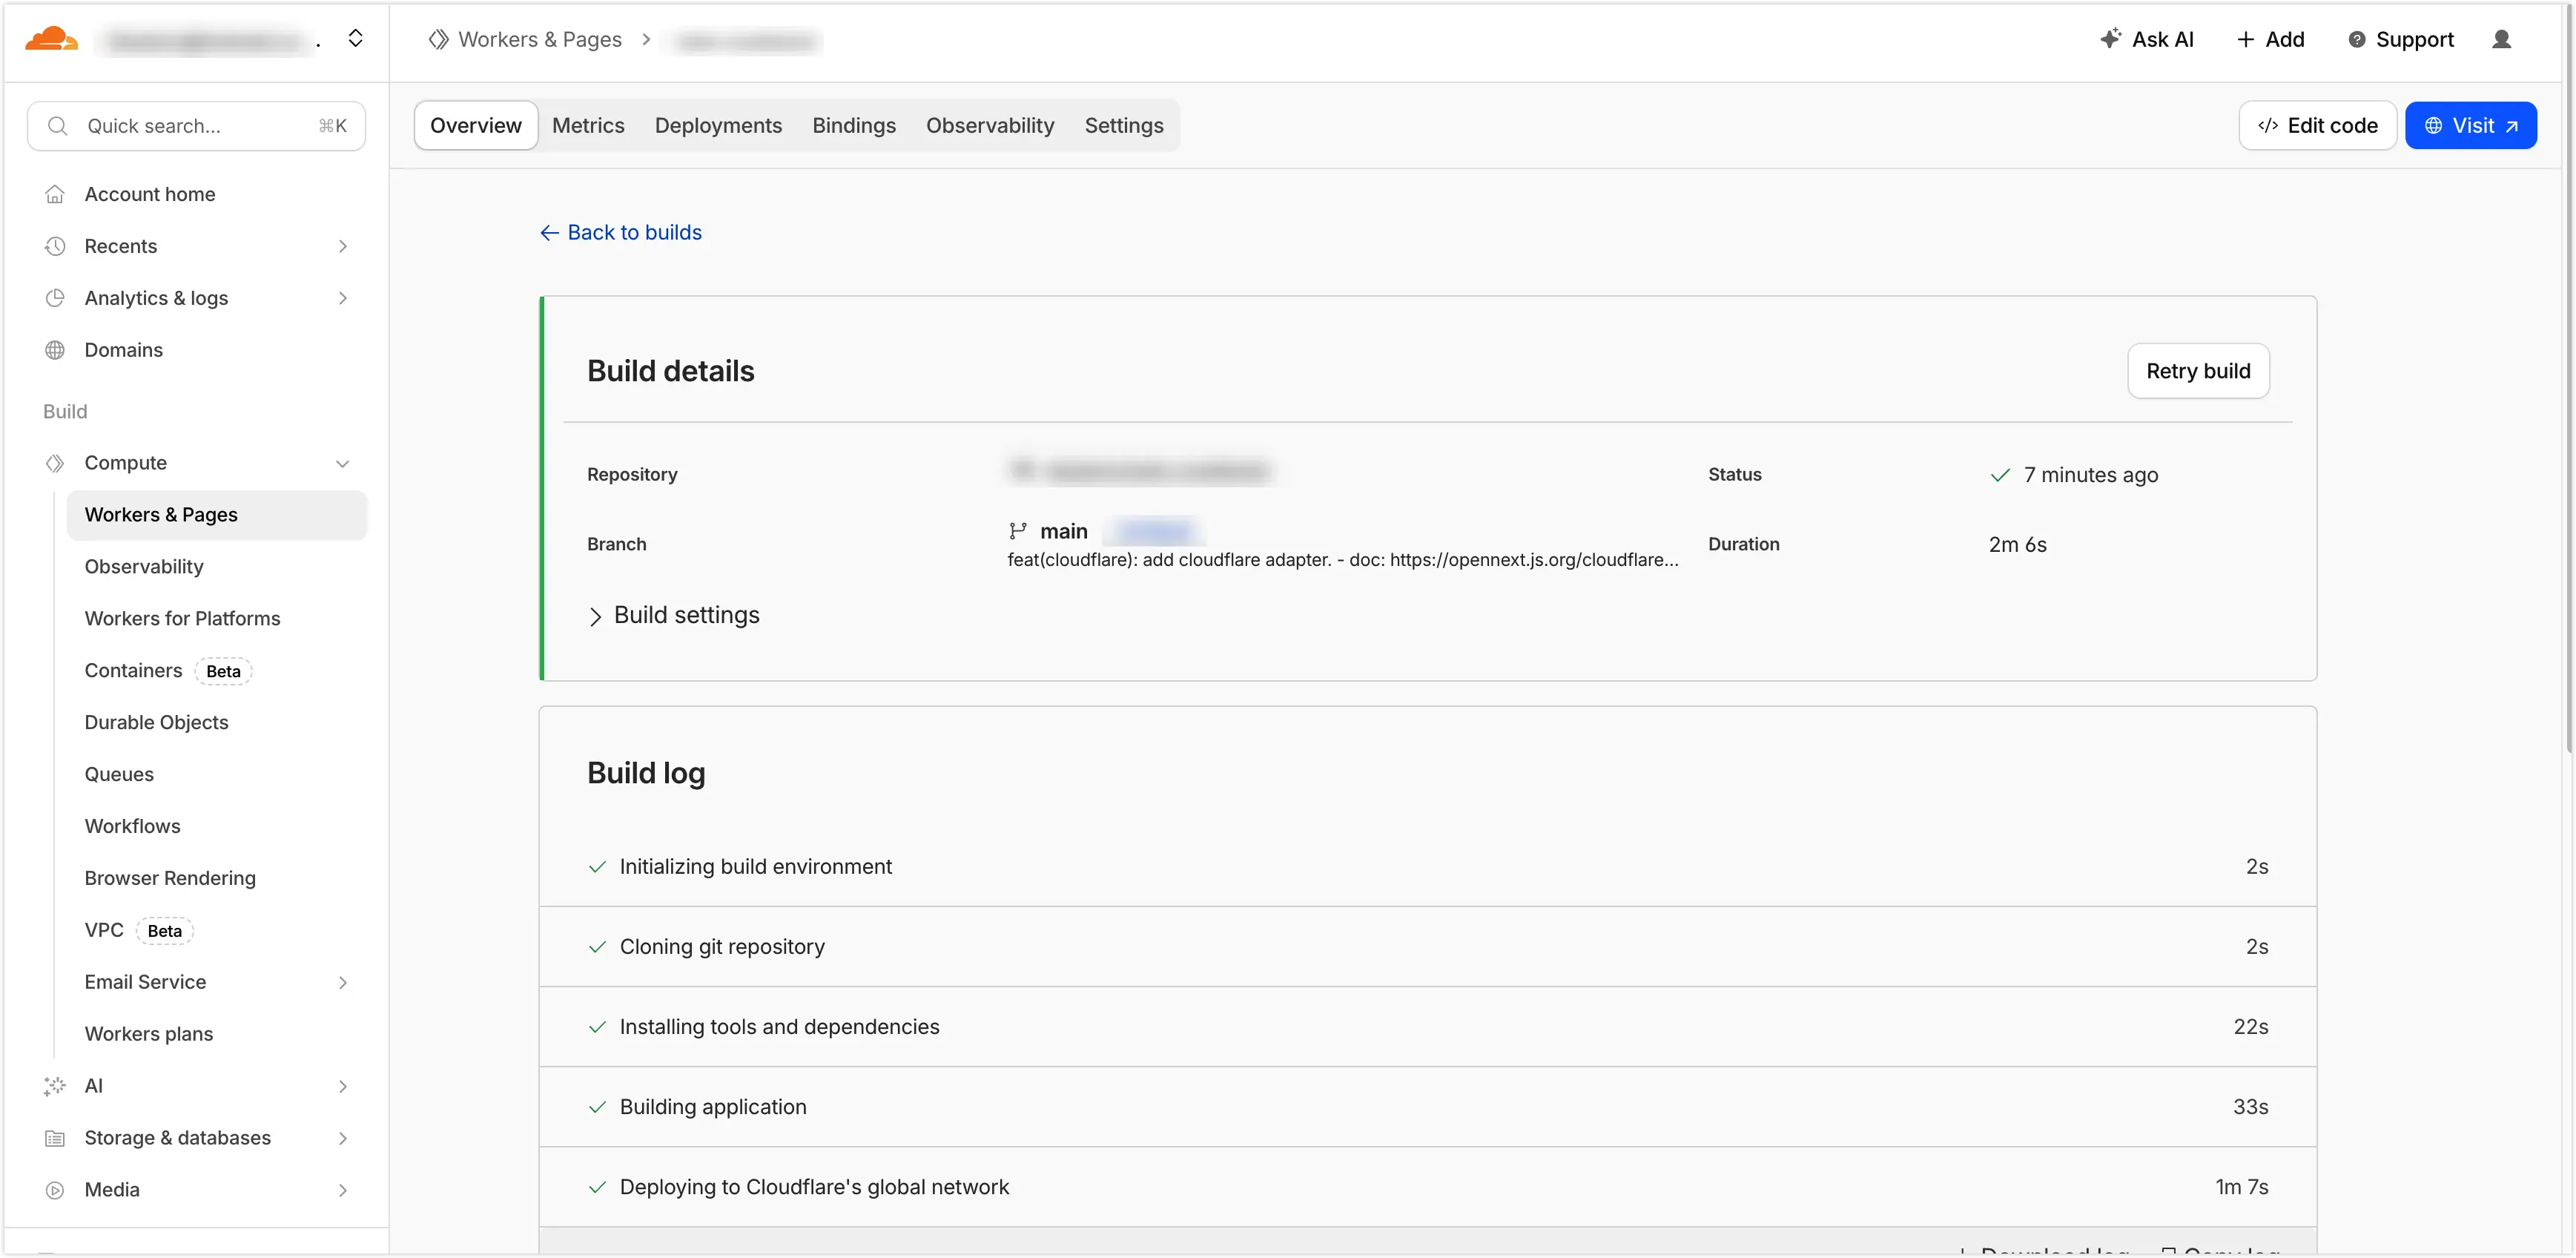
That’s it — your Fumadocs documentation site is now automatically built and deployed to Cloudflare Workers on every git push!
7. Pricing
The free tier includes 100,000 Workers requests per day and 10 GB of R2 storage per month, with egress always free. For a personal documentation site, you’re unlikely to incur any charges. See Cloudflare’s official pricing for details.