The Result
Let’s jump straight to the outcome. I used the Flower Delivery website design from the Figma Community.

Using AI-generated code, here is the final web result: Live Demo
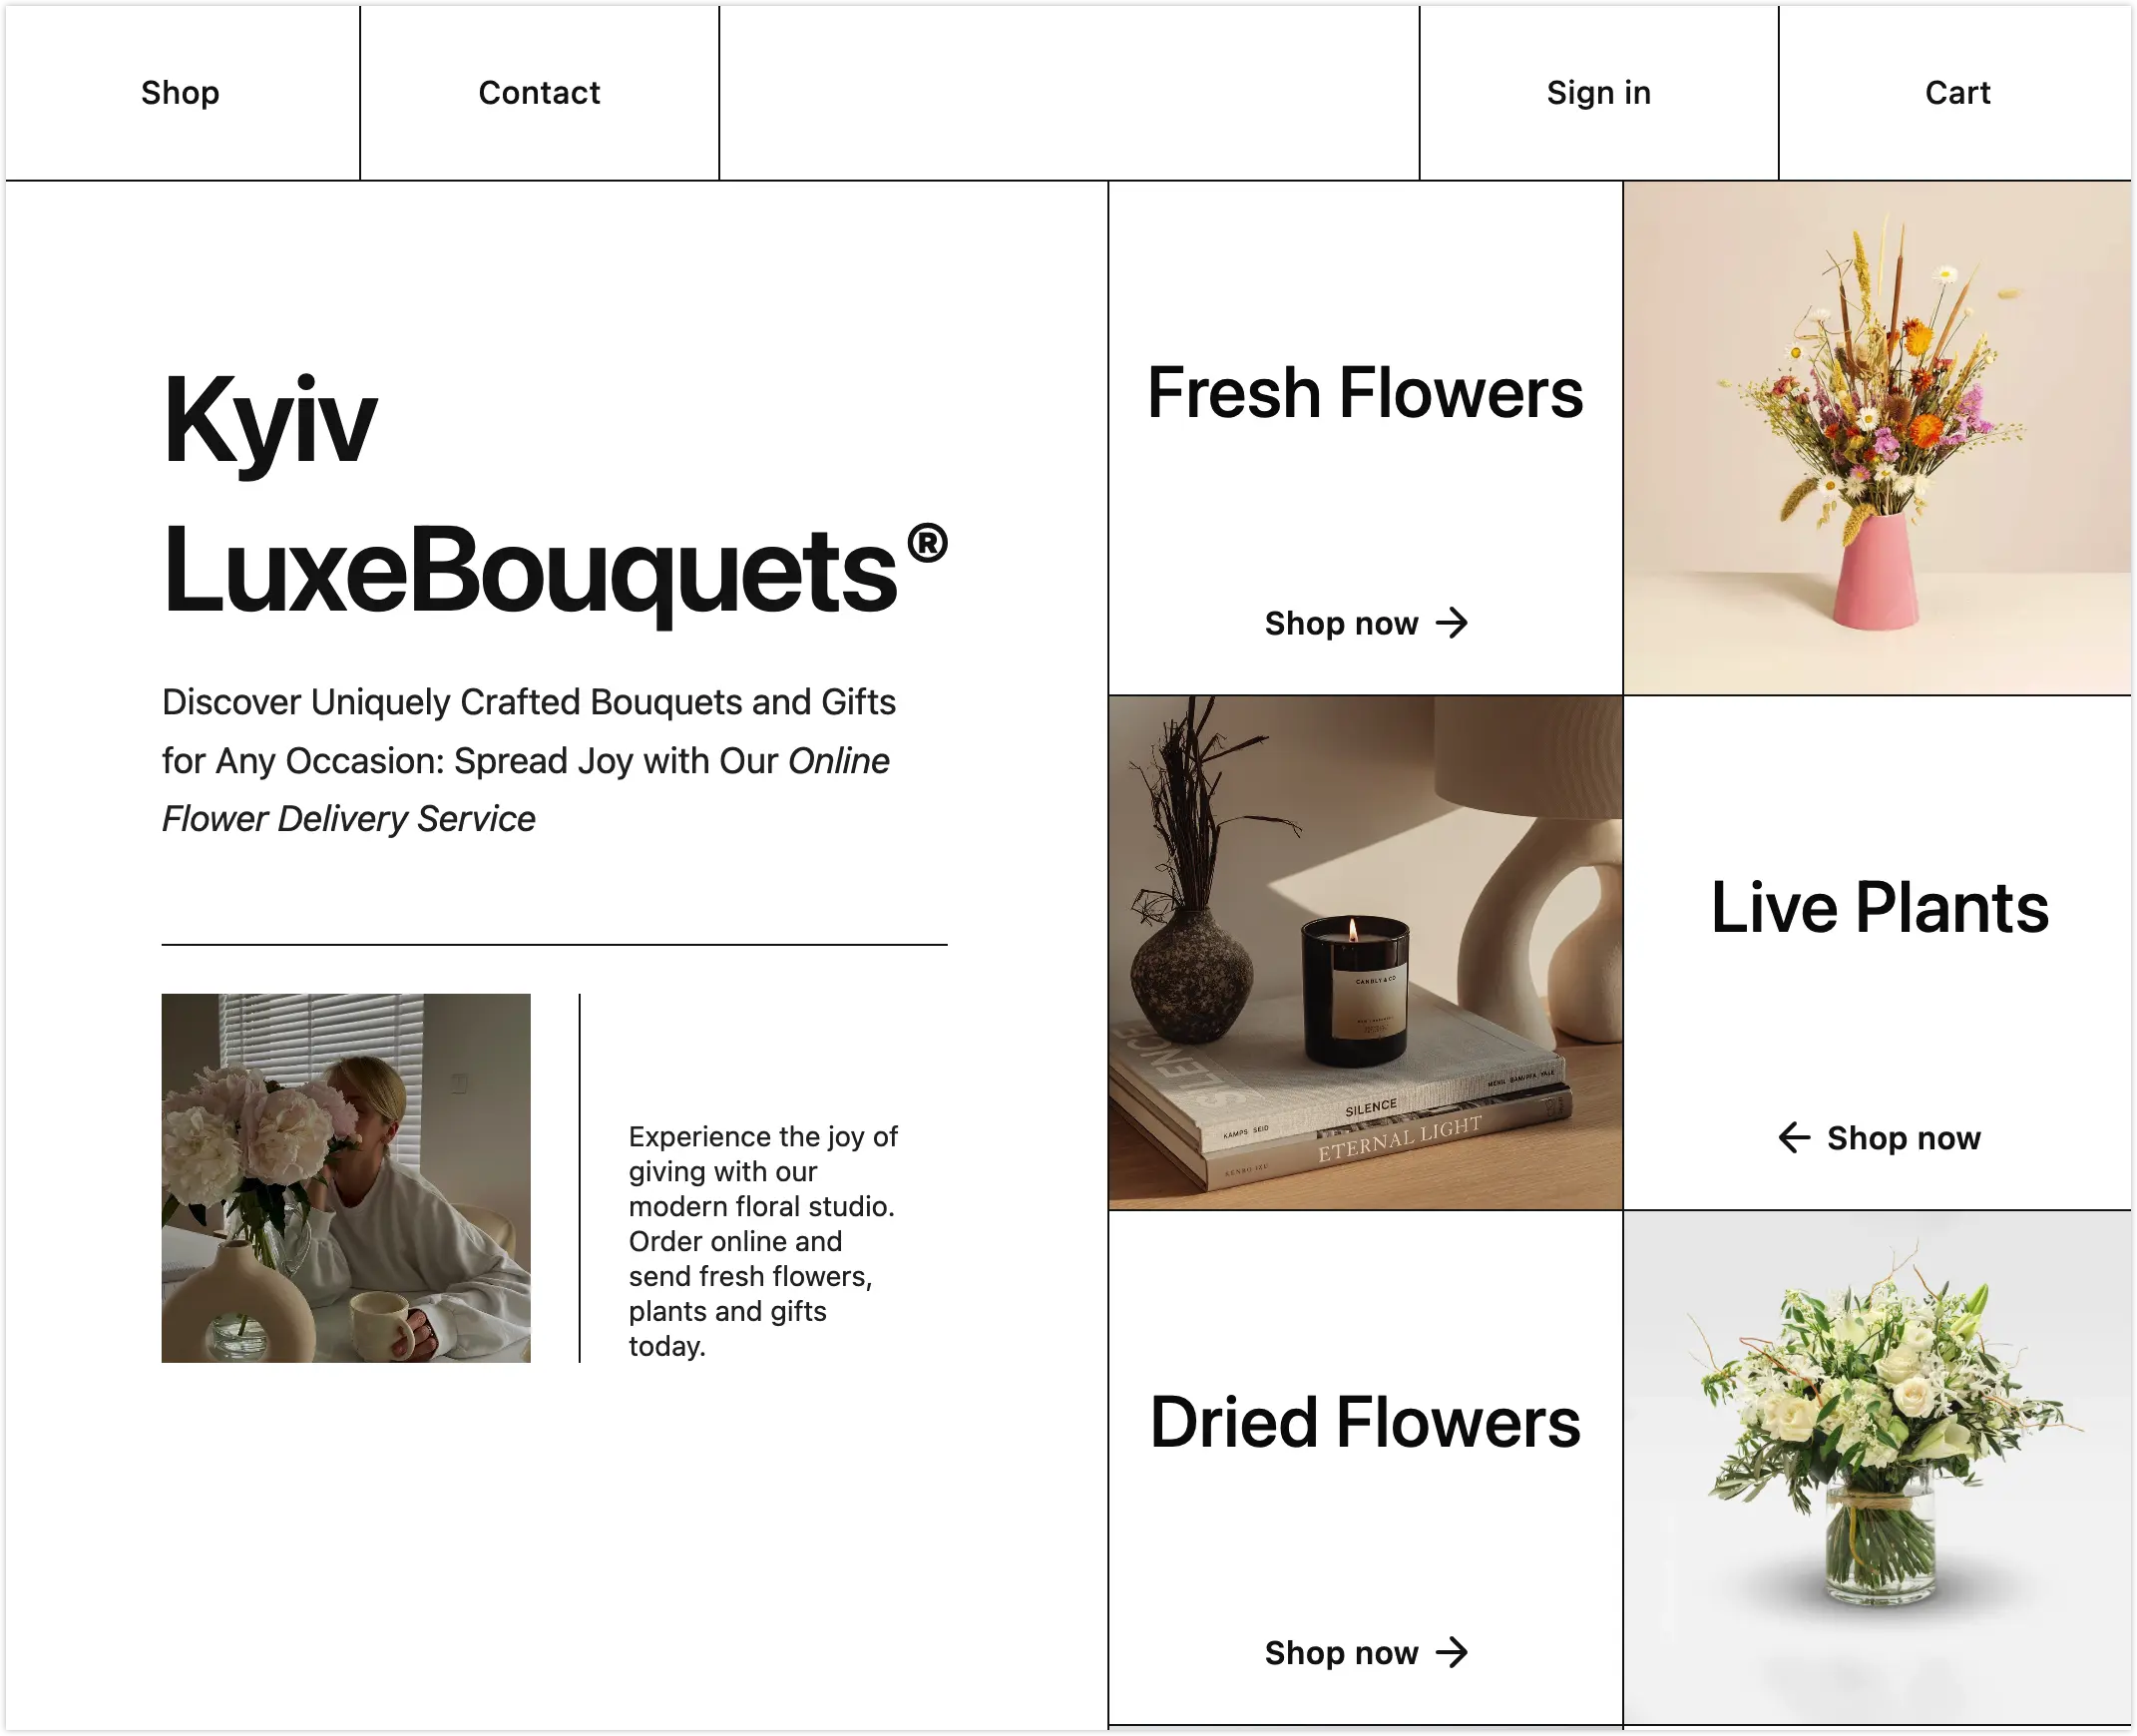
While the Figma Community is flooded with paid plugins promising “high-precision design-to-code,” the combination of Claude Code and the Figma MCP offers a powerful, free alternative that hits about 70% fidelity right out of the gate. With a developer’s touch for fine-tuning, you can quickly produce production-ready code. Here is the step-by-step implementation.
Implementation Steps
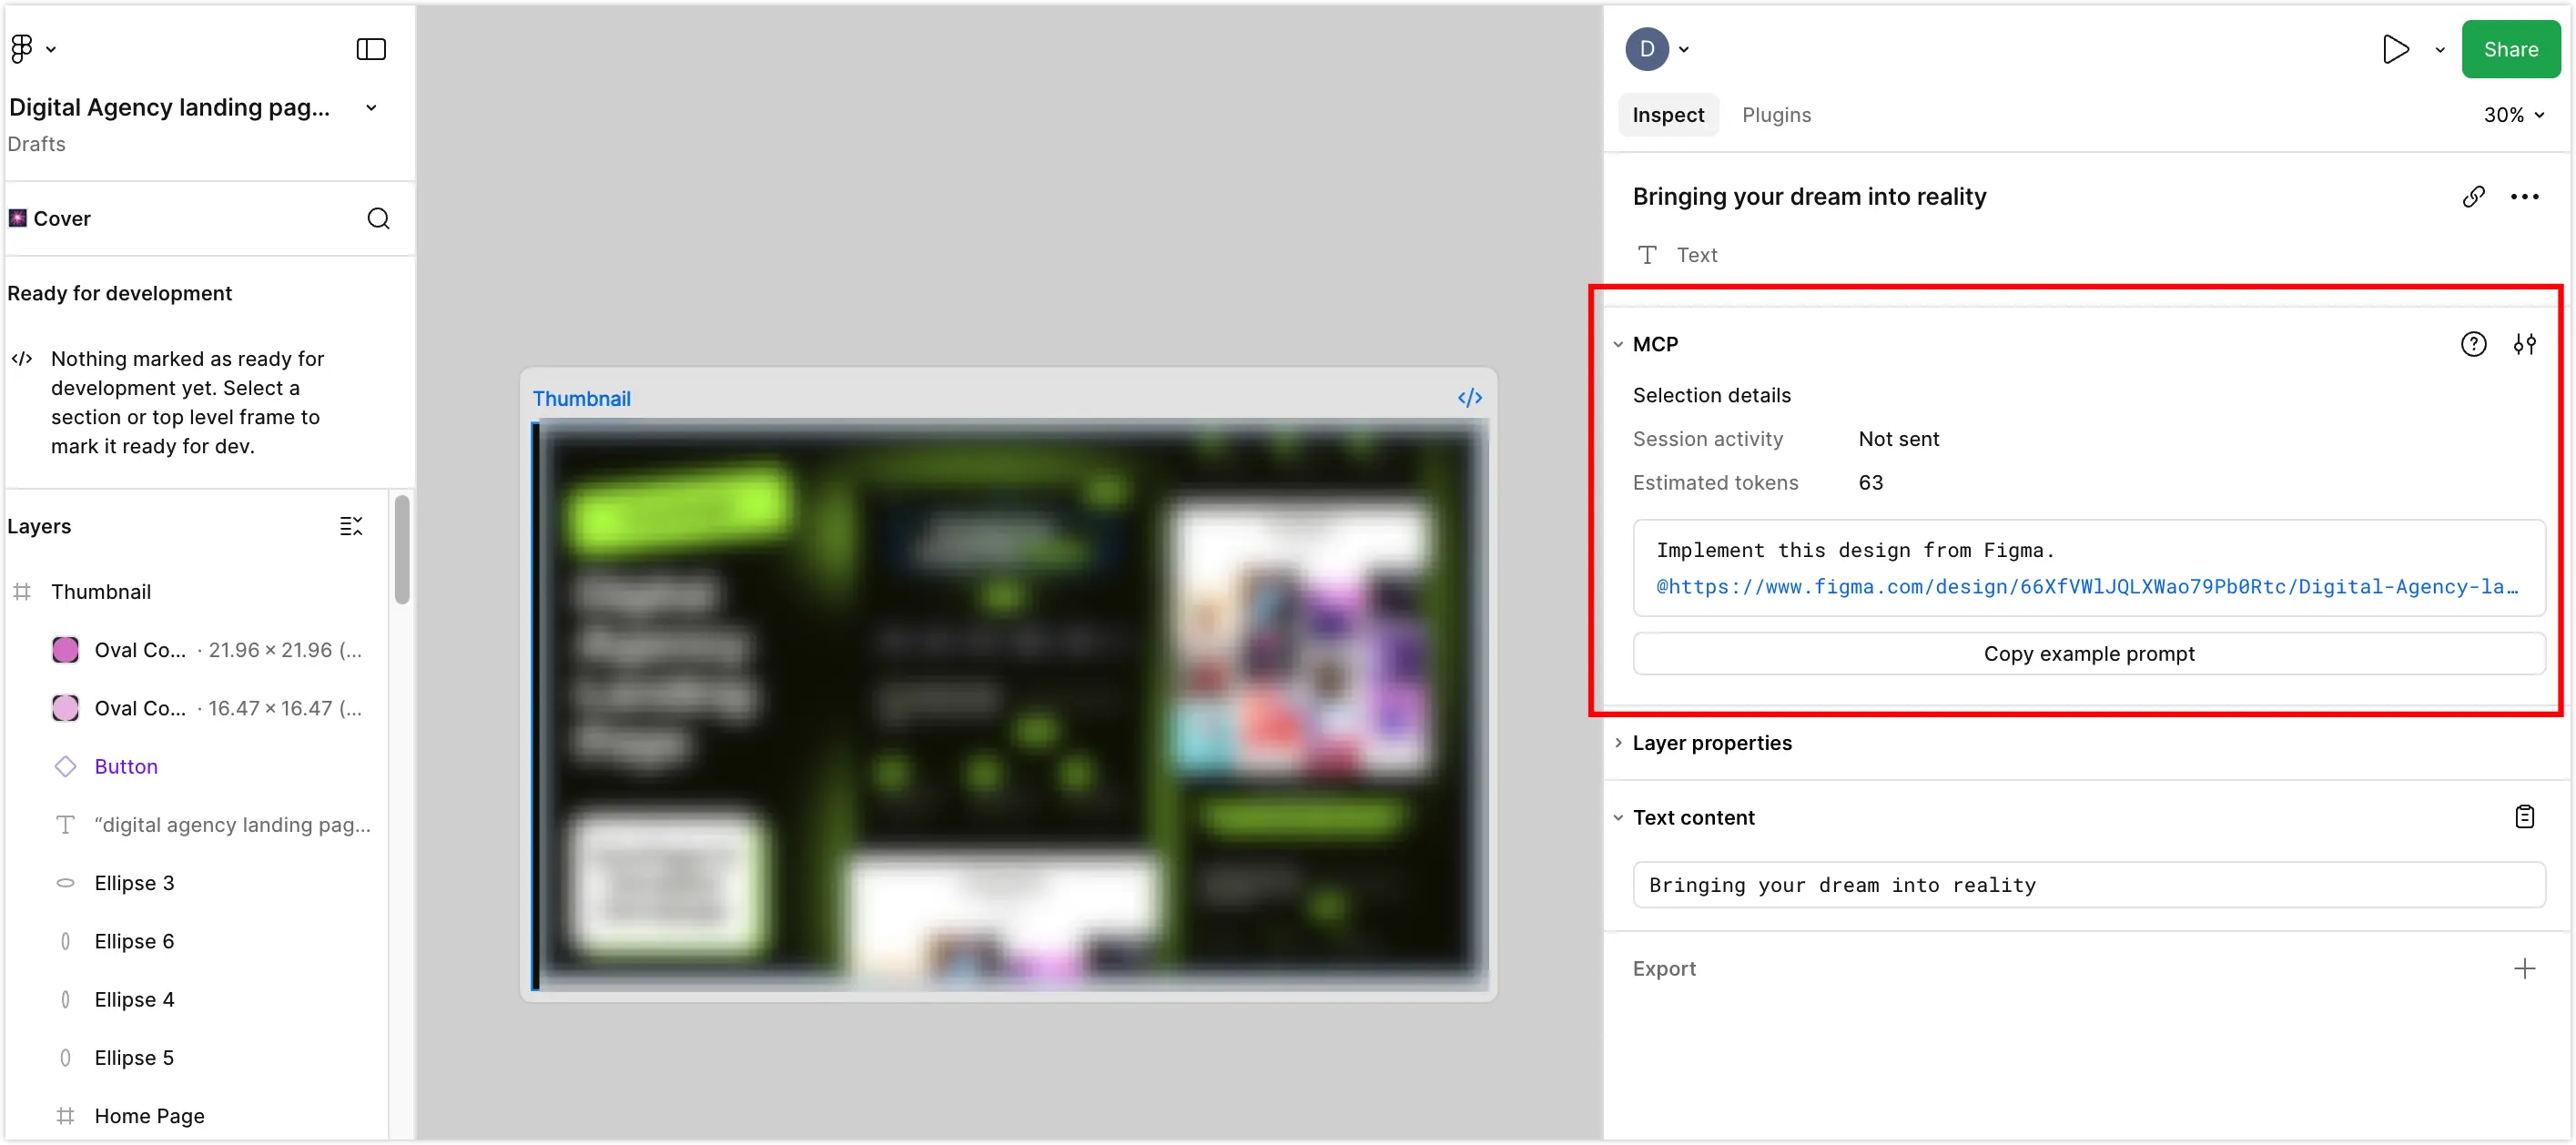
1. Enable Figma Dev Mode
Dev Mode not only provides a panel for inspecting code and properties, but more importantly, it is a prerequisite for accessing Figma’s official MCP server. You can refer to the Figma Seat Documentation to enable Dev Mode permissions for your account.
2. Environment Setup and Installation
2.1 Install Claude Code
Refer to the Claude Code Installation Guide to complete the basic installation.
2.2 Install Figma MCP
Compared to simple “screenshot-to-code,” integrating Figma MCP allows AI to directly read design layer information, precise CSS properties, and Flexbox/Auto Layout rules—significantly improving component segmentation granularity and conversion accuracy.
It is recommended to install via the official Figma plugin first:
claude plugin install figma@claude-plugins-officialFallback: If the plugin installation fails, you can add it directly via MCP:
claude mcp add --transport http figma https://mcp.figma.com/mcp2.3 Install Playwright MCP
The benefit of adding Playwright MCP is that after generating code, AI can directly call a headless browser to capture screenshots and visually compare them with the original design—enabling automated accuracy refinement. Again, prefer the plugin installation; if it fails, refer to the Playwright MCP Installation Guide to install via MCP directly.
claude plugin install playwright@claude-plugins-officialFallback: If the plugin installation fails, refer to the Playwright MCP Installation Guide to install via MCP:
claude mcp add playwright npx @playwright/mcp@latestNote: The anthropics/claude-plugins-official plugin marketplace can be unstable in newer versions—refer to Reddit for troubleshooting.
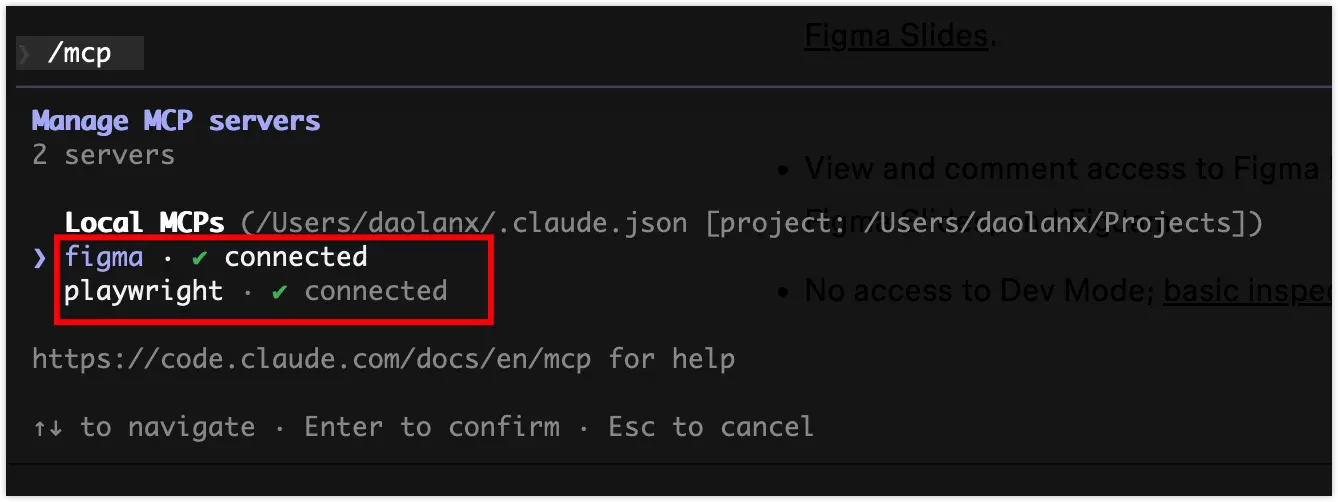
2.4 Verify MCP Status
Run /mcp in the Claude CLI. If both figma and playwright show as connected, the environment is ready.
3. Core Prompt Logic: Managing the Attention Window
Refer to Claude Code Best Practices for practical suggestions like: step-by-step, explicit, clear, contextual, verifiable, etc.
Rather than memorizing these rules, it’s better to understand why they are recommended. Reading the best practices document reminded me of the seminal paper Attention Is All You Need (2017). The Transformer architecture is the core technology behind today’s large language models. Prompts are essentially guidance and management of attention. My understanding is that to use prompts effectively, we need to focus on the “attention window”—both in terms of content (being concise and focused) and in terms of steps (ensuring granularity, clarity, accuracy, and verifiability)—to reduce AI’s contextual searching and speculation, thereby improving execution accuracy.
With the environment and understanding above in place, the subsequent operations become relatively straightforward.
4. Code Generation Steps
4.1 Initialize Next.js Project
Step-by-step development reduces context complexity and improves conversion progress. Before converting designs to code, you can focus on completing the scaffold setup first.
Please generate a Next.js project scaffold with the following stack:App Router, Tailwind CSS, TypeScript, Biome, and pnpm.
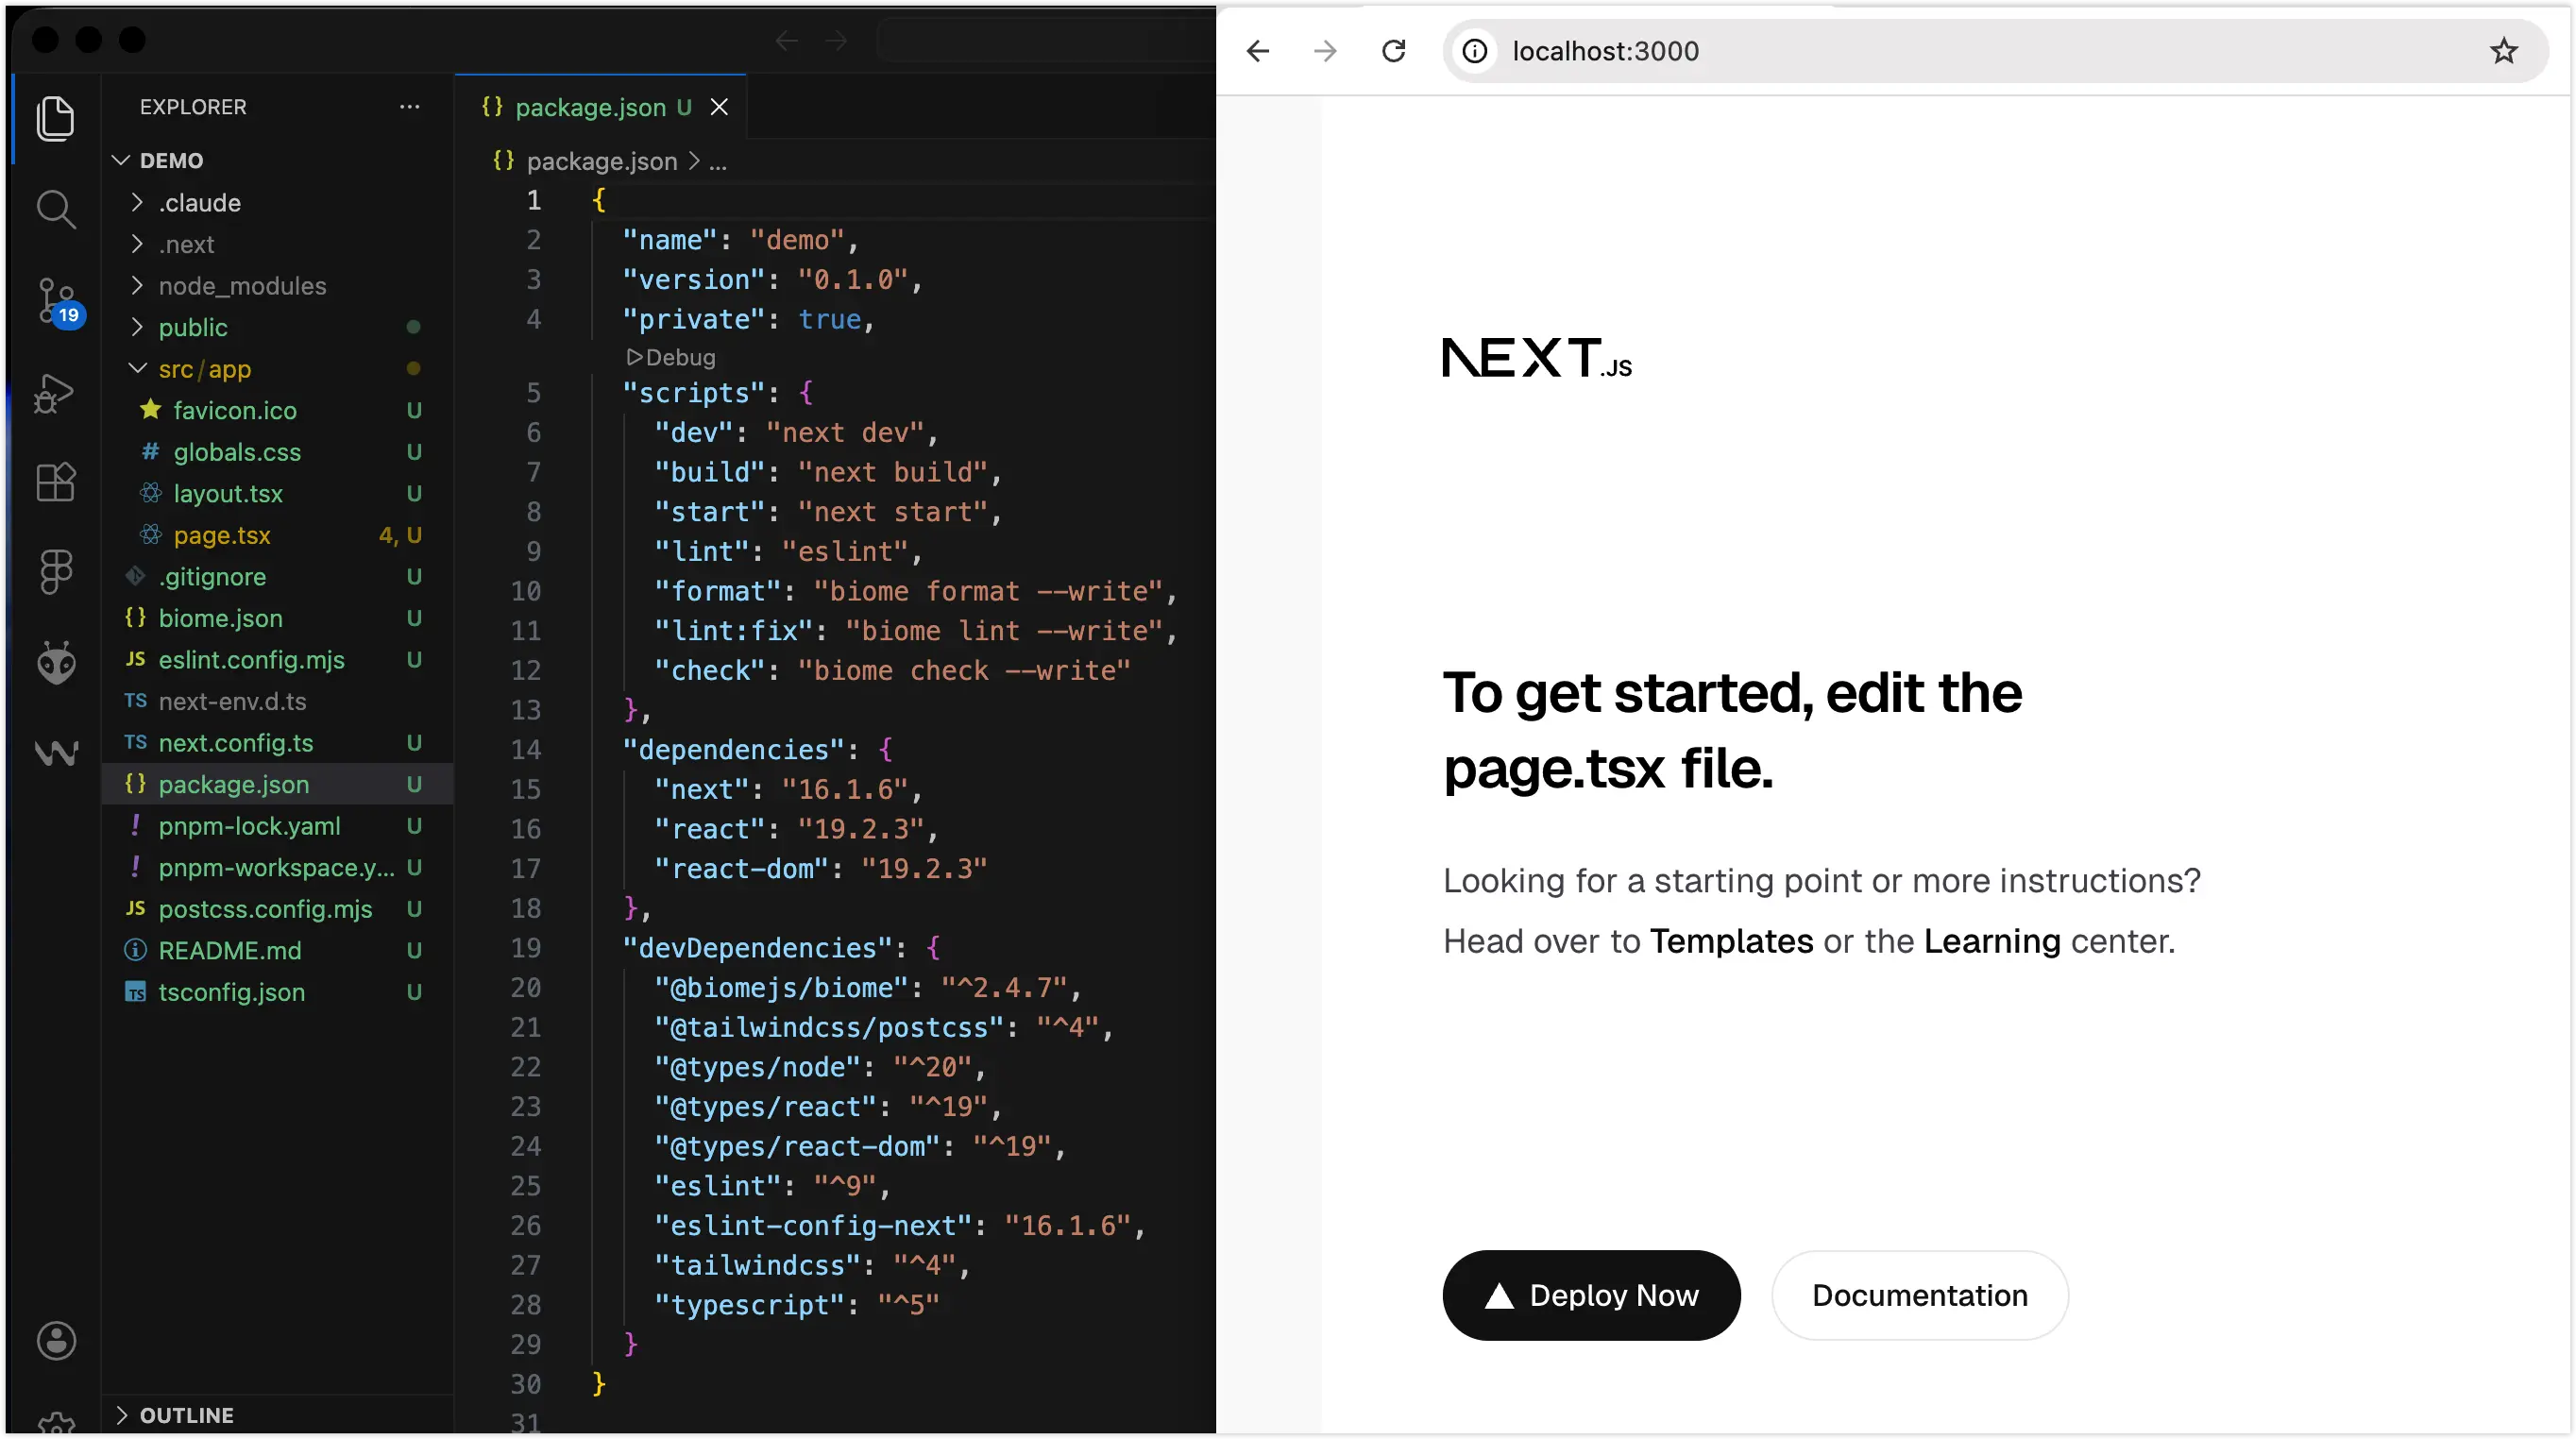
With a concise and clear prompt, Claude Code completed the scaffold setup as expected.
You can have it commit to git at each stage to build methodically.

4.2 Inject Design by Module
Taking the homepage as an example, designs typically include multiple responsive sizes. Here’s a tip: switch to Claude’s Plan mode first and ask what format of information works best for it.
I have three sets of design specs for different screen sizes. When generating code from Figma, do you find it more efficient to process them size-by-size (top-to-bottom for each), or would it be better for you if I provide the same module across all sizes in one batch?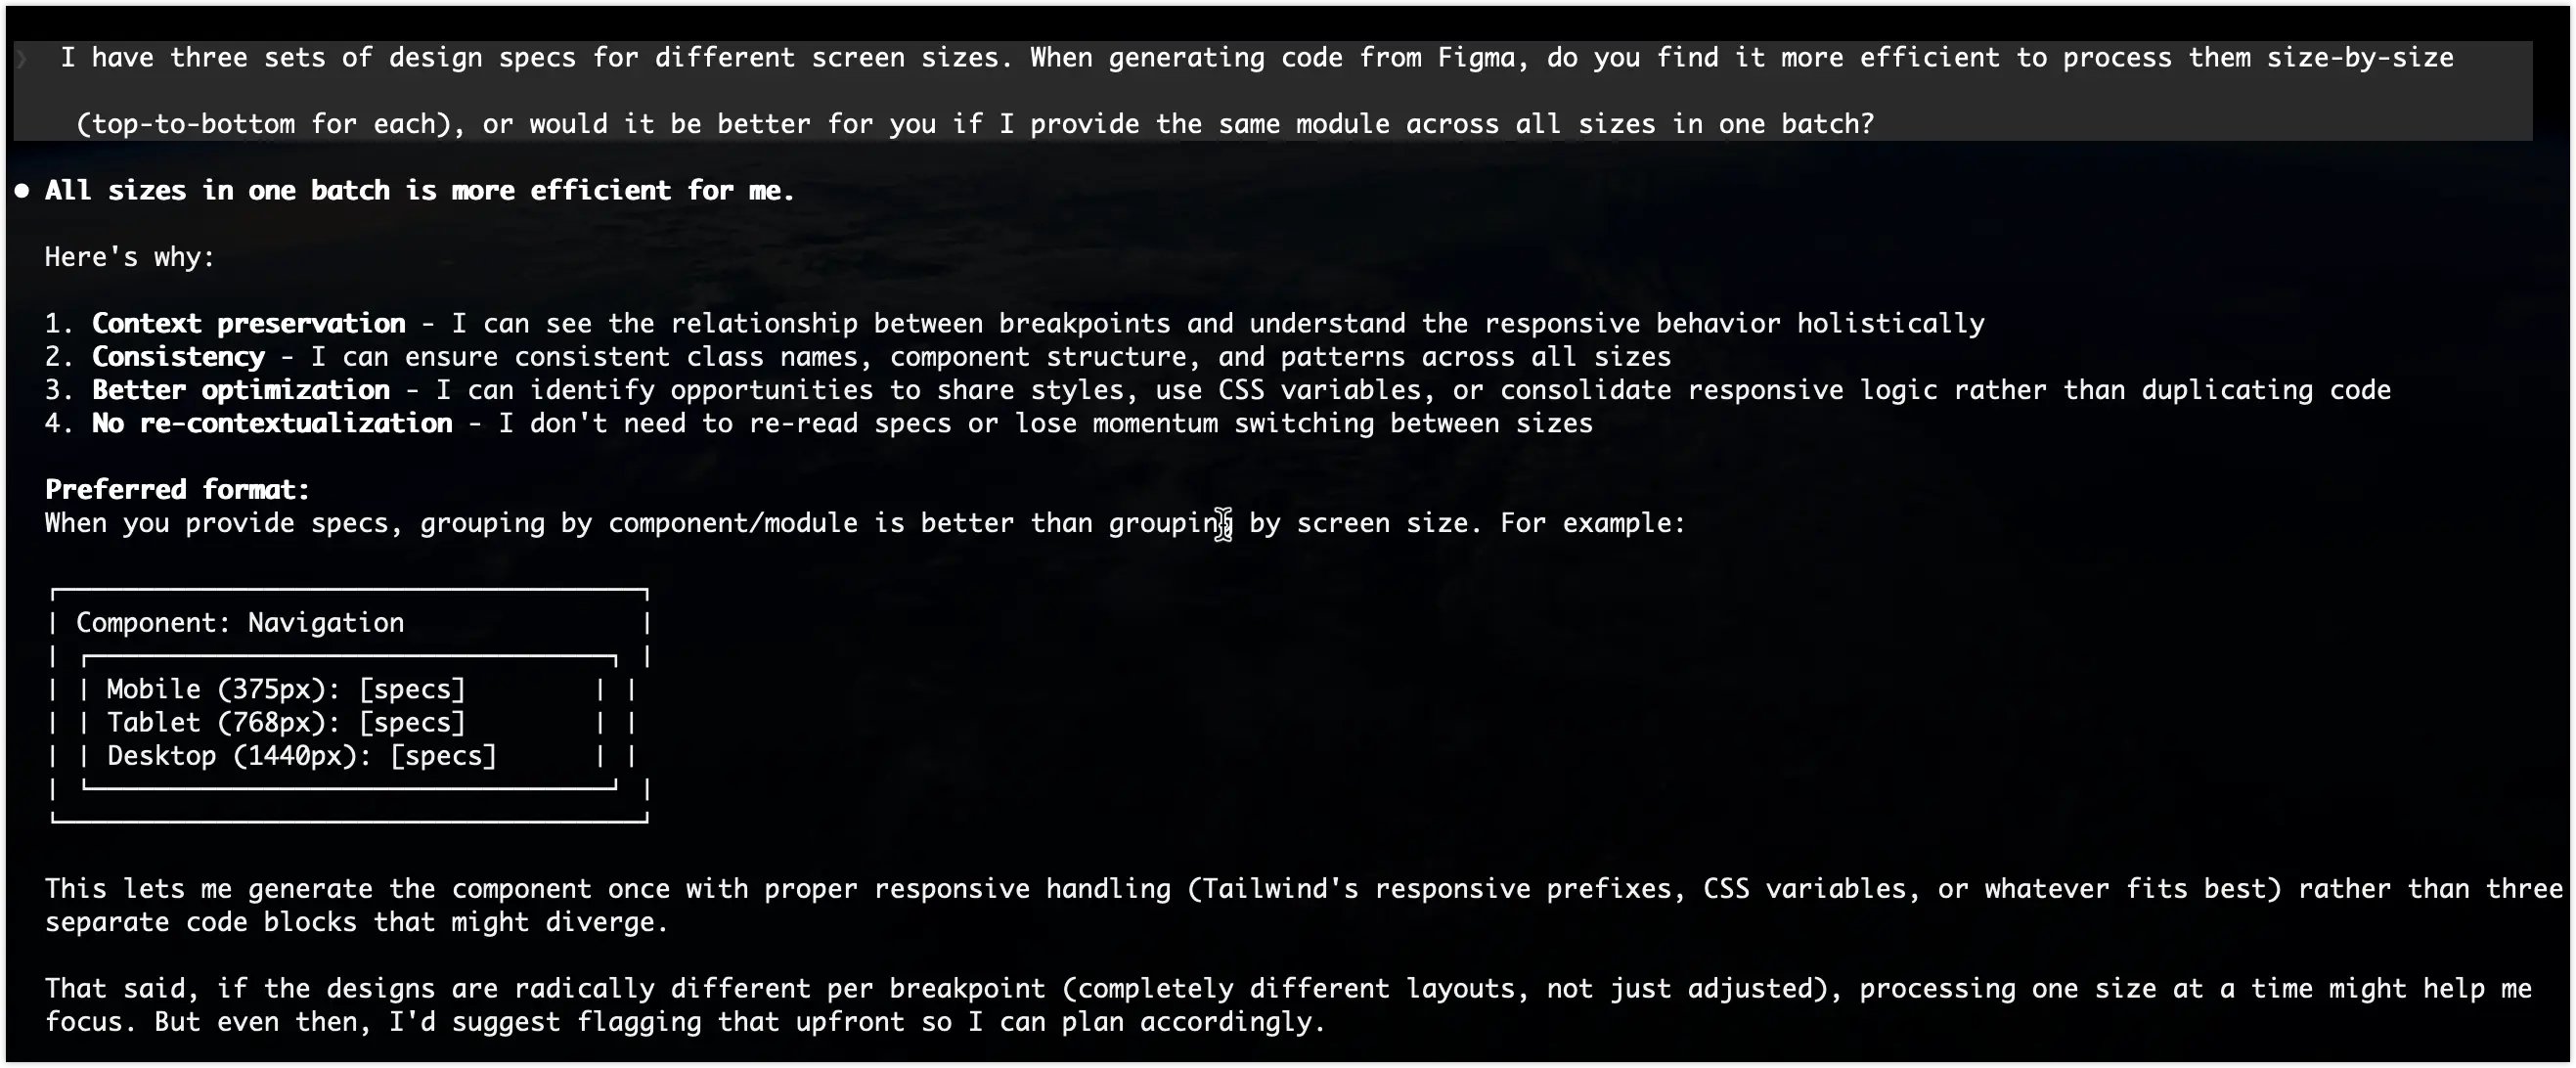
Claude’s feedback: Receiving all sizes of the same module together is most convenient. So in Figma, we select multiple sizes of the same module, right-click to copy the link, and add a prompt:
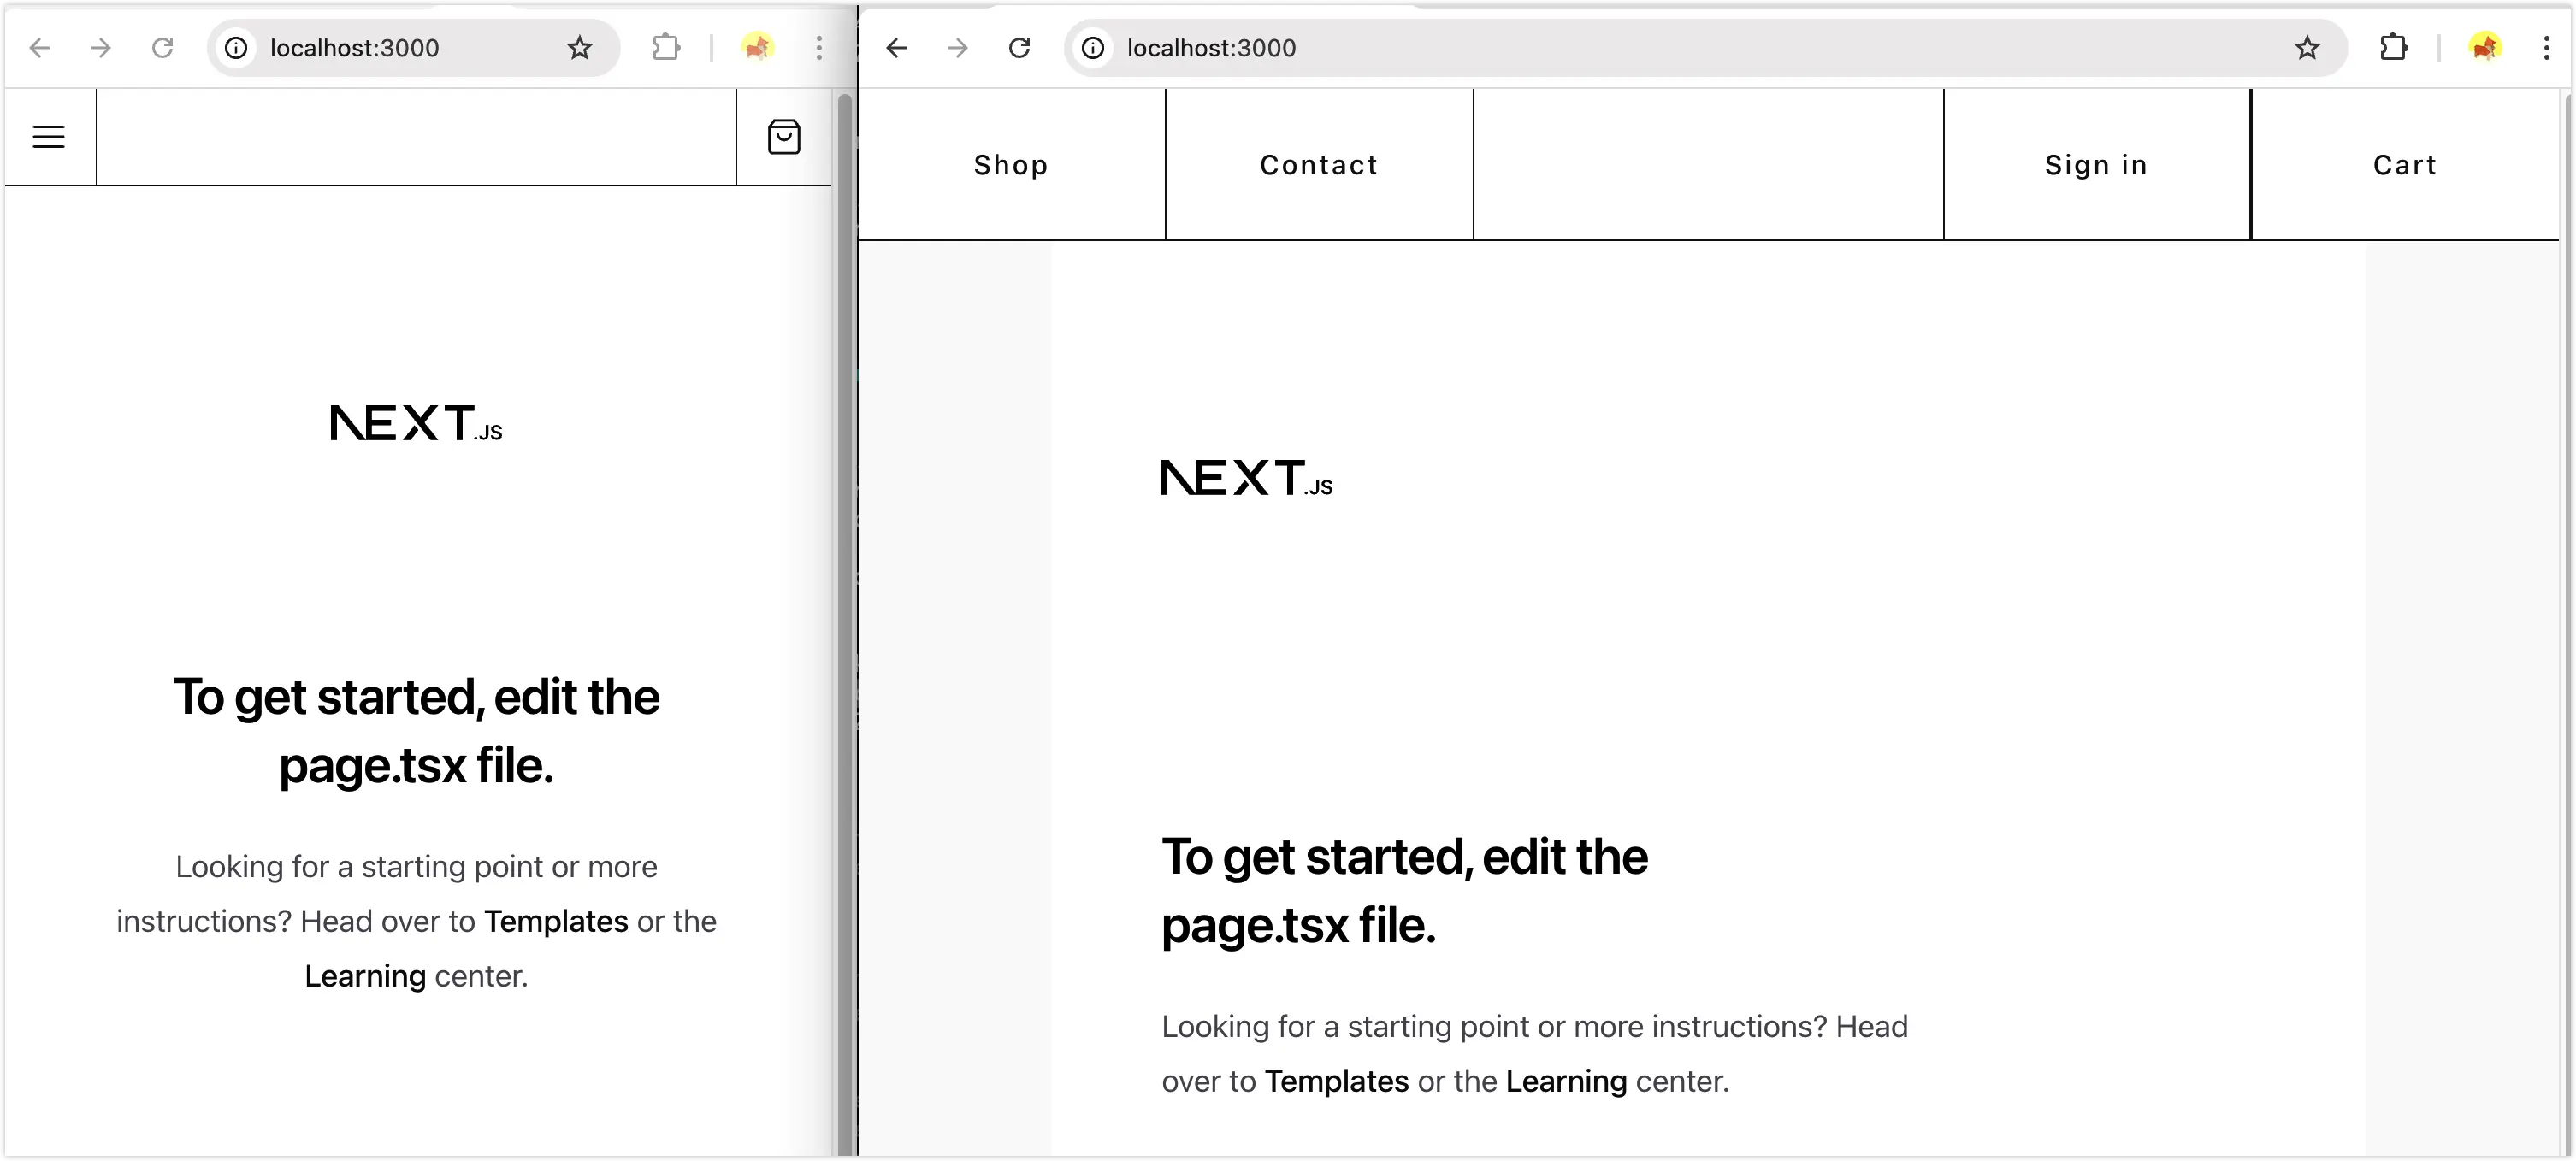
Implement the xxx-section module for different responsive breakpoints,ensuring adherence to the project's existing tech stack and file structure.

As you can see, the implementation looks quite good compared to the design.

We continue implementing all other modules using this approach.
4.3 Process Refinement
We must admit that the process doesn’t always go smoothly. For example, layers without Auto Layout in the design, incorrect absolute positioning, etc., can mislead the AI.
Unlike the steady progress curve of traditional manual development, AI-assisted development follows this pattern: a sprint to 70% completion, then spending equal or even more time on fine-tuning the remaining 30% accuracy.
Effective refinement strategies during the process include:
- Build global context: Run /init to have AI read and understand the current project structure first.
- Reduce context scope: Break down tasks into specific individual components to prevent AI from getting lost in complex code logic.
- Plan first, then execute: For complex layouts, press Shift + Tab to enter Plan mode. Discuss the layout approach with AI (e.g., should you use Grid or Flex?) first, then execute once confirmed.
- Frequent Git saves: AI output can be unstable. Once a module is tuned, commit immediately.
- Save early and often: AI has instability issues—for completed outputs, it’s best to commit to git promptly to build methodically.
- Roll back decisively: If you’re extremely dissatisfied with the current generated code, press Esc twice to abandon the current node and restart. This is more efficient than having AI patch flawed code.
After multiple rounds of effective prompts, a Vibe Coding project should ultimately achieve about 70% design-to-code conversion. Pushing accuracy higher becomes difficult and may lead to an inefficient, unstable loop.
4.4 Practitioner Refinement
Practitioners, using technical knowledge and production experience, further check issues and progress, organize more efficient and precise prompts, and step-by-step improve fidelity and engineering quality—for example:
- Visual & Performance: Clean up AI-generated redundant CSS, optimize Tailwind atomic classes, handle complex interactive animations, optimize image loading for higher Lighthouse scores.
- Engineering: Extract reusable components, improve ESLint/Biome rules, configure Cloudflare or other deployment solutions, etc.
Thoughts
After running through this Claude Code + Figma MCP workflow, the biggest takeaway is: it’s not perfect, and debugging still takes time, but the overall cycle is indeed much faster than pure manual coding.
Regarding the discussion about “whether AI will replace programmers,” I think coding can be compared to selling coffee. There are many automated coffee machines and instant coffee on the market (AI-generated basic code), which can quickly meet most people’s needs. But this doesn’t mean specialty coffee shops (professional developers) will disappear.
AI seems to be replacing coding work, but it actually opens a new window of opportunity, freeing programmers from repetitive “keyboard manual labor.” When most standardized input/output can be accelerated by machines, developers can finally extend their core focus to explore related areas and opportunities: more flexible architecture orchestration, better experience and taste, more tailored technical products, and more commercially viable technical leverage.