I. Why Choose Astro Framework?
Initially, I planned to use Next.js to build the blog. Next.js is relatively suitable for front-end developers transitioning to full-stack, has a relatively smooth learning curve, and is widely used. Building a blog with Next.js would allow me to complete the project and deepen my understanding of the framework—a win-win situation.
However, for content-driven websites like a blog, Astro is more suitable. First, its performance is excellent. Thanks to its primarily static page rendering and minimizing JavaScript overhead and dependencies, page performance is greatly enhanced. The official claim is that “it’s almost impossible to build a slow website with Astro.” Second, the development experience is friendly and the features are sufficient. The “Islands Architecture” allows for flexible integration of popular frameworks like React and Vue on top of static pages. It also supports multi-language and Markdown content management.
Therefore, from the perspective of a better external product experience and simpler, more reliable internal development and maintenance, I chose Astro to build my personal blog.
II. Why Choose Vercel for Deployment?
I first encountered Vercel because the Next.js framework is developed by the Vercel team. Deploying a Next.js application on Vercel receives “native support,” making Vercel highly suitable as a deployment platform for initial full-stack learning with Next.js applications, which requires further exploration.
The experience of deploying an Astro project on Vercel is also very smooth; it’s almost a one-click deployment from a GitHub repository. Similar platforms include Netlify and Cloudflare Pages. Netlify deployment is also smooth but offers no significant advantage over Vercel. Cloudflare Pages is also recommended by many, but it uses Bun for JavaScript builds, which can cause direct build errors for projects using scripts like pnpm, requiring extra configuration. In the absence of a clear advantage, I prefer simplicity to avoid additional configuration and steps. Simplicity means ease of mind and reliability.
Furthermore, Vercel has good momentum, a strong team, supports the open-source ecosystem, adheres to the freemium model, and continues to improve its platform capabilities in the age of AI.
Considering the free tier, excellent product experience, alignment with my learning path, and positive outlook, I chose Vercel as my deployment platform.
III. Why Use Cloudflare DNS Proxy?
Vercel provides capabilities such as CDN acceleration, HTTPS, rate limiting, firewall, and custom security headers for applications by default. However, actual testing shows that the access speed is still not ideal enough, this includes multiple reasons such as DNS pollution and node distribution.
Cloudflare is one of the world’s largest CDN service providers. Using Cloudflare’s DNS proxy leverages its global CDN to significantly speed up website access. Although Vercel does not recommend third-party DNS (believing it increases link complexity), practical testing shows that the Cloudflare DNS proxy can indeed noticeably improve access speed within some places.
IV. Deployment Steps
Thanks to Vercel’s excellent developer deployment experience, the entire configuration process is quite simple.
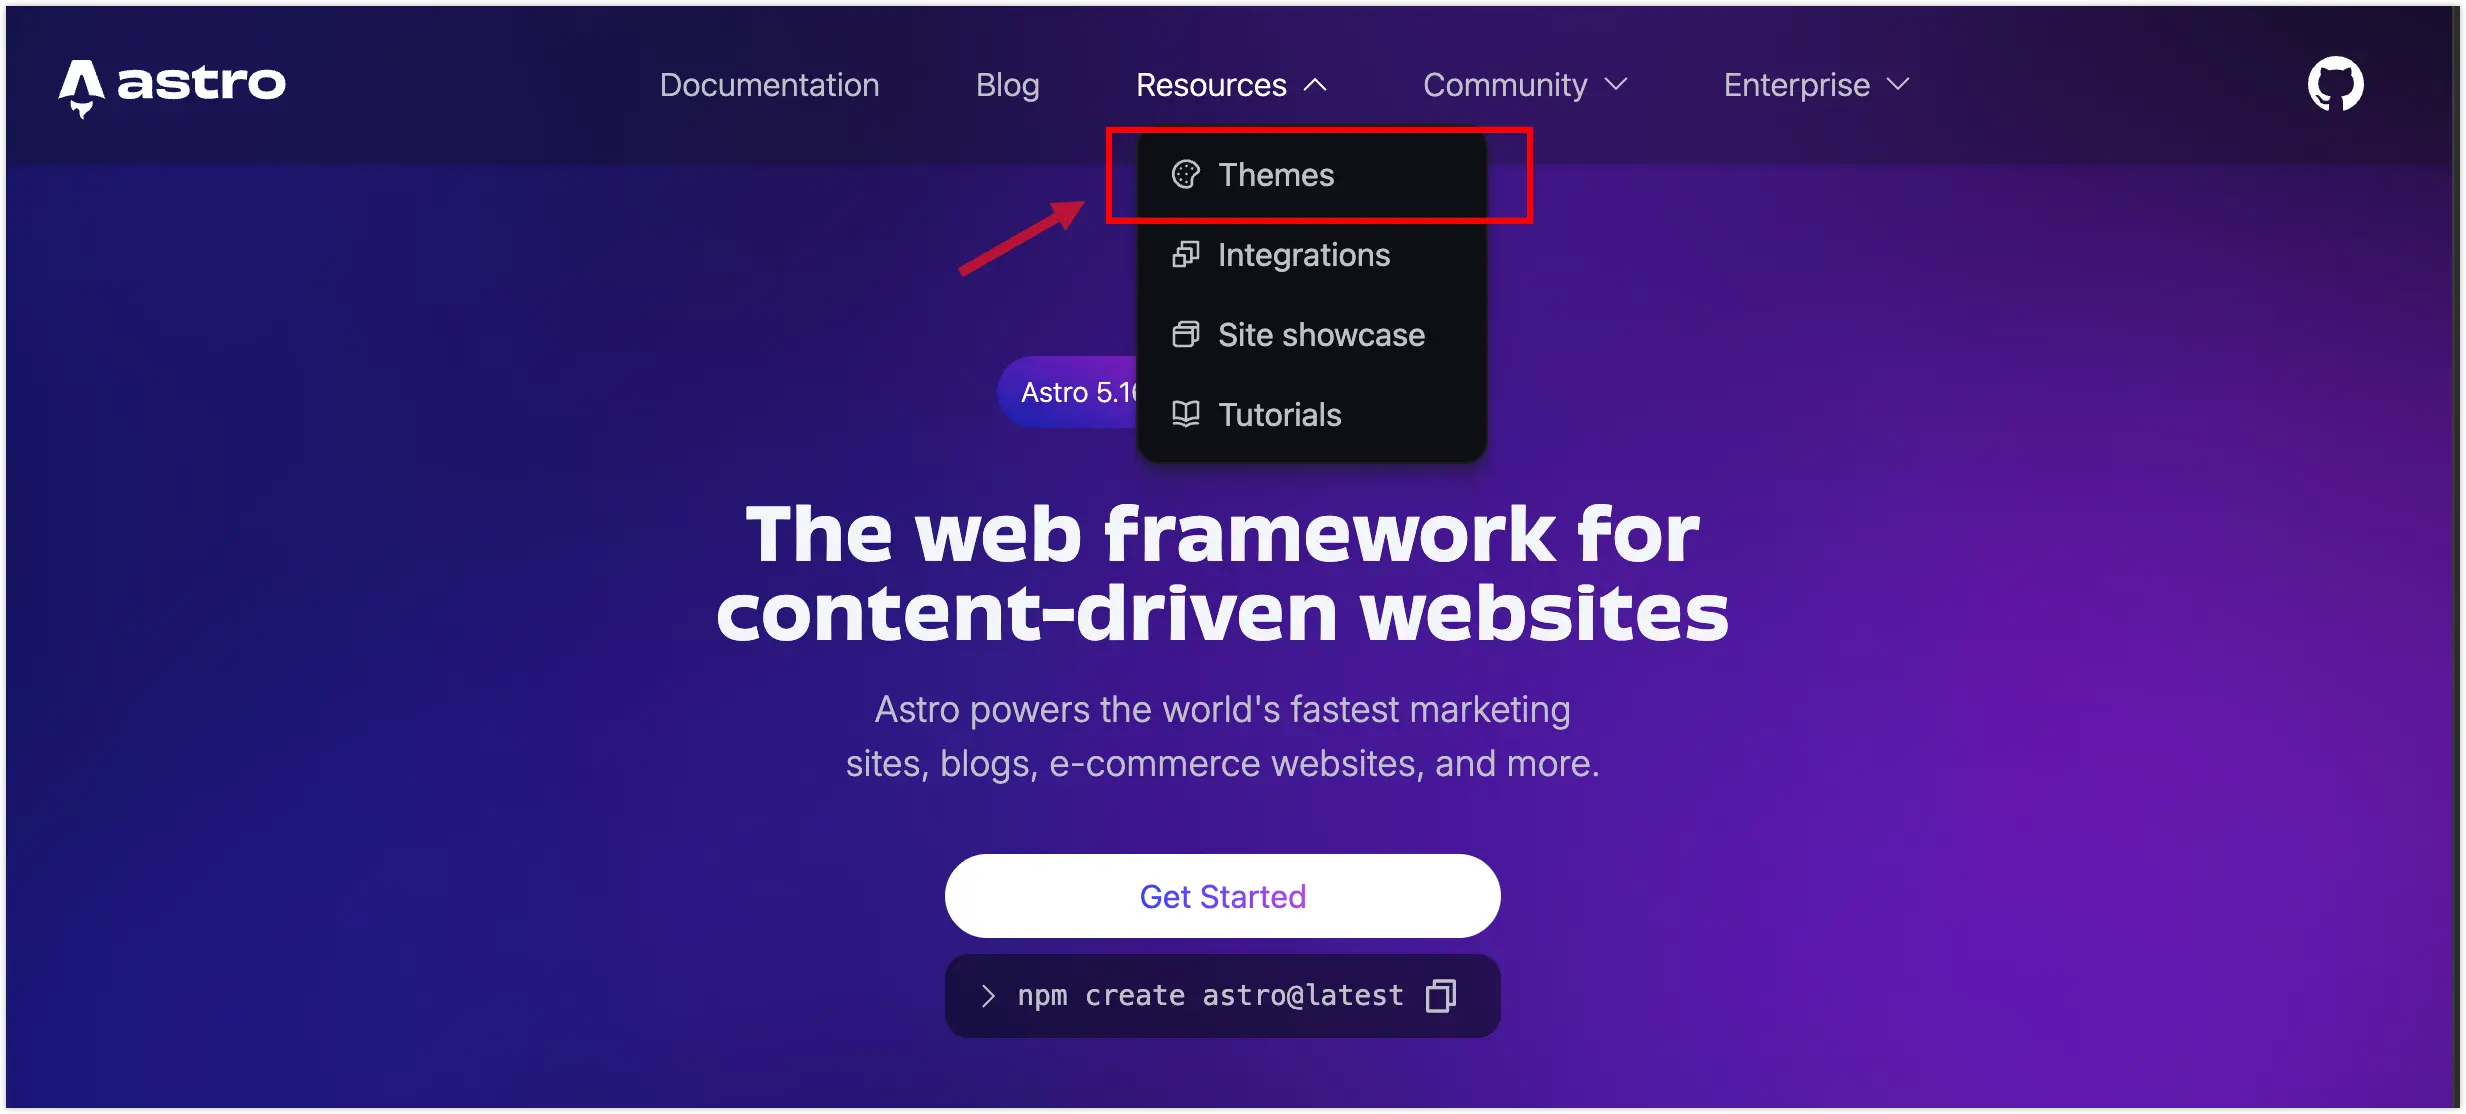
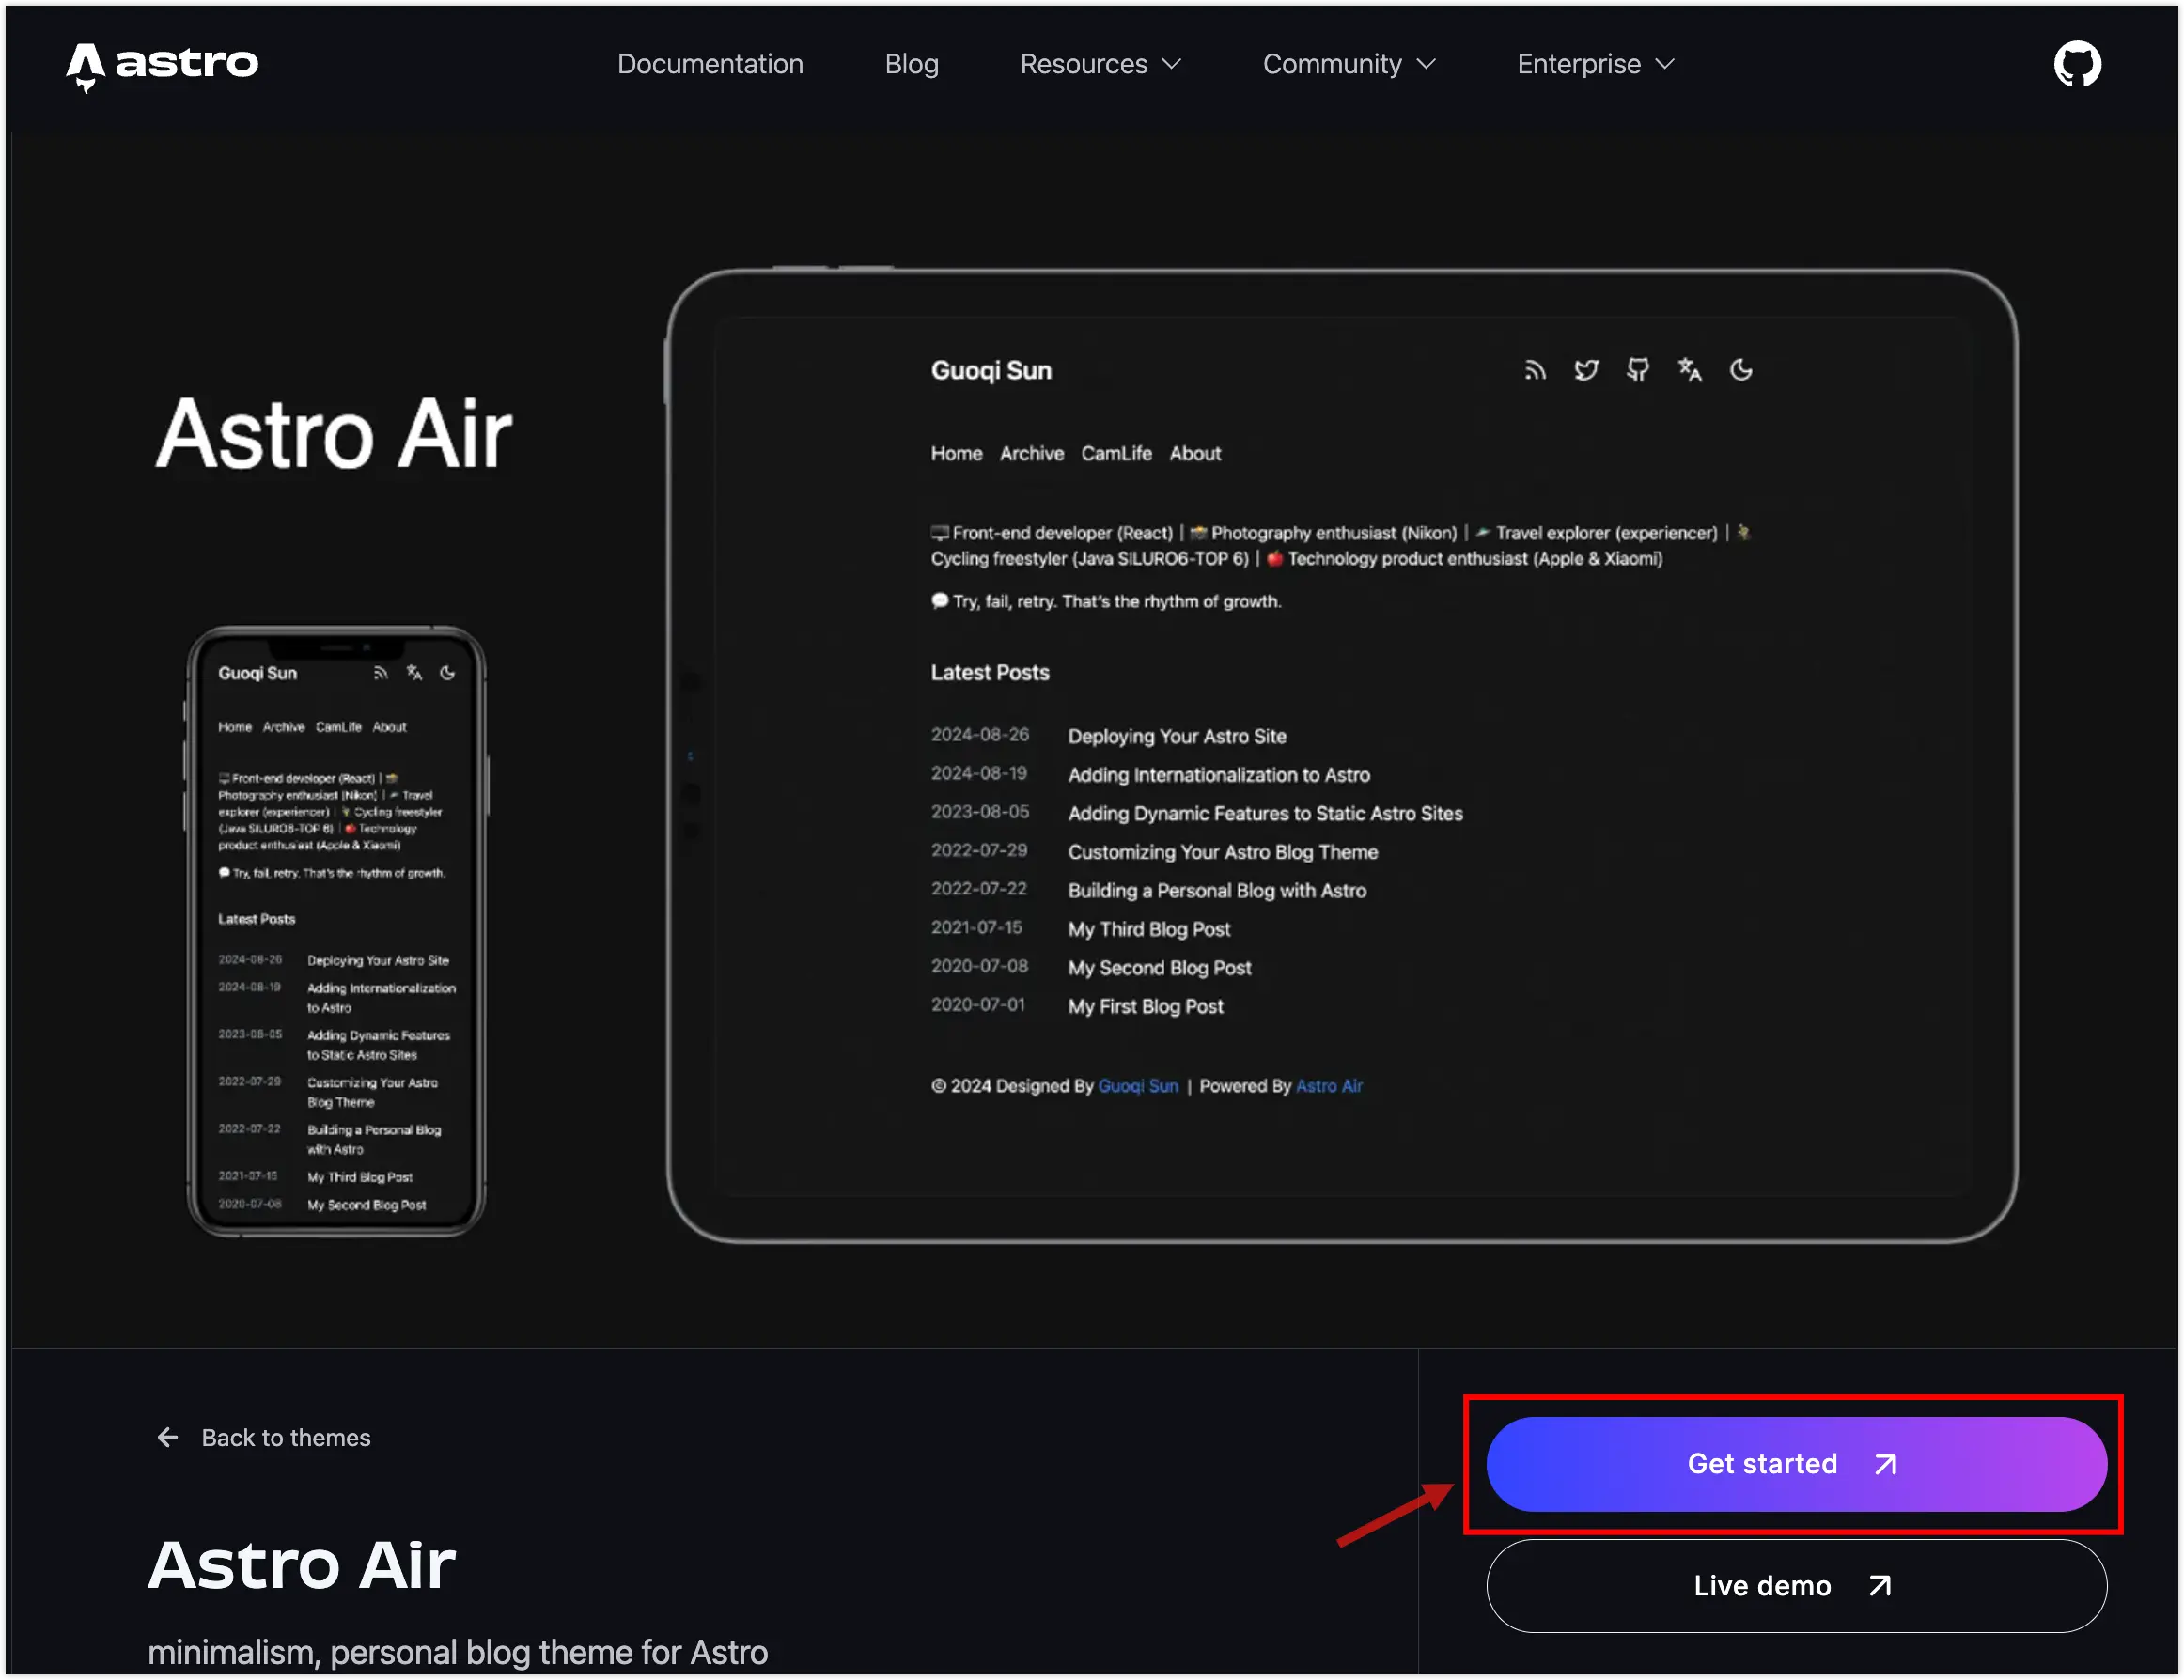
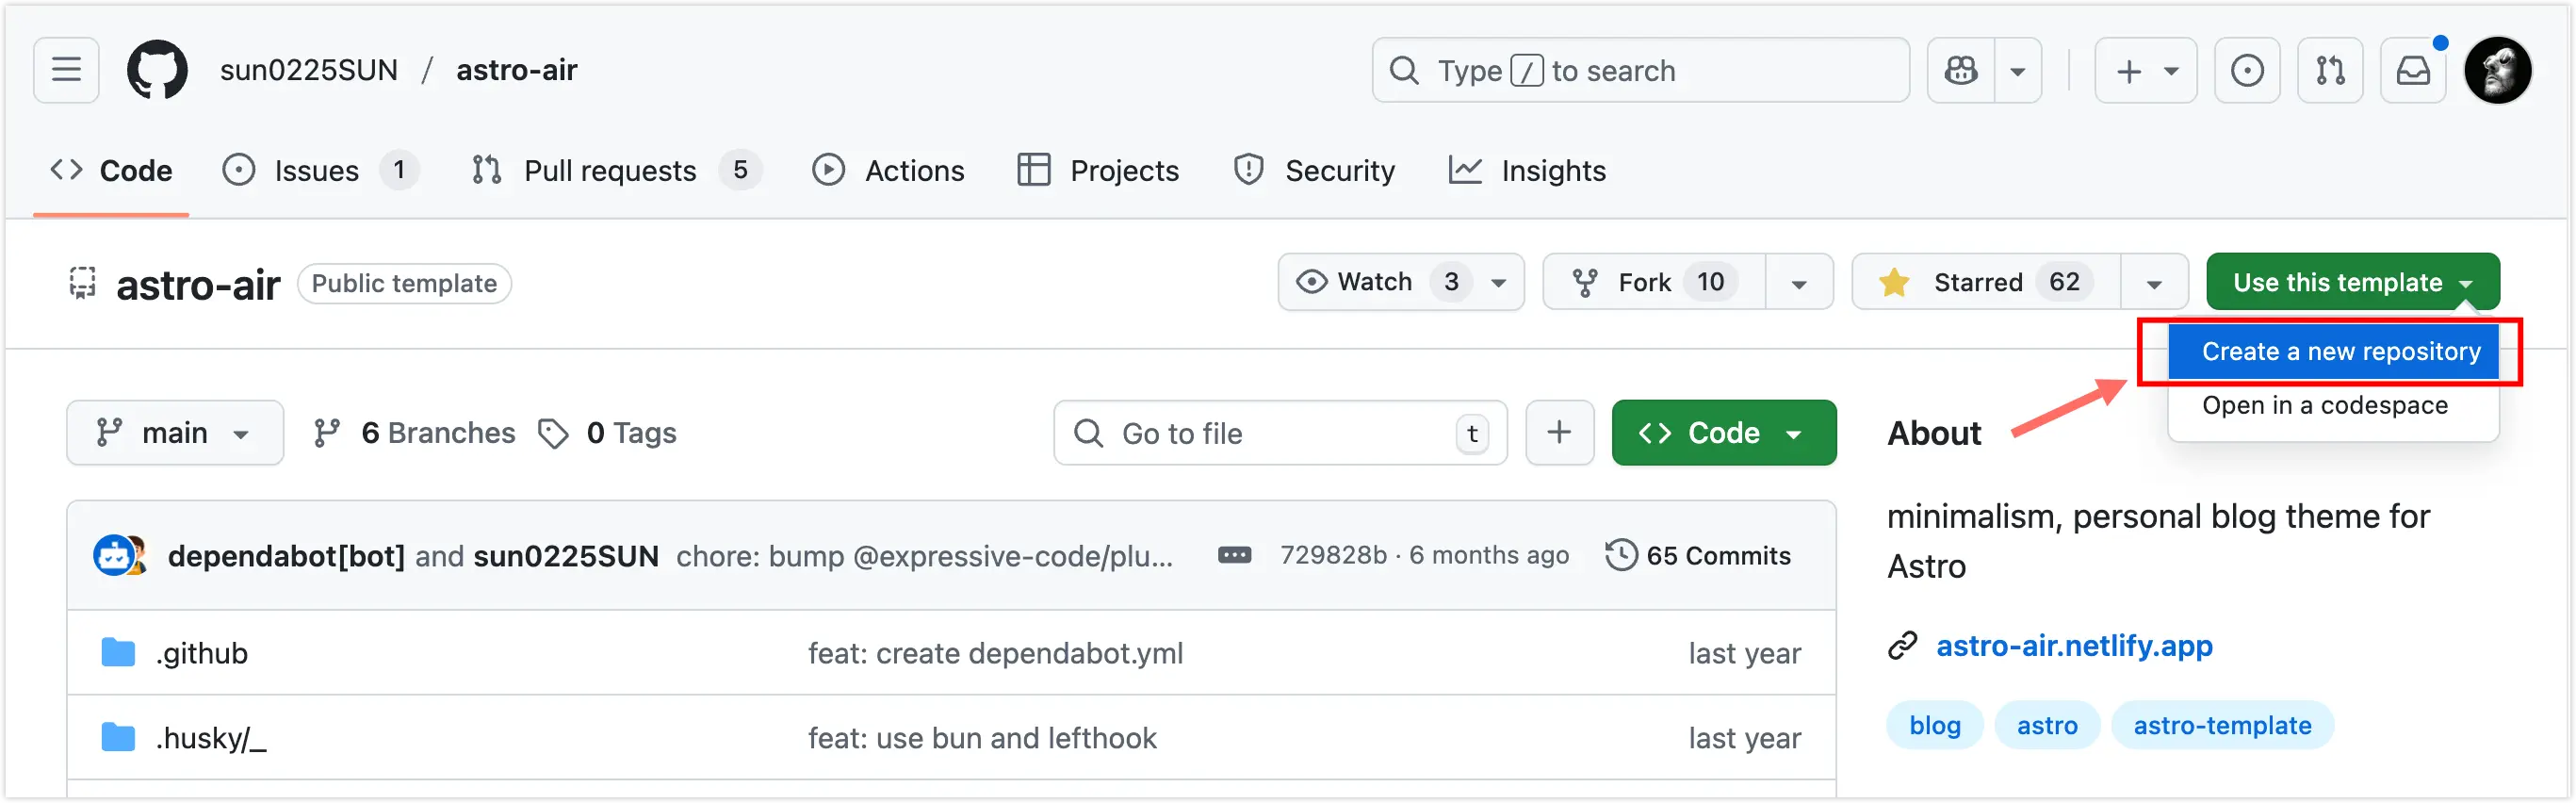
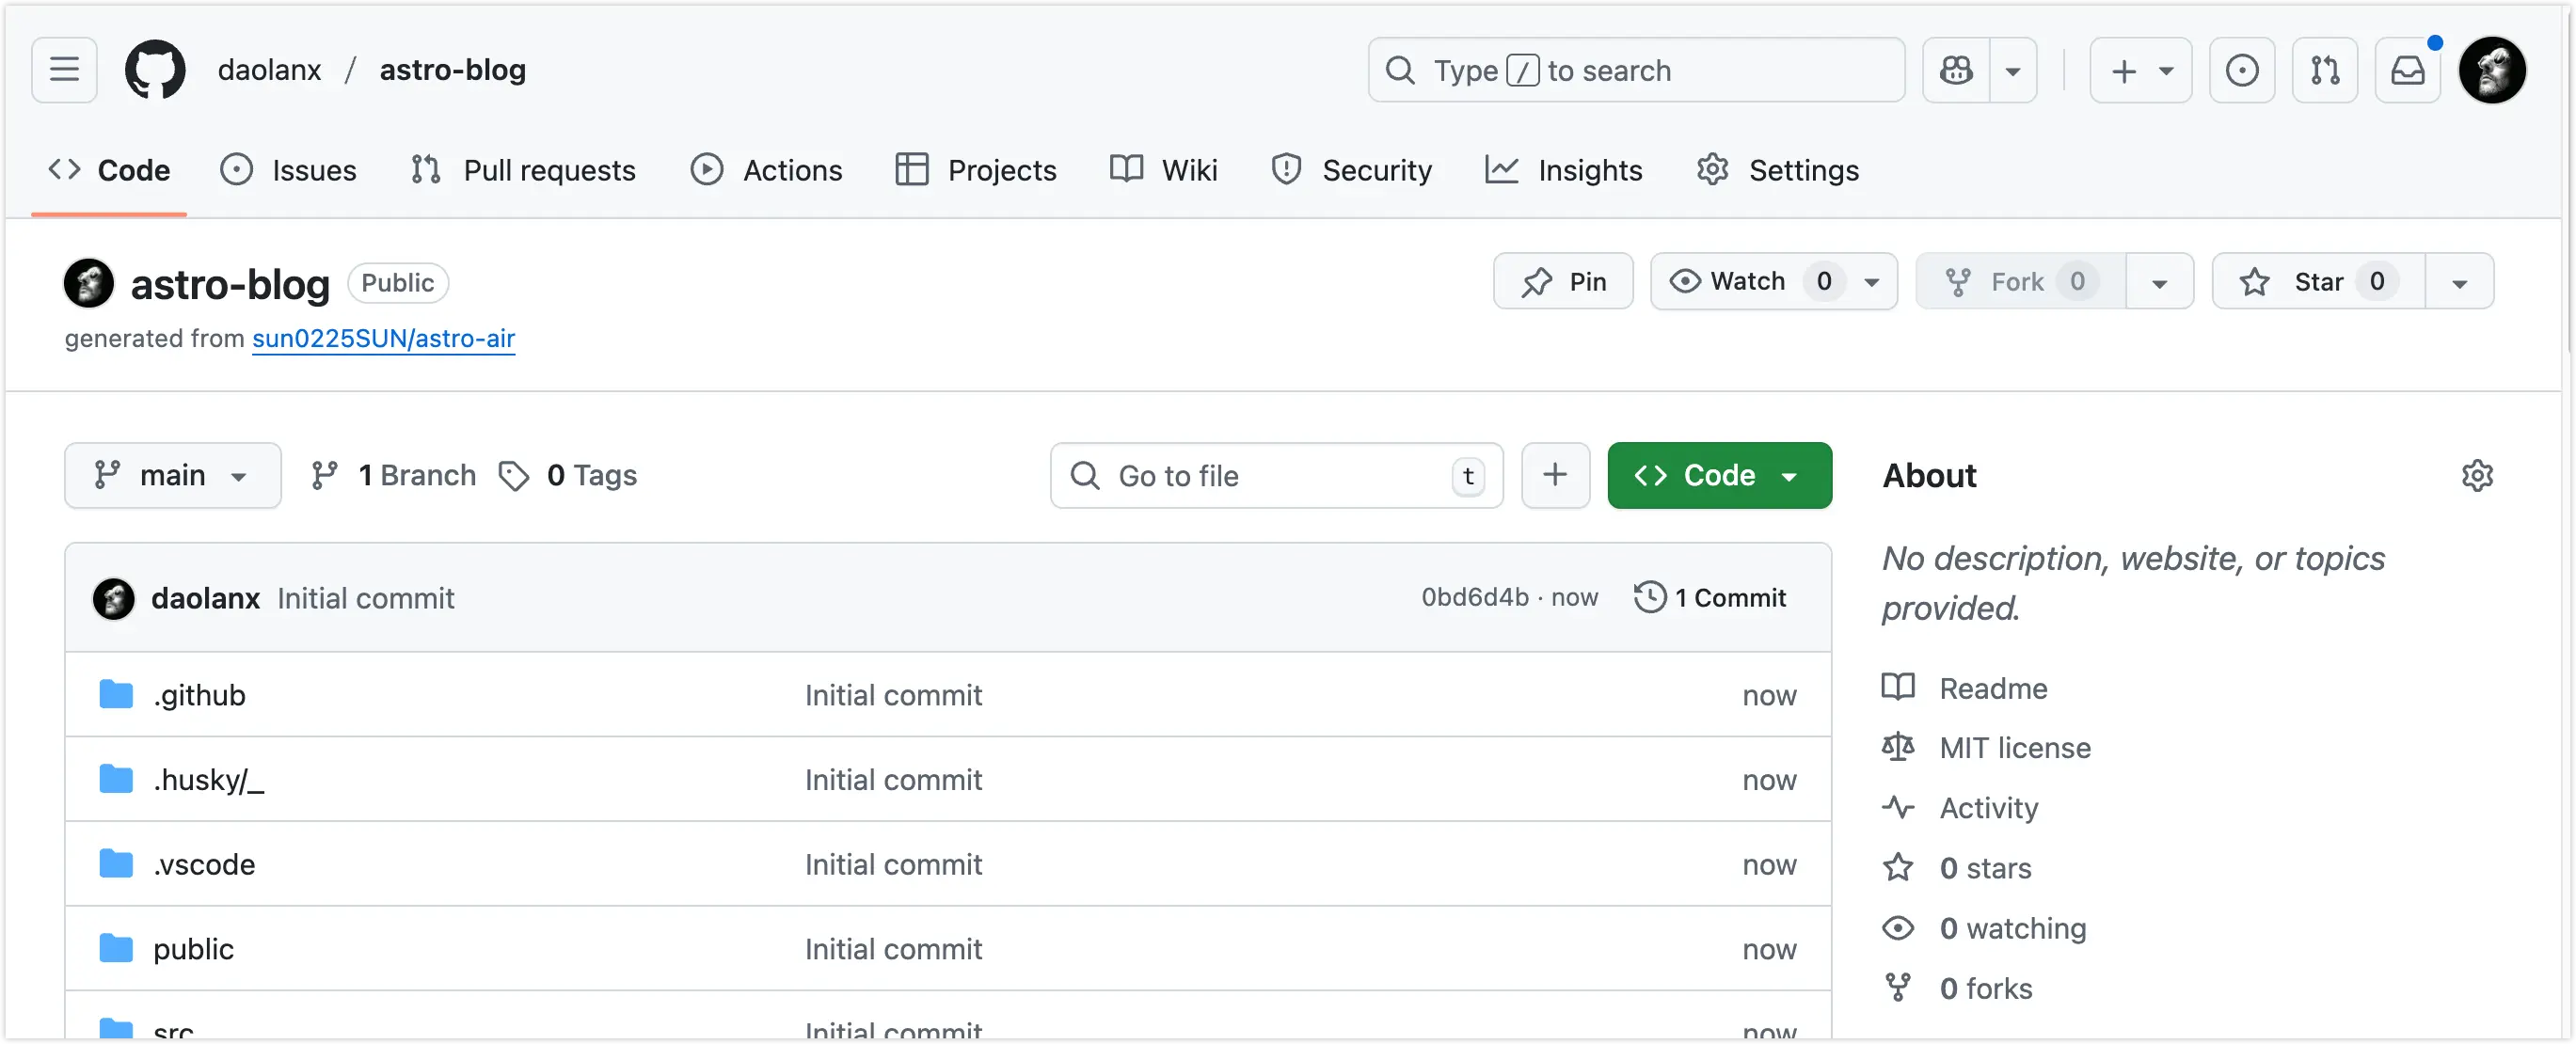
1. Select a Template in Astro and Generate a Project Repository on GitHub
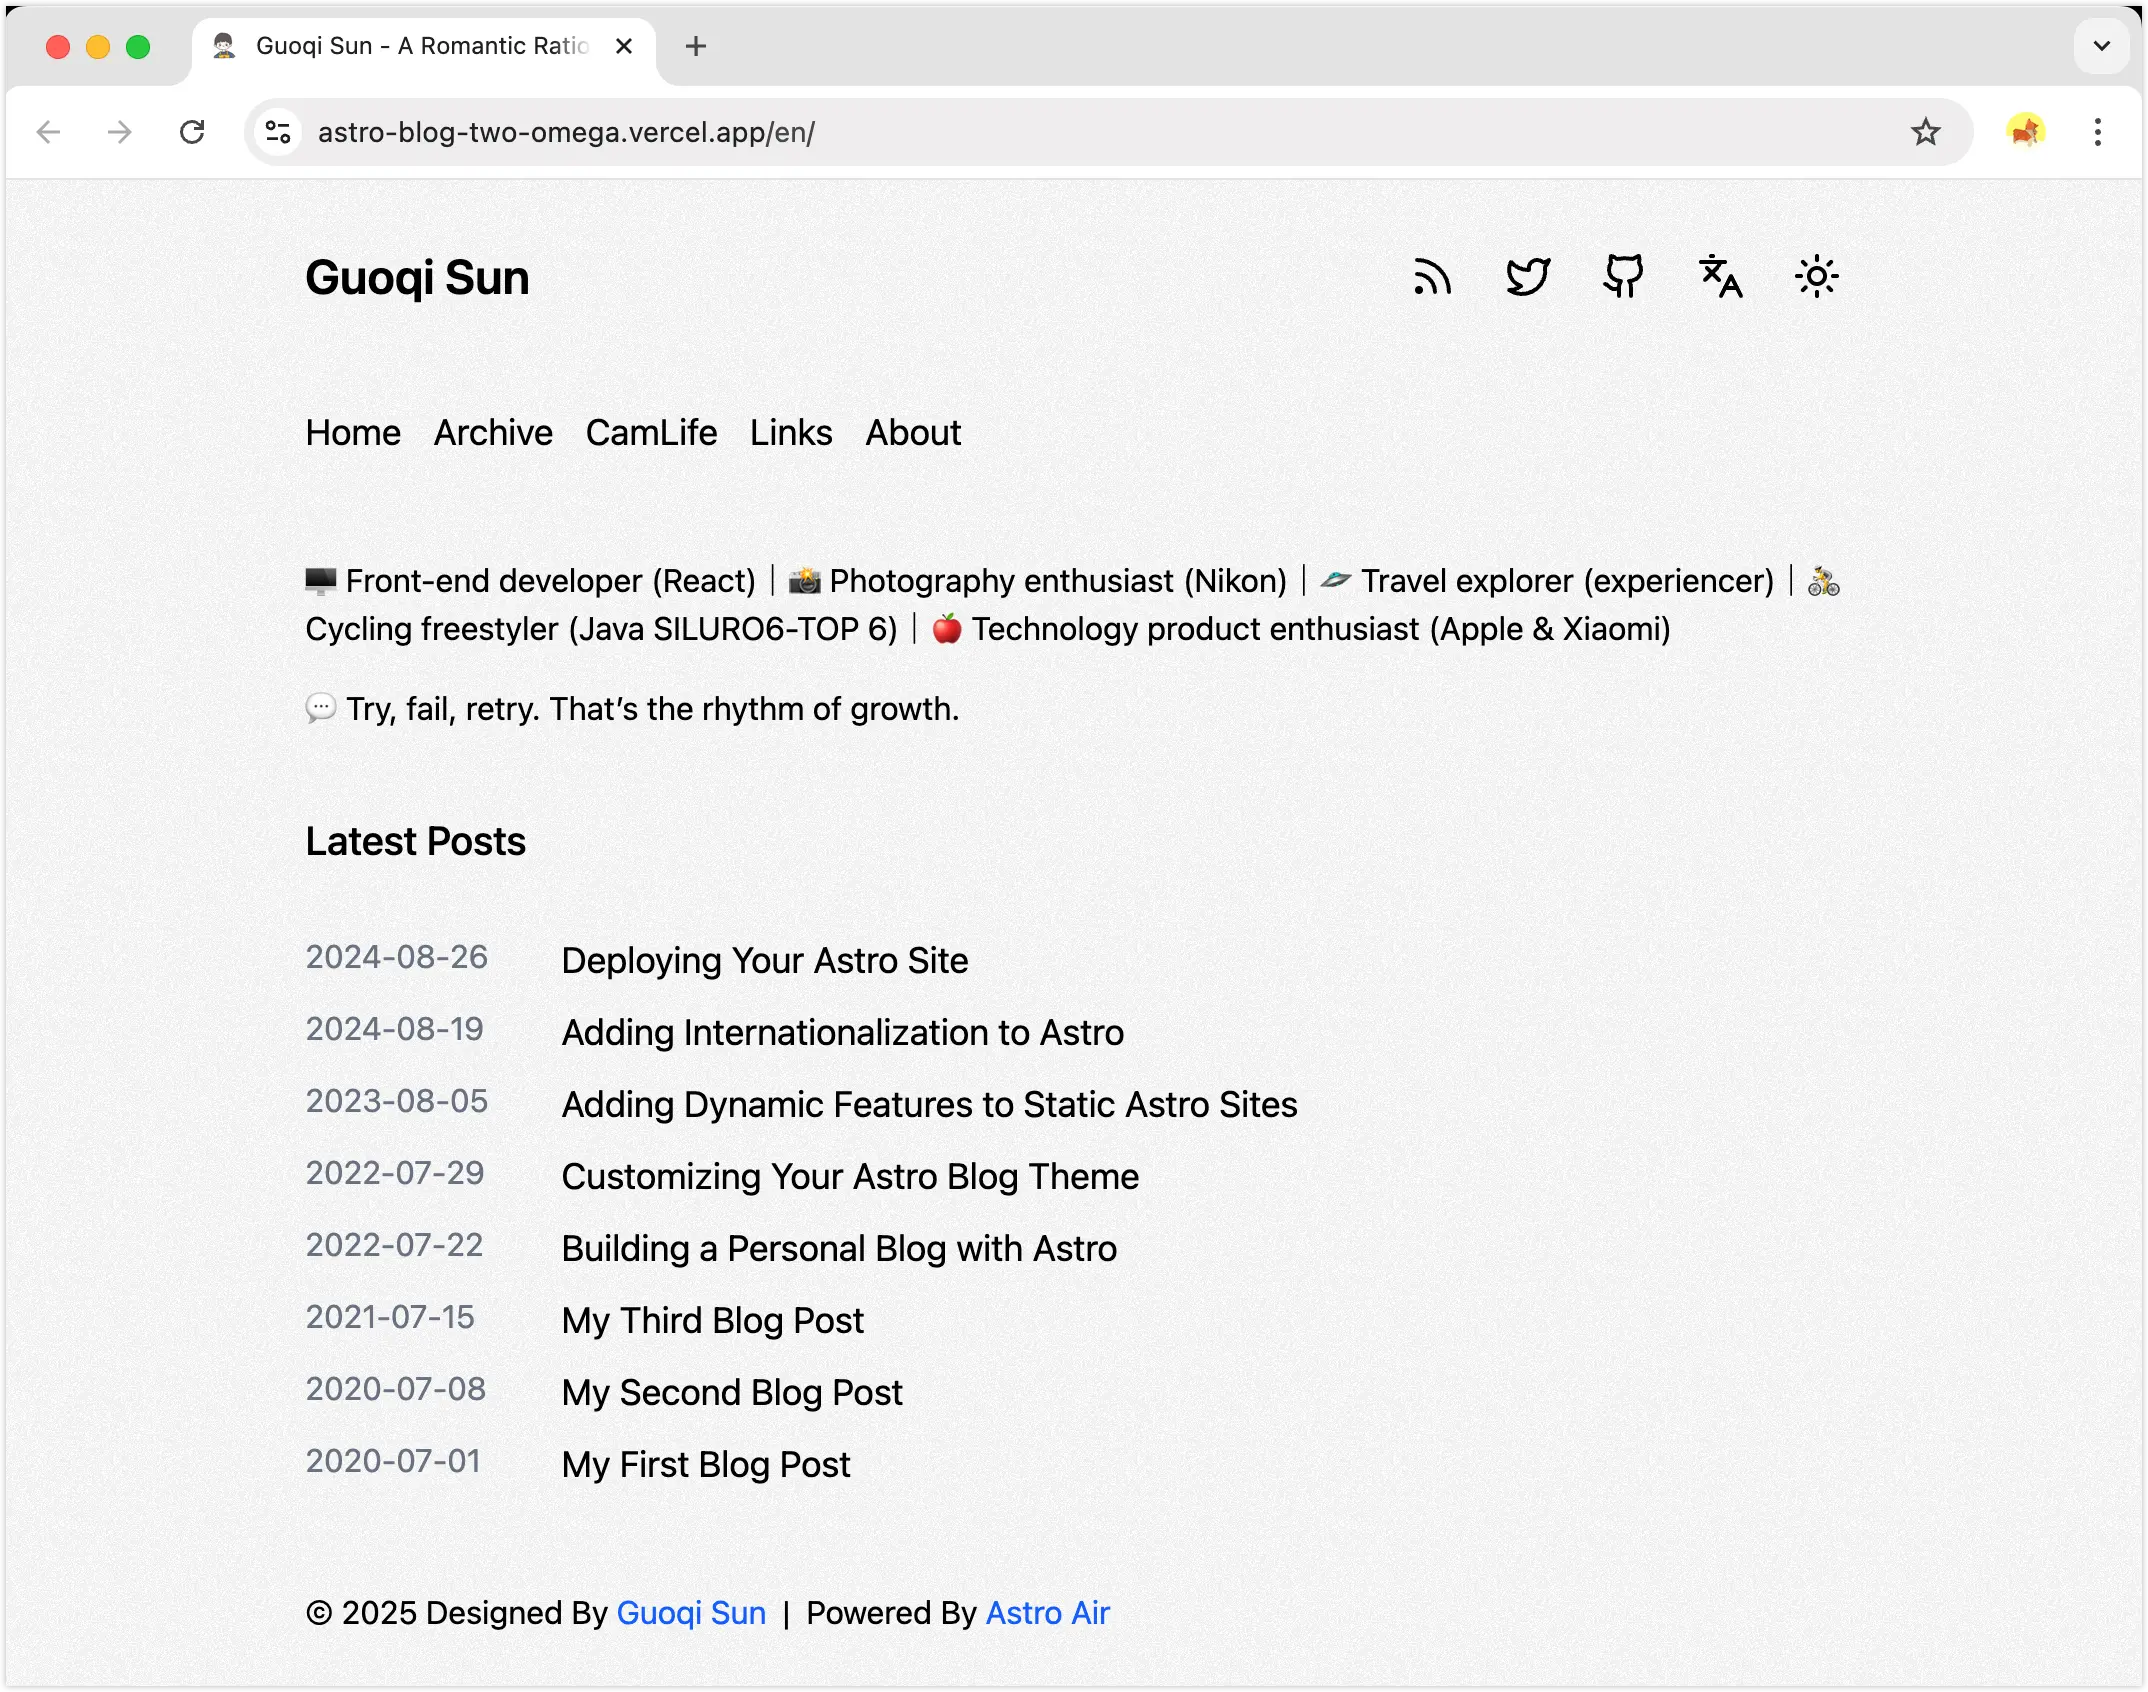
Select a template from Astro/theme and add it to your personal GitHub repository. I chose astro-air. It has a minimalist style, supports Markdown content management based on MDX, and includes bilingual content switching.
Based on the template, generate your blog project repository on GitHub.
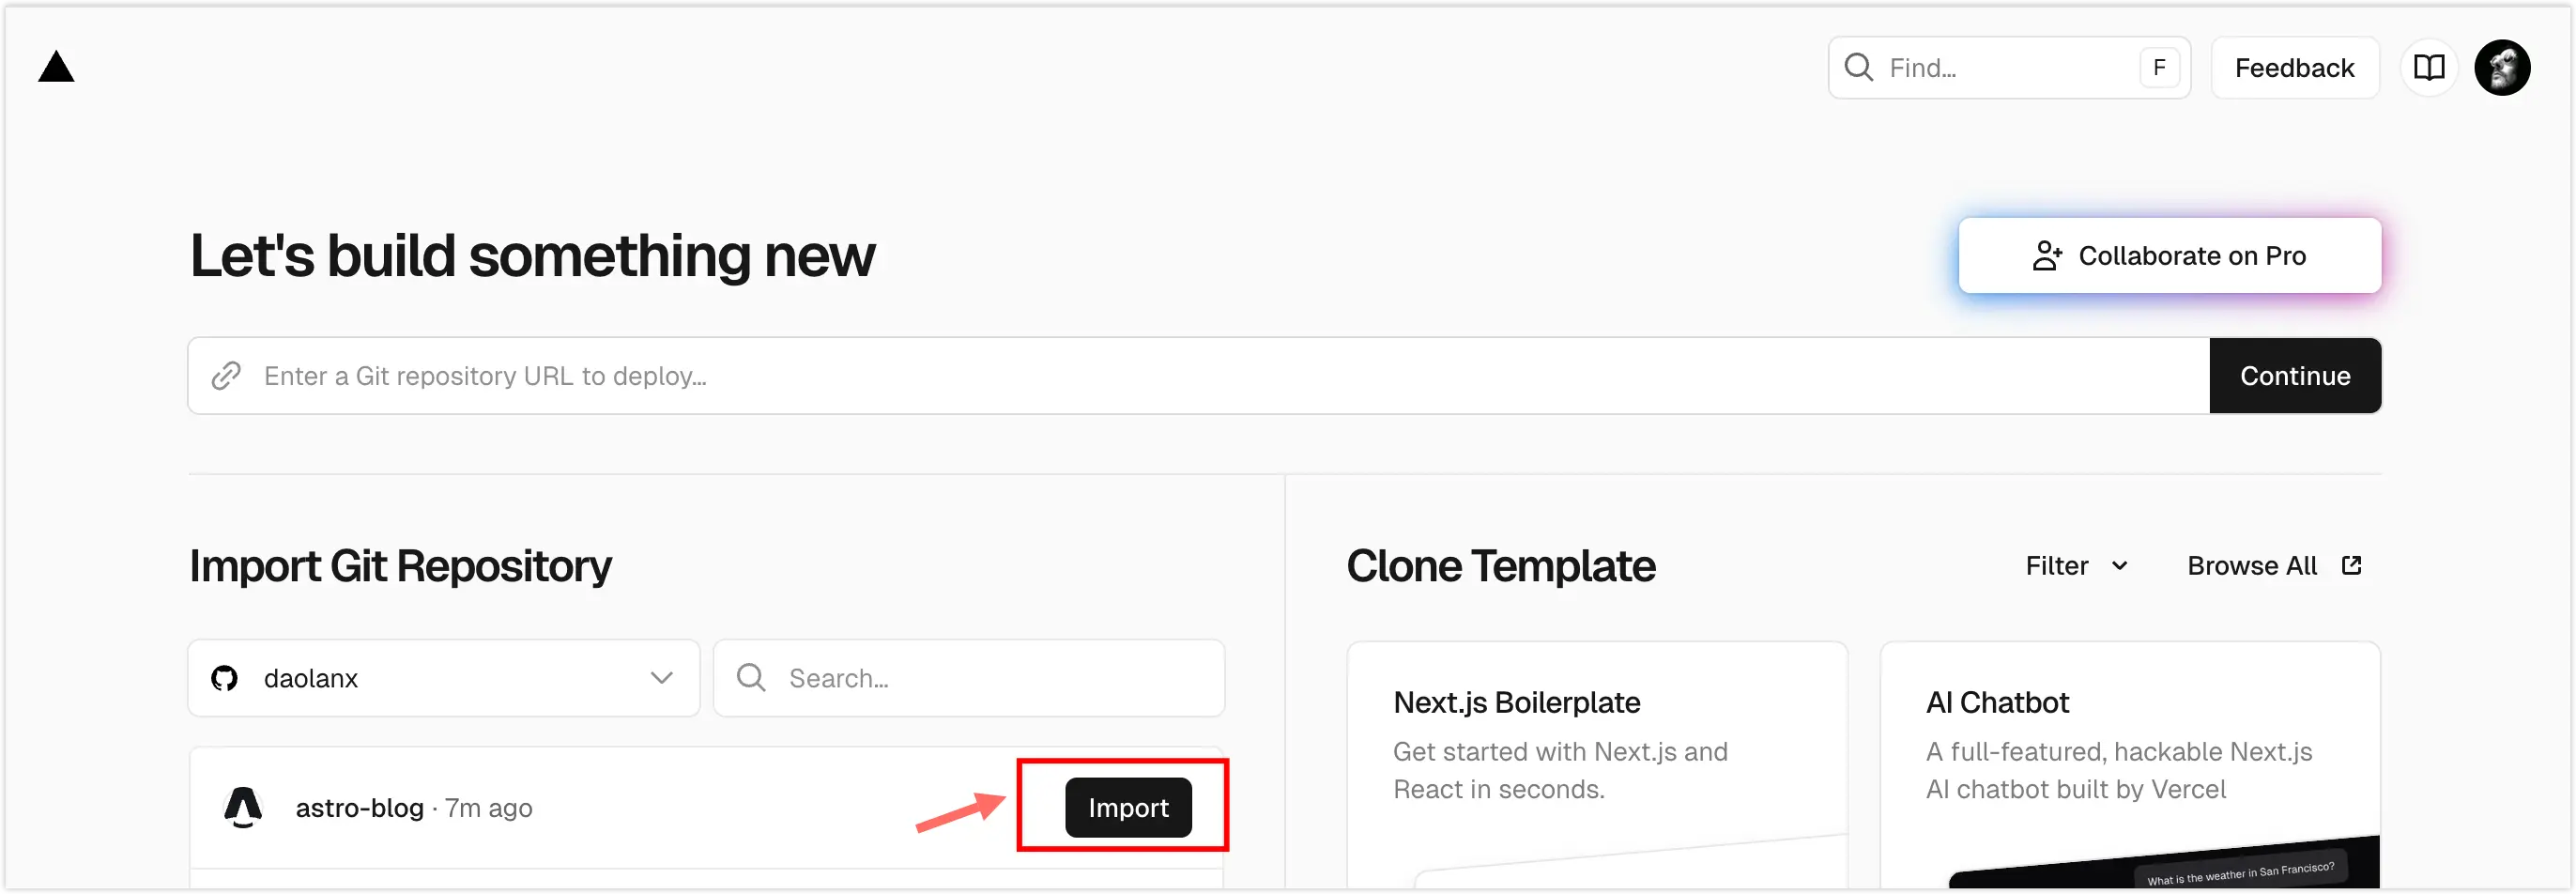
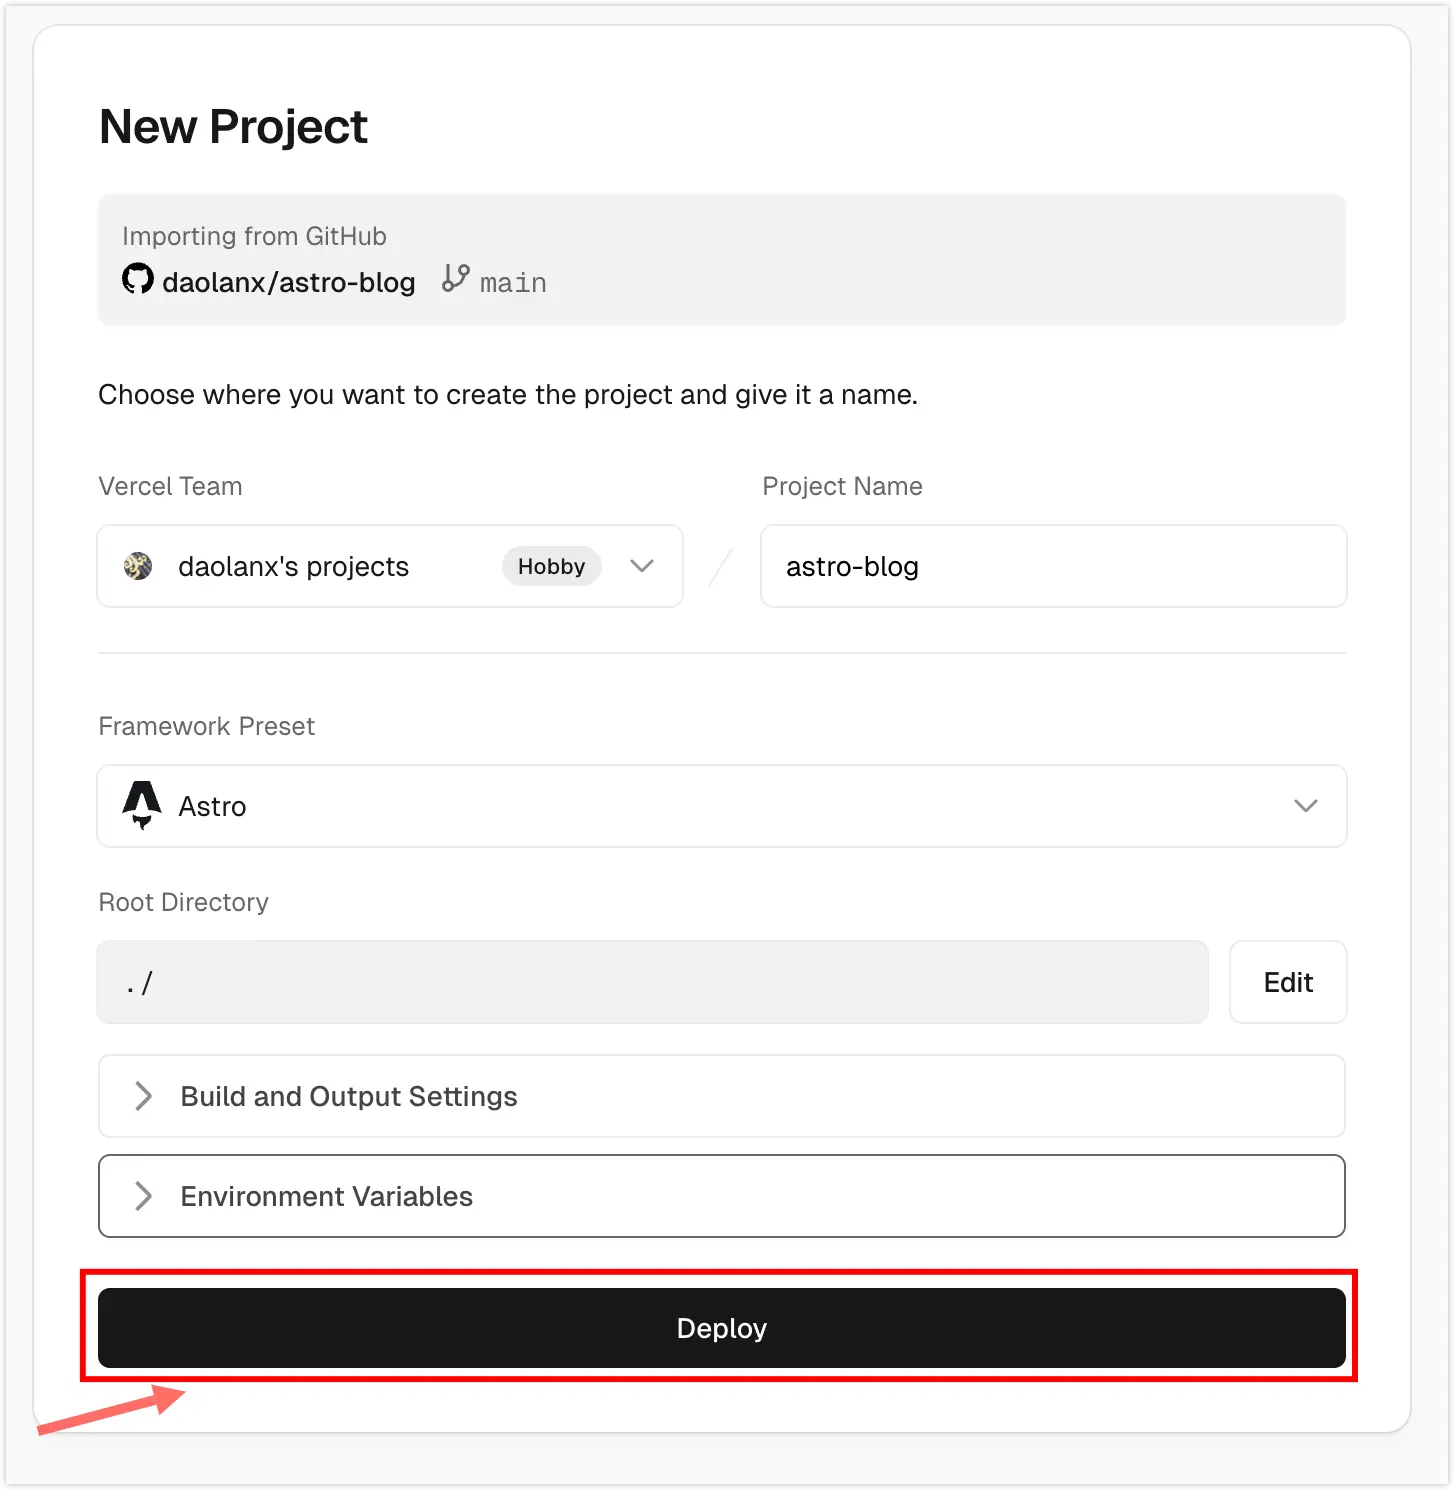
2. Deploy the Project on Vercel
If Vercel is linked to GitHub, you can see the newly created project repository at vercel.com/new. Simply click Import and Deploy.
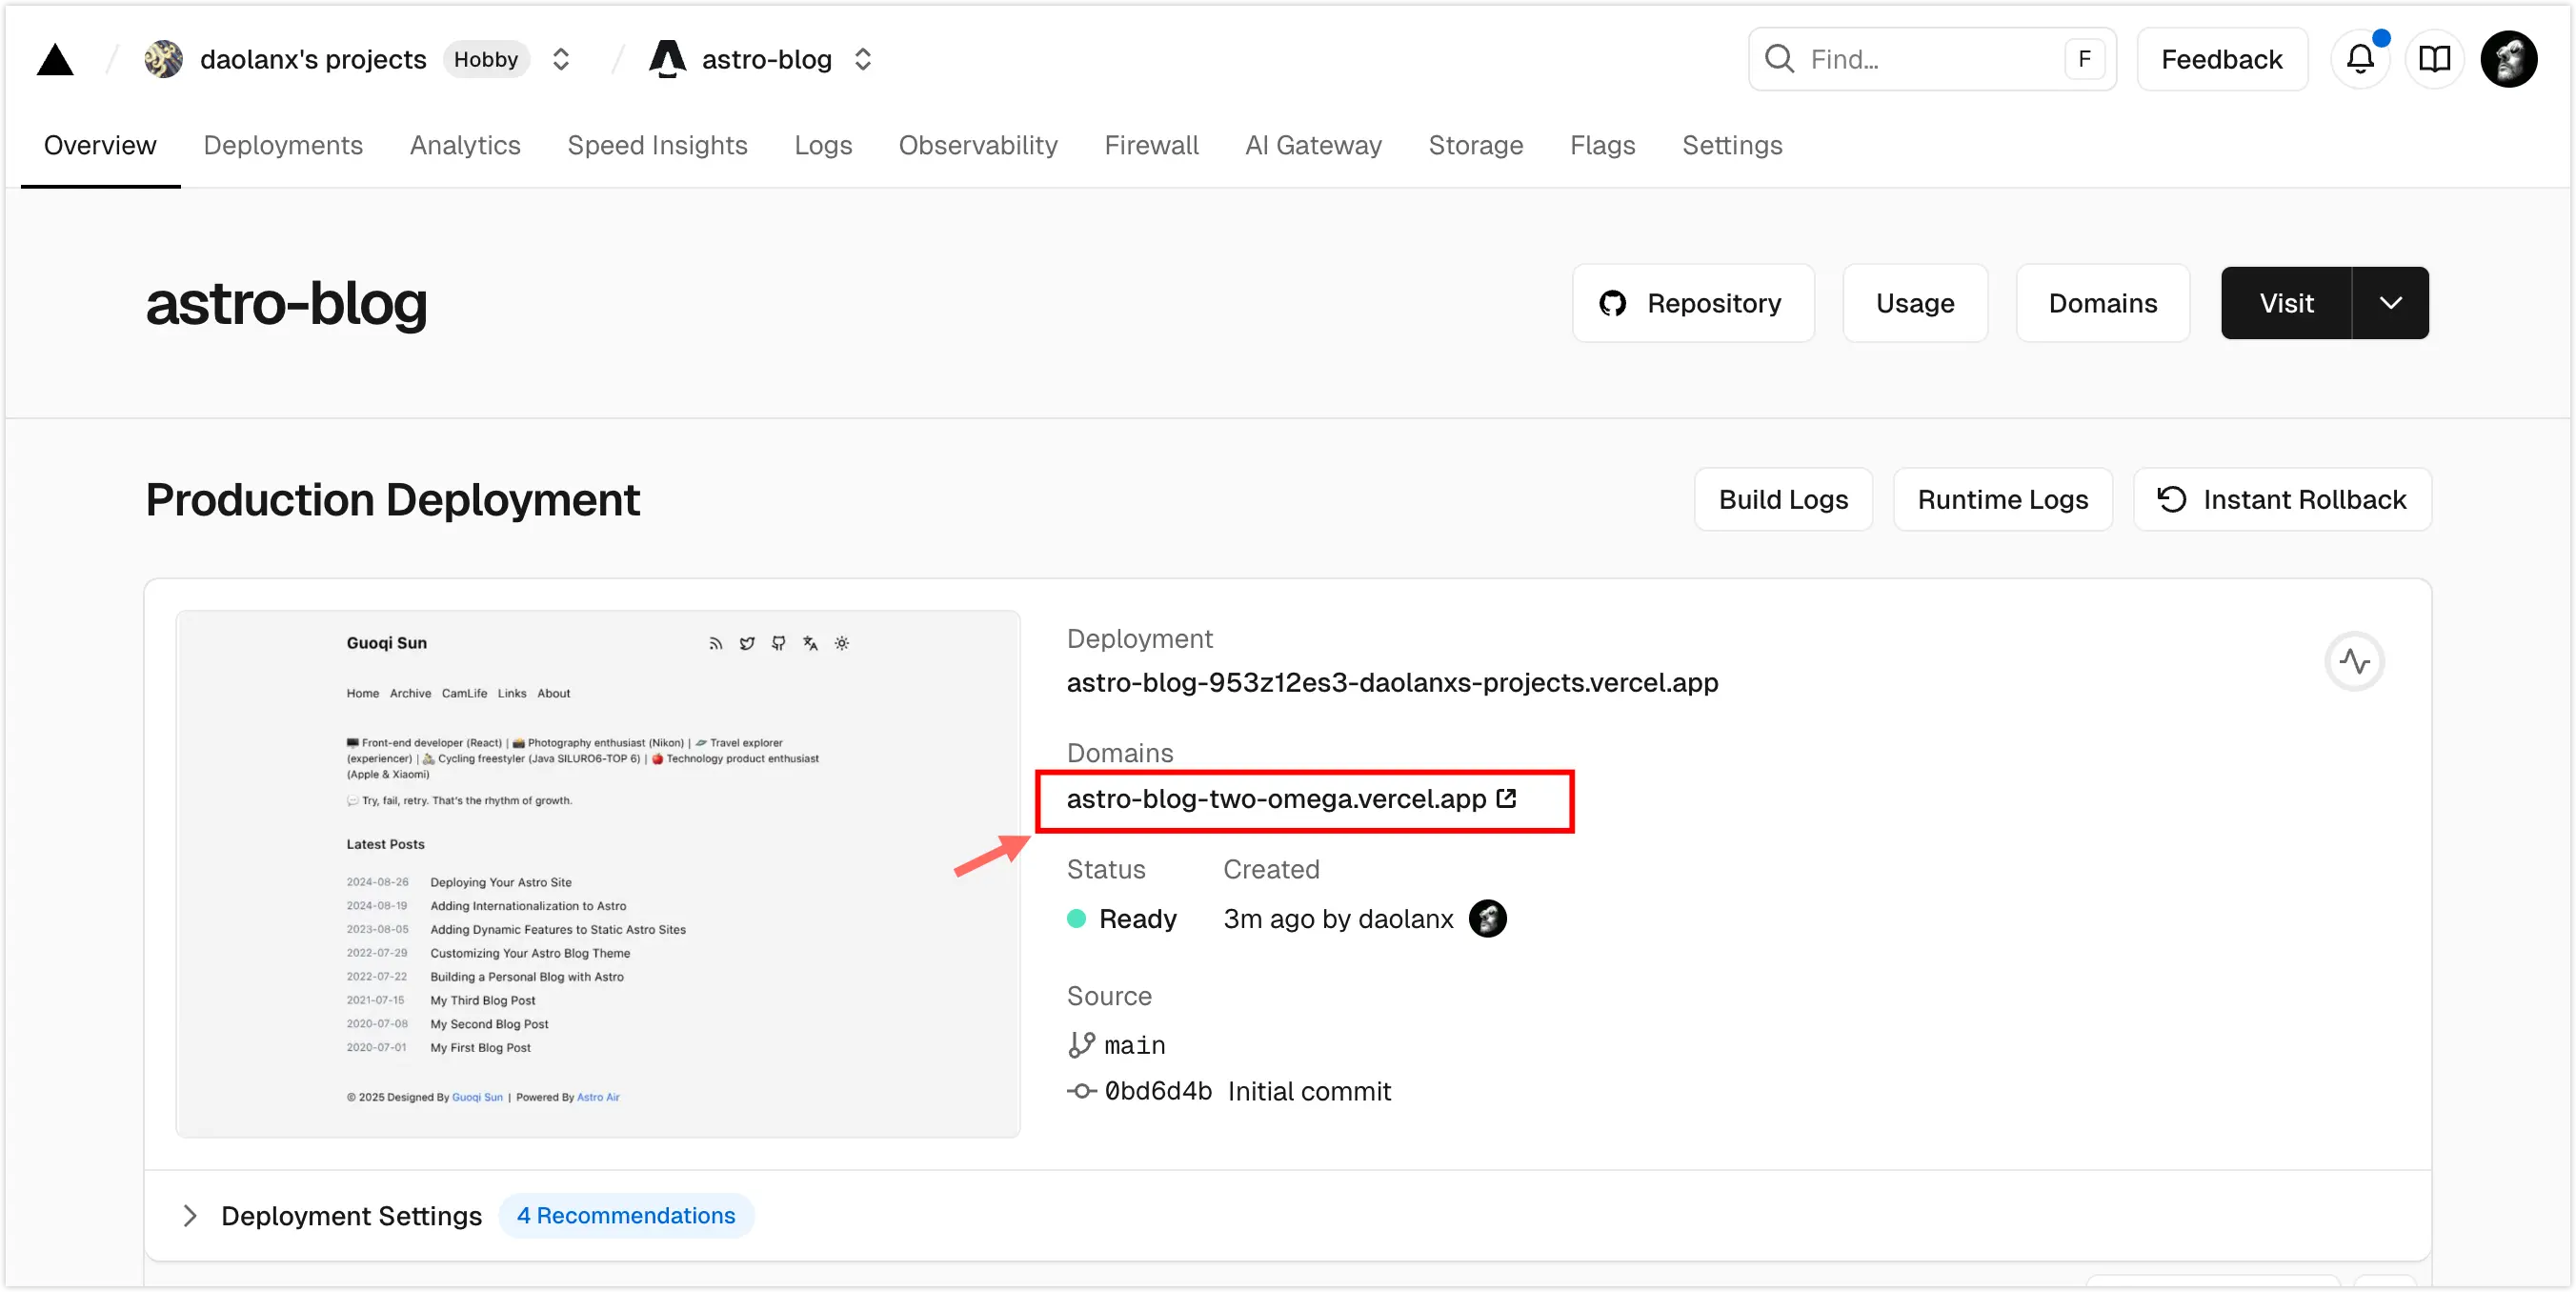
Once deployed, the site can be accessed via the domain generated by Vercel.
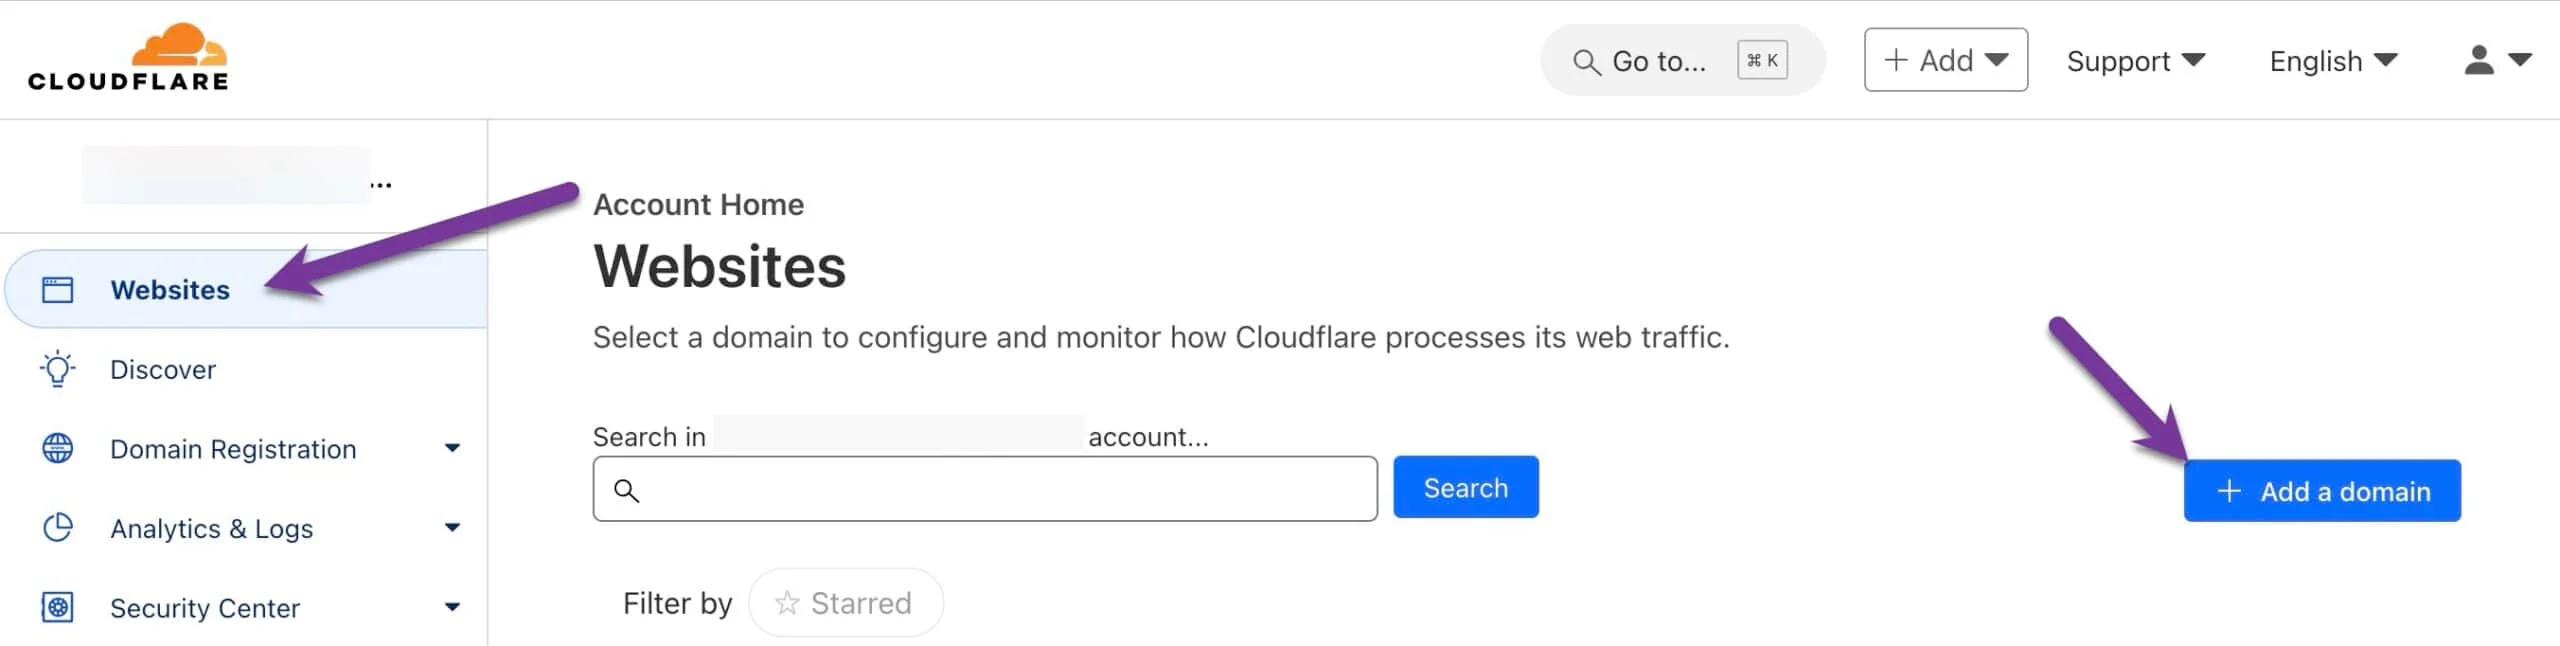
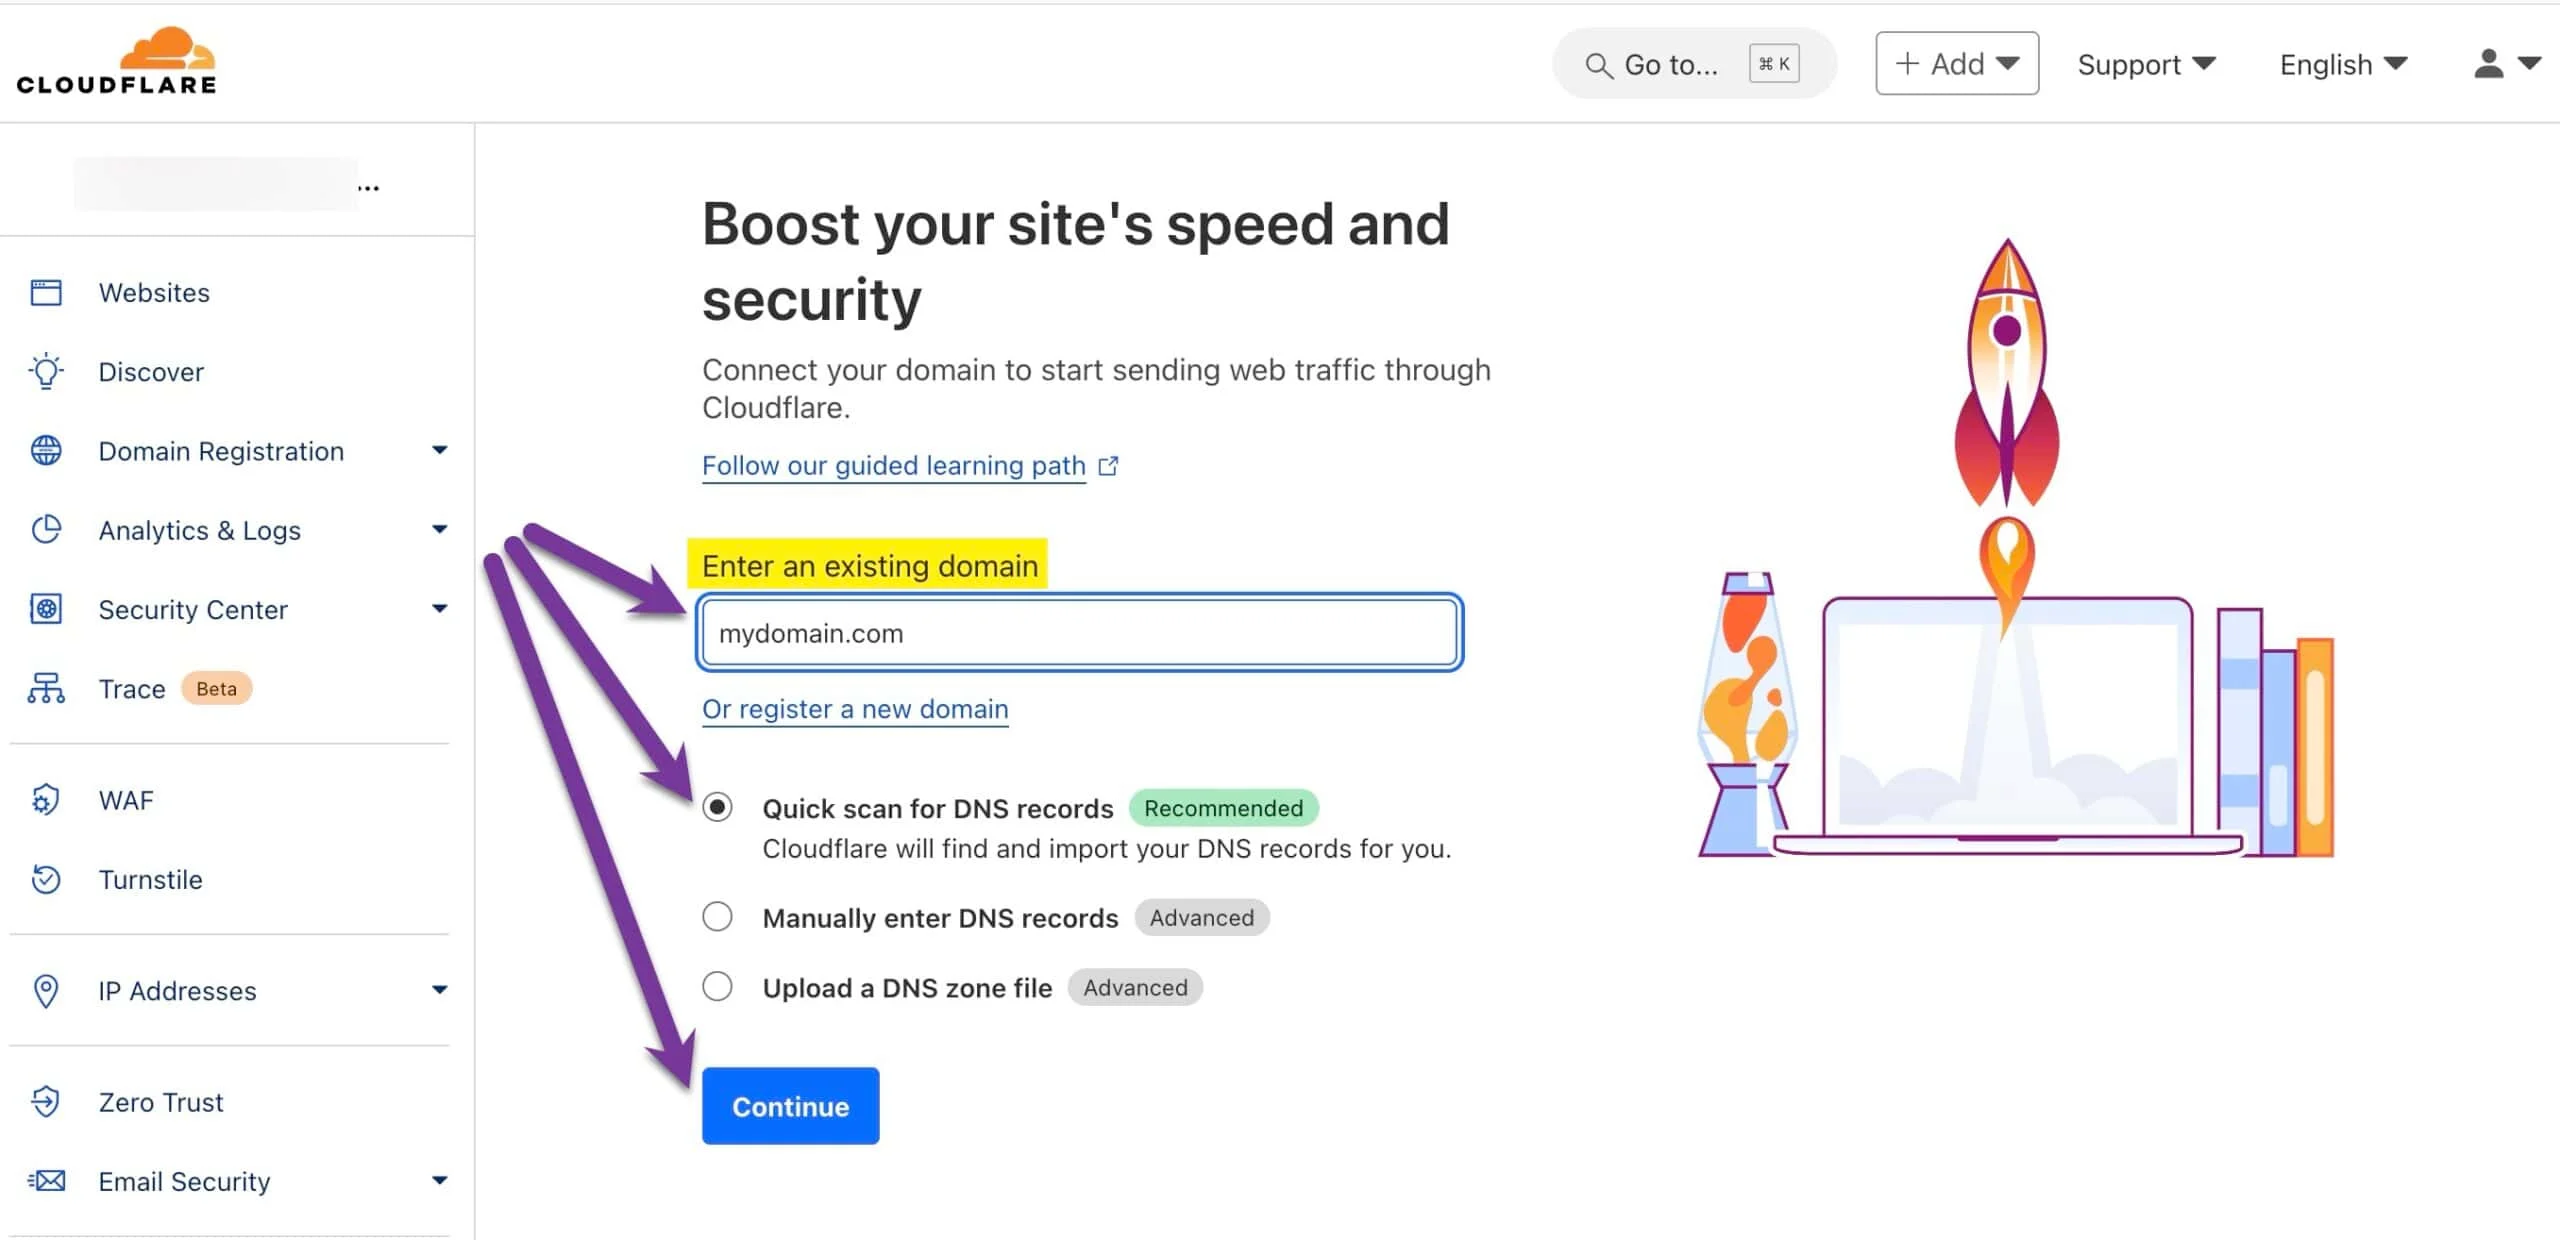
3. Set the Domain’s DNS Provider to Cloudflare.
Assuming xyz.com is the custom domain. Refer to a similar DNS migration document to set your domain’s DNS provider to Cloudflare.
4. Link the Custom Domain on Vercel
In the Vercel project panel, add the custom domain to the deployed project.
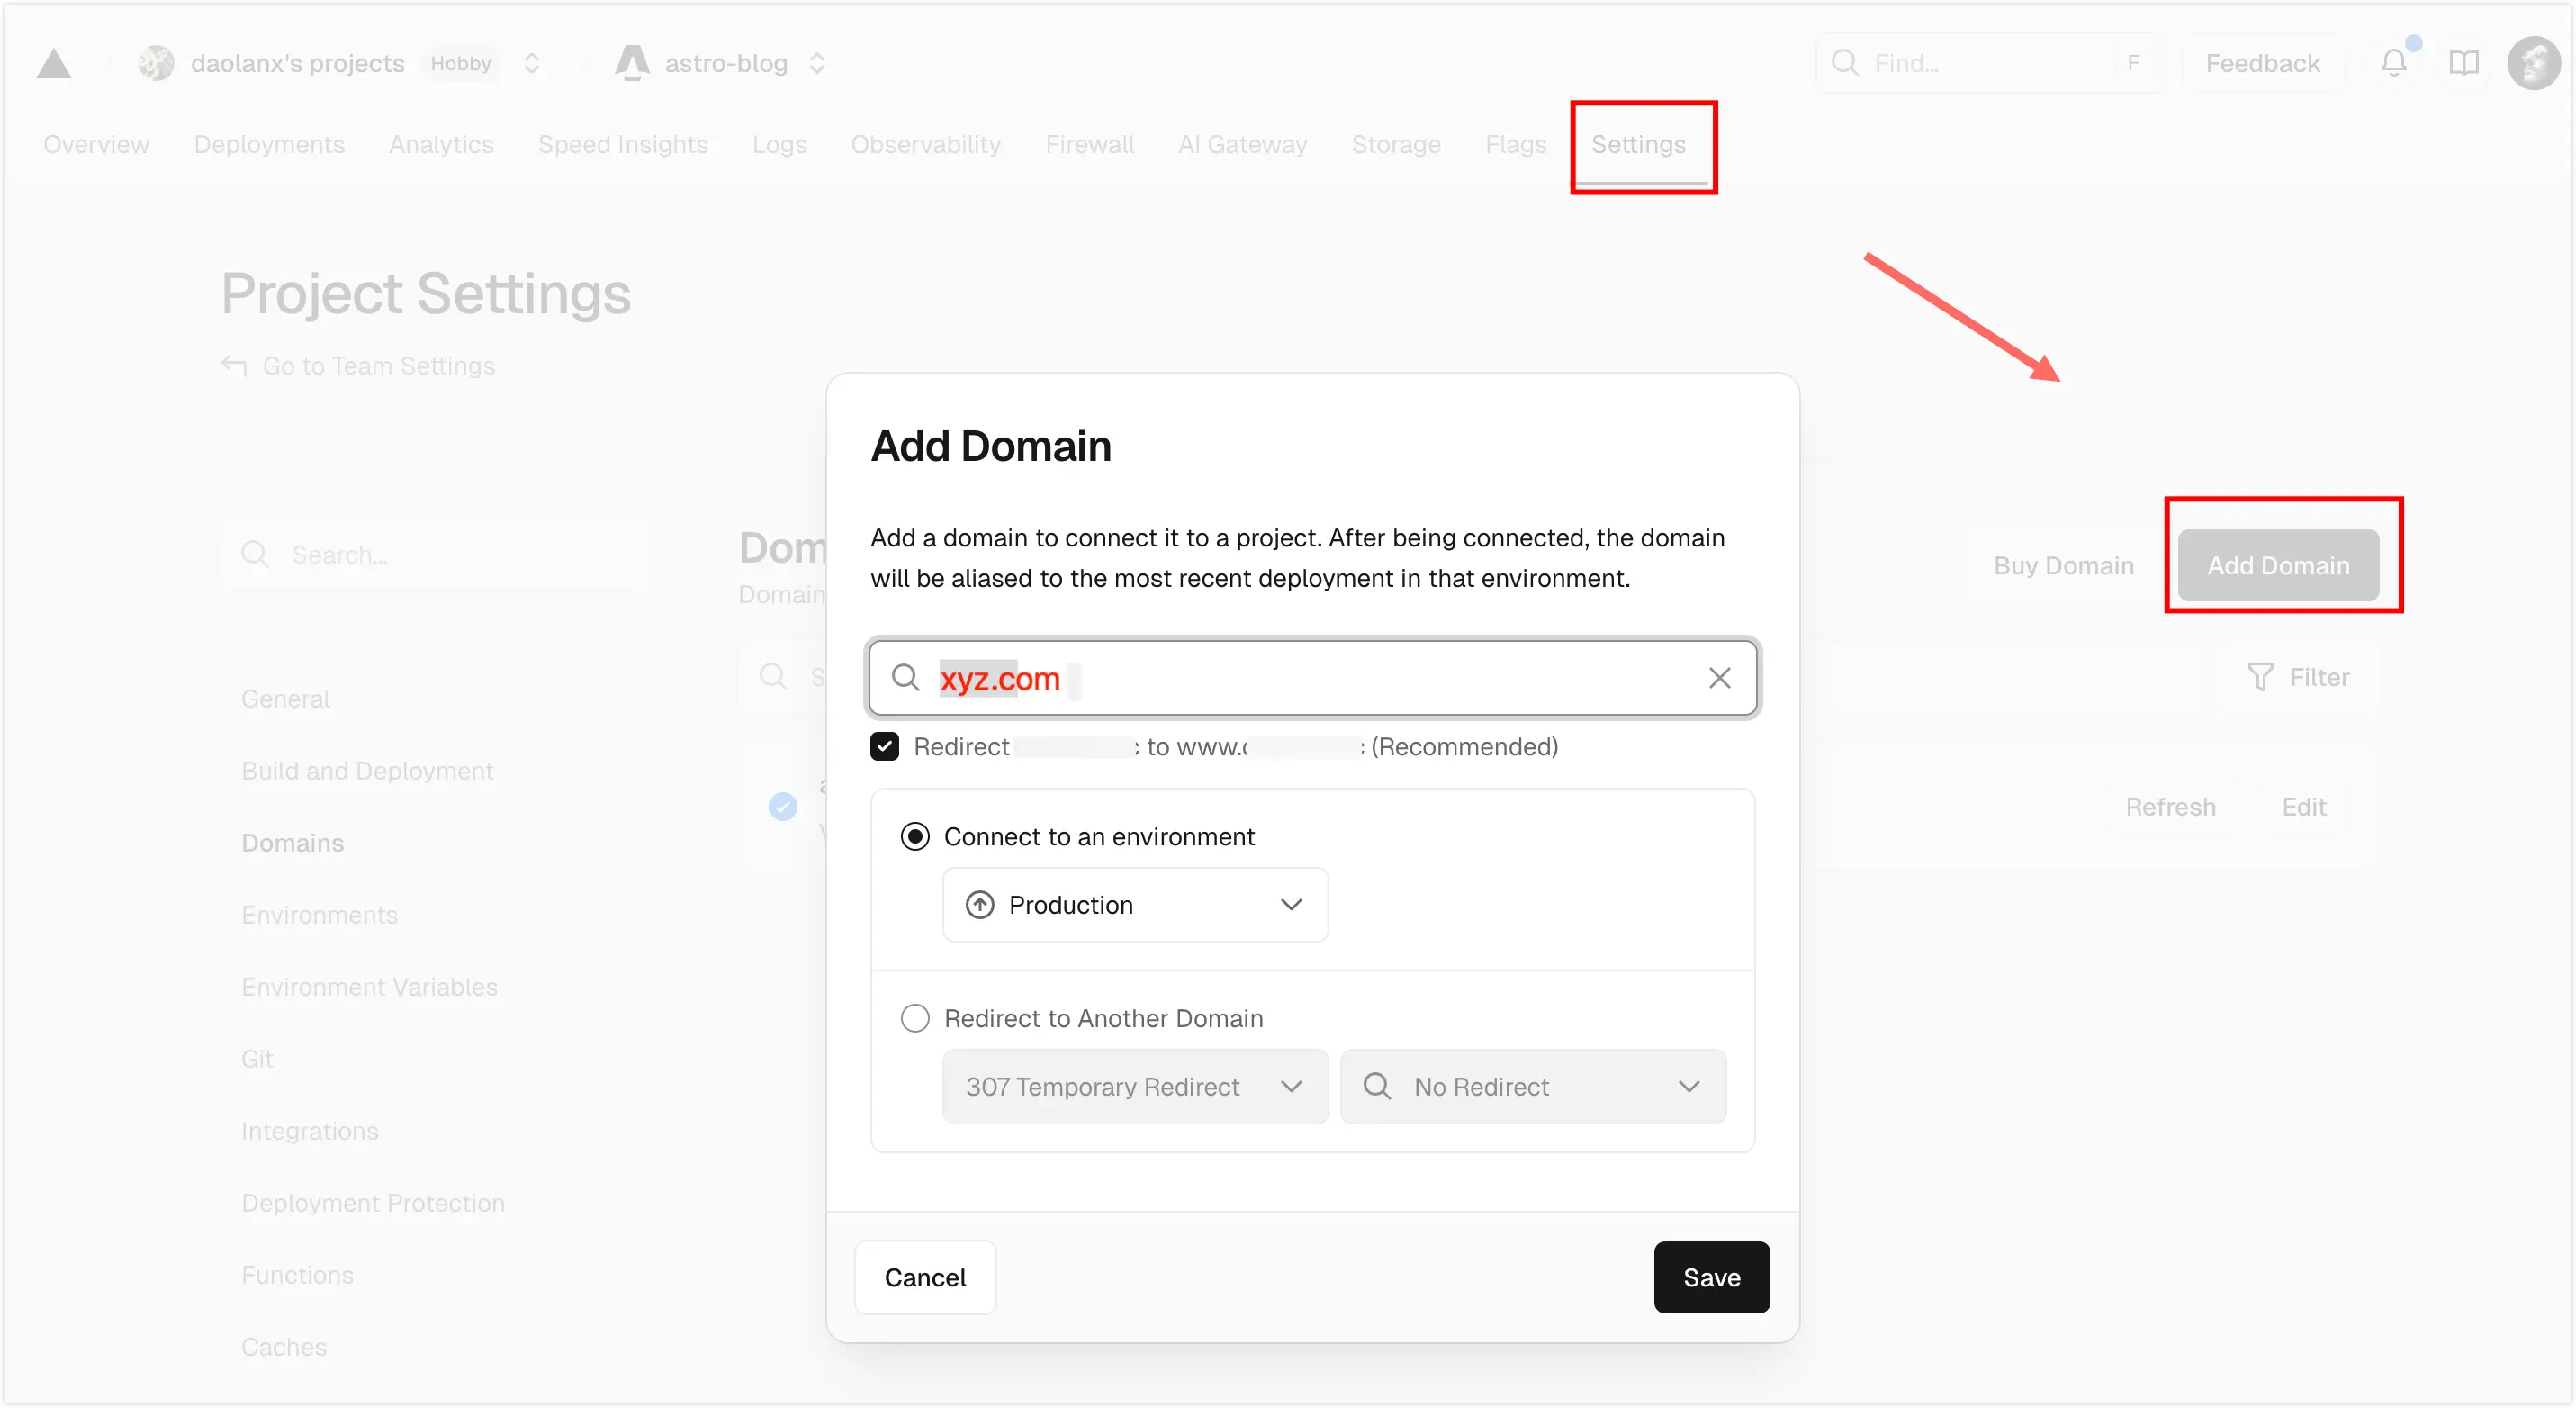
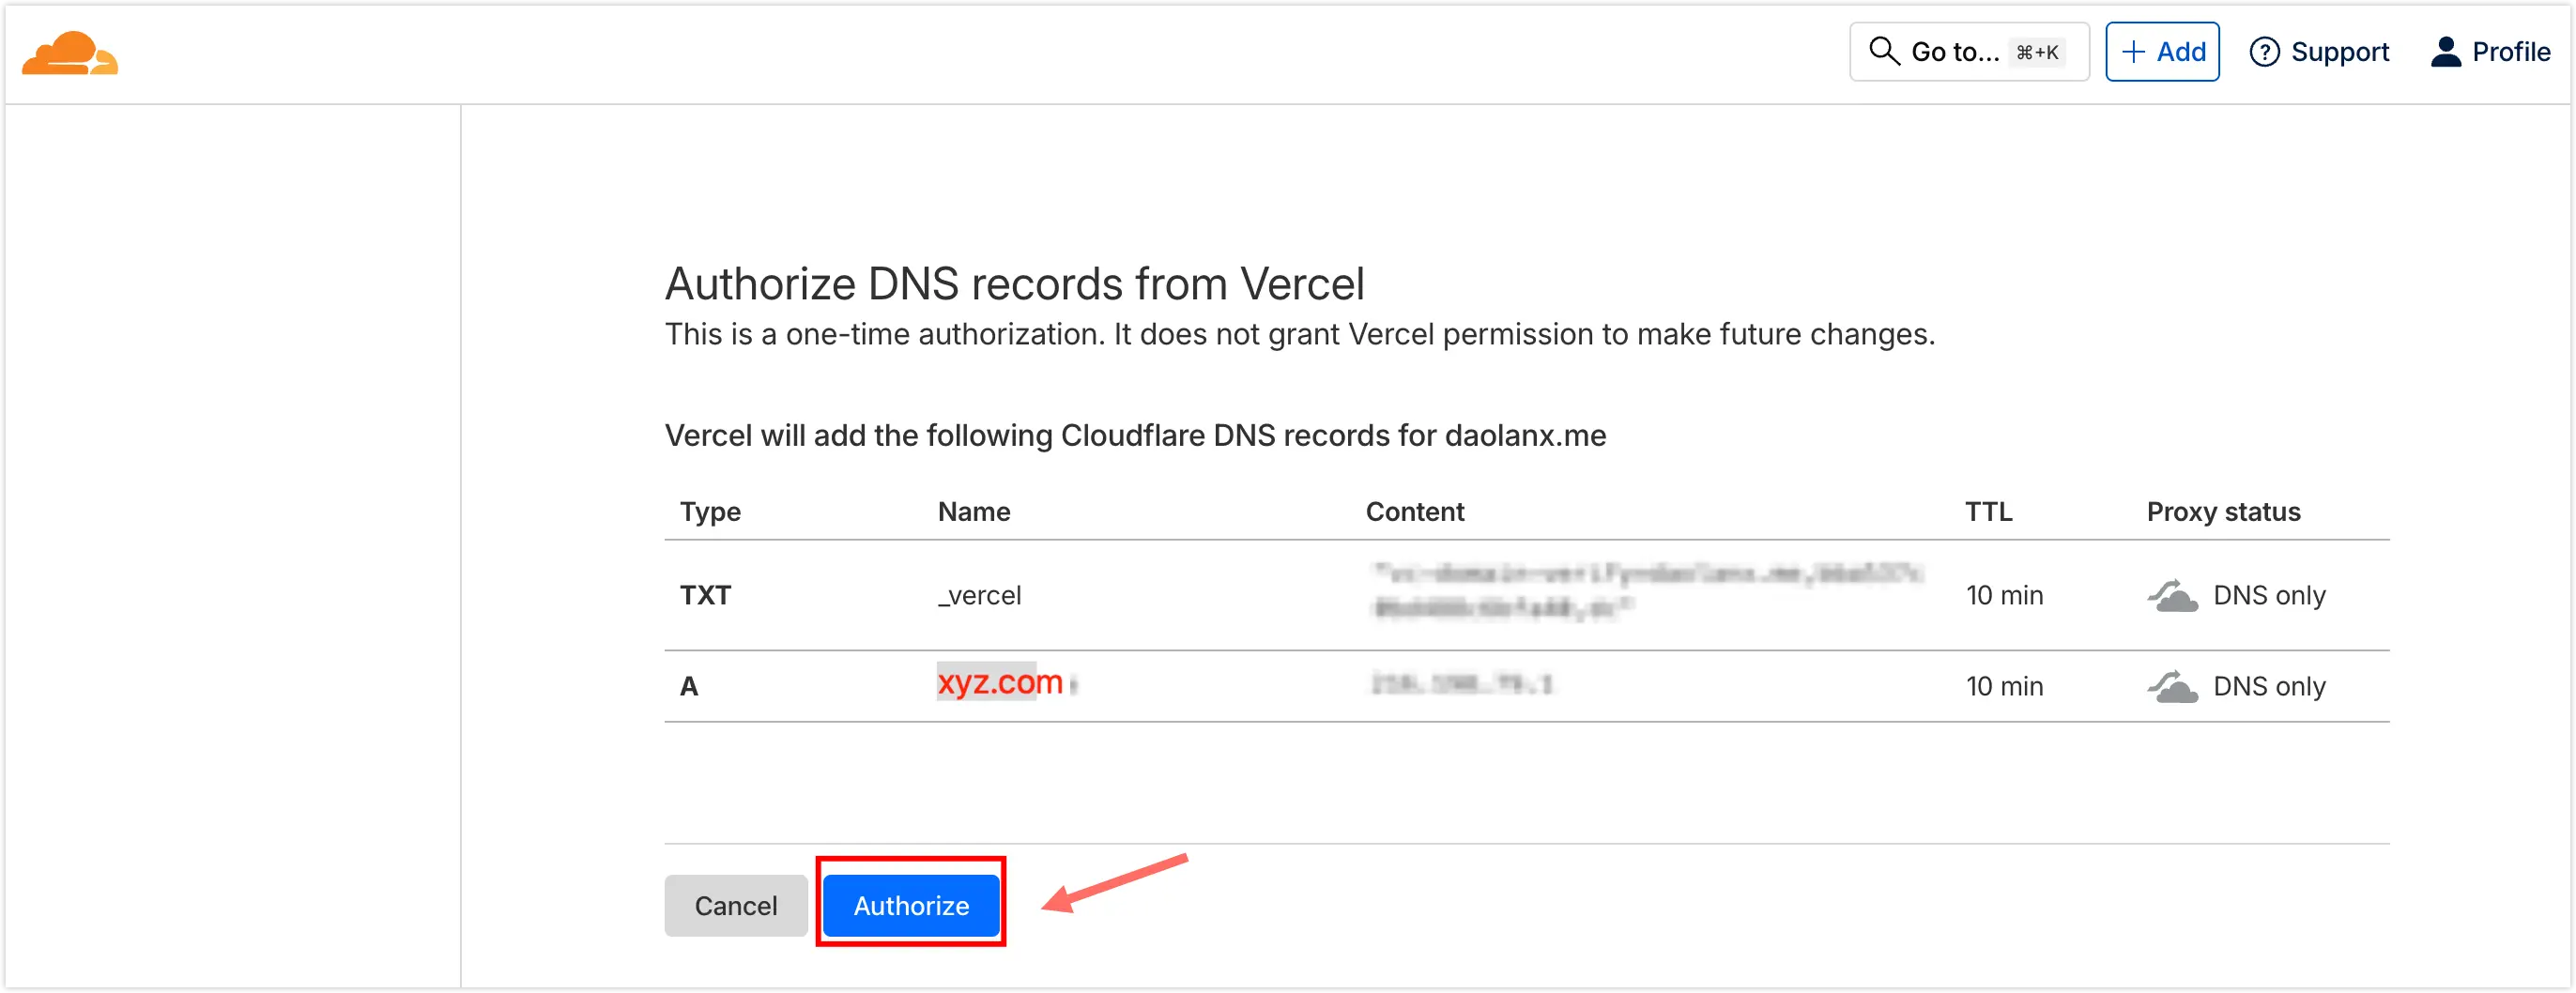
Add the corresponding A record and CNAME record at your domain’s DNS provider. You can click the “Automatic Configuration” button; if correctly identified, it will authorize a jump to the corresponding DNS service provider to complete the configuration.
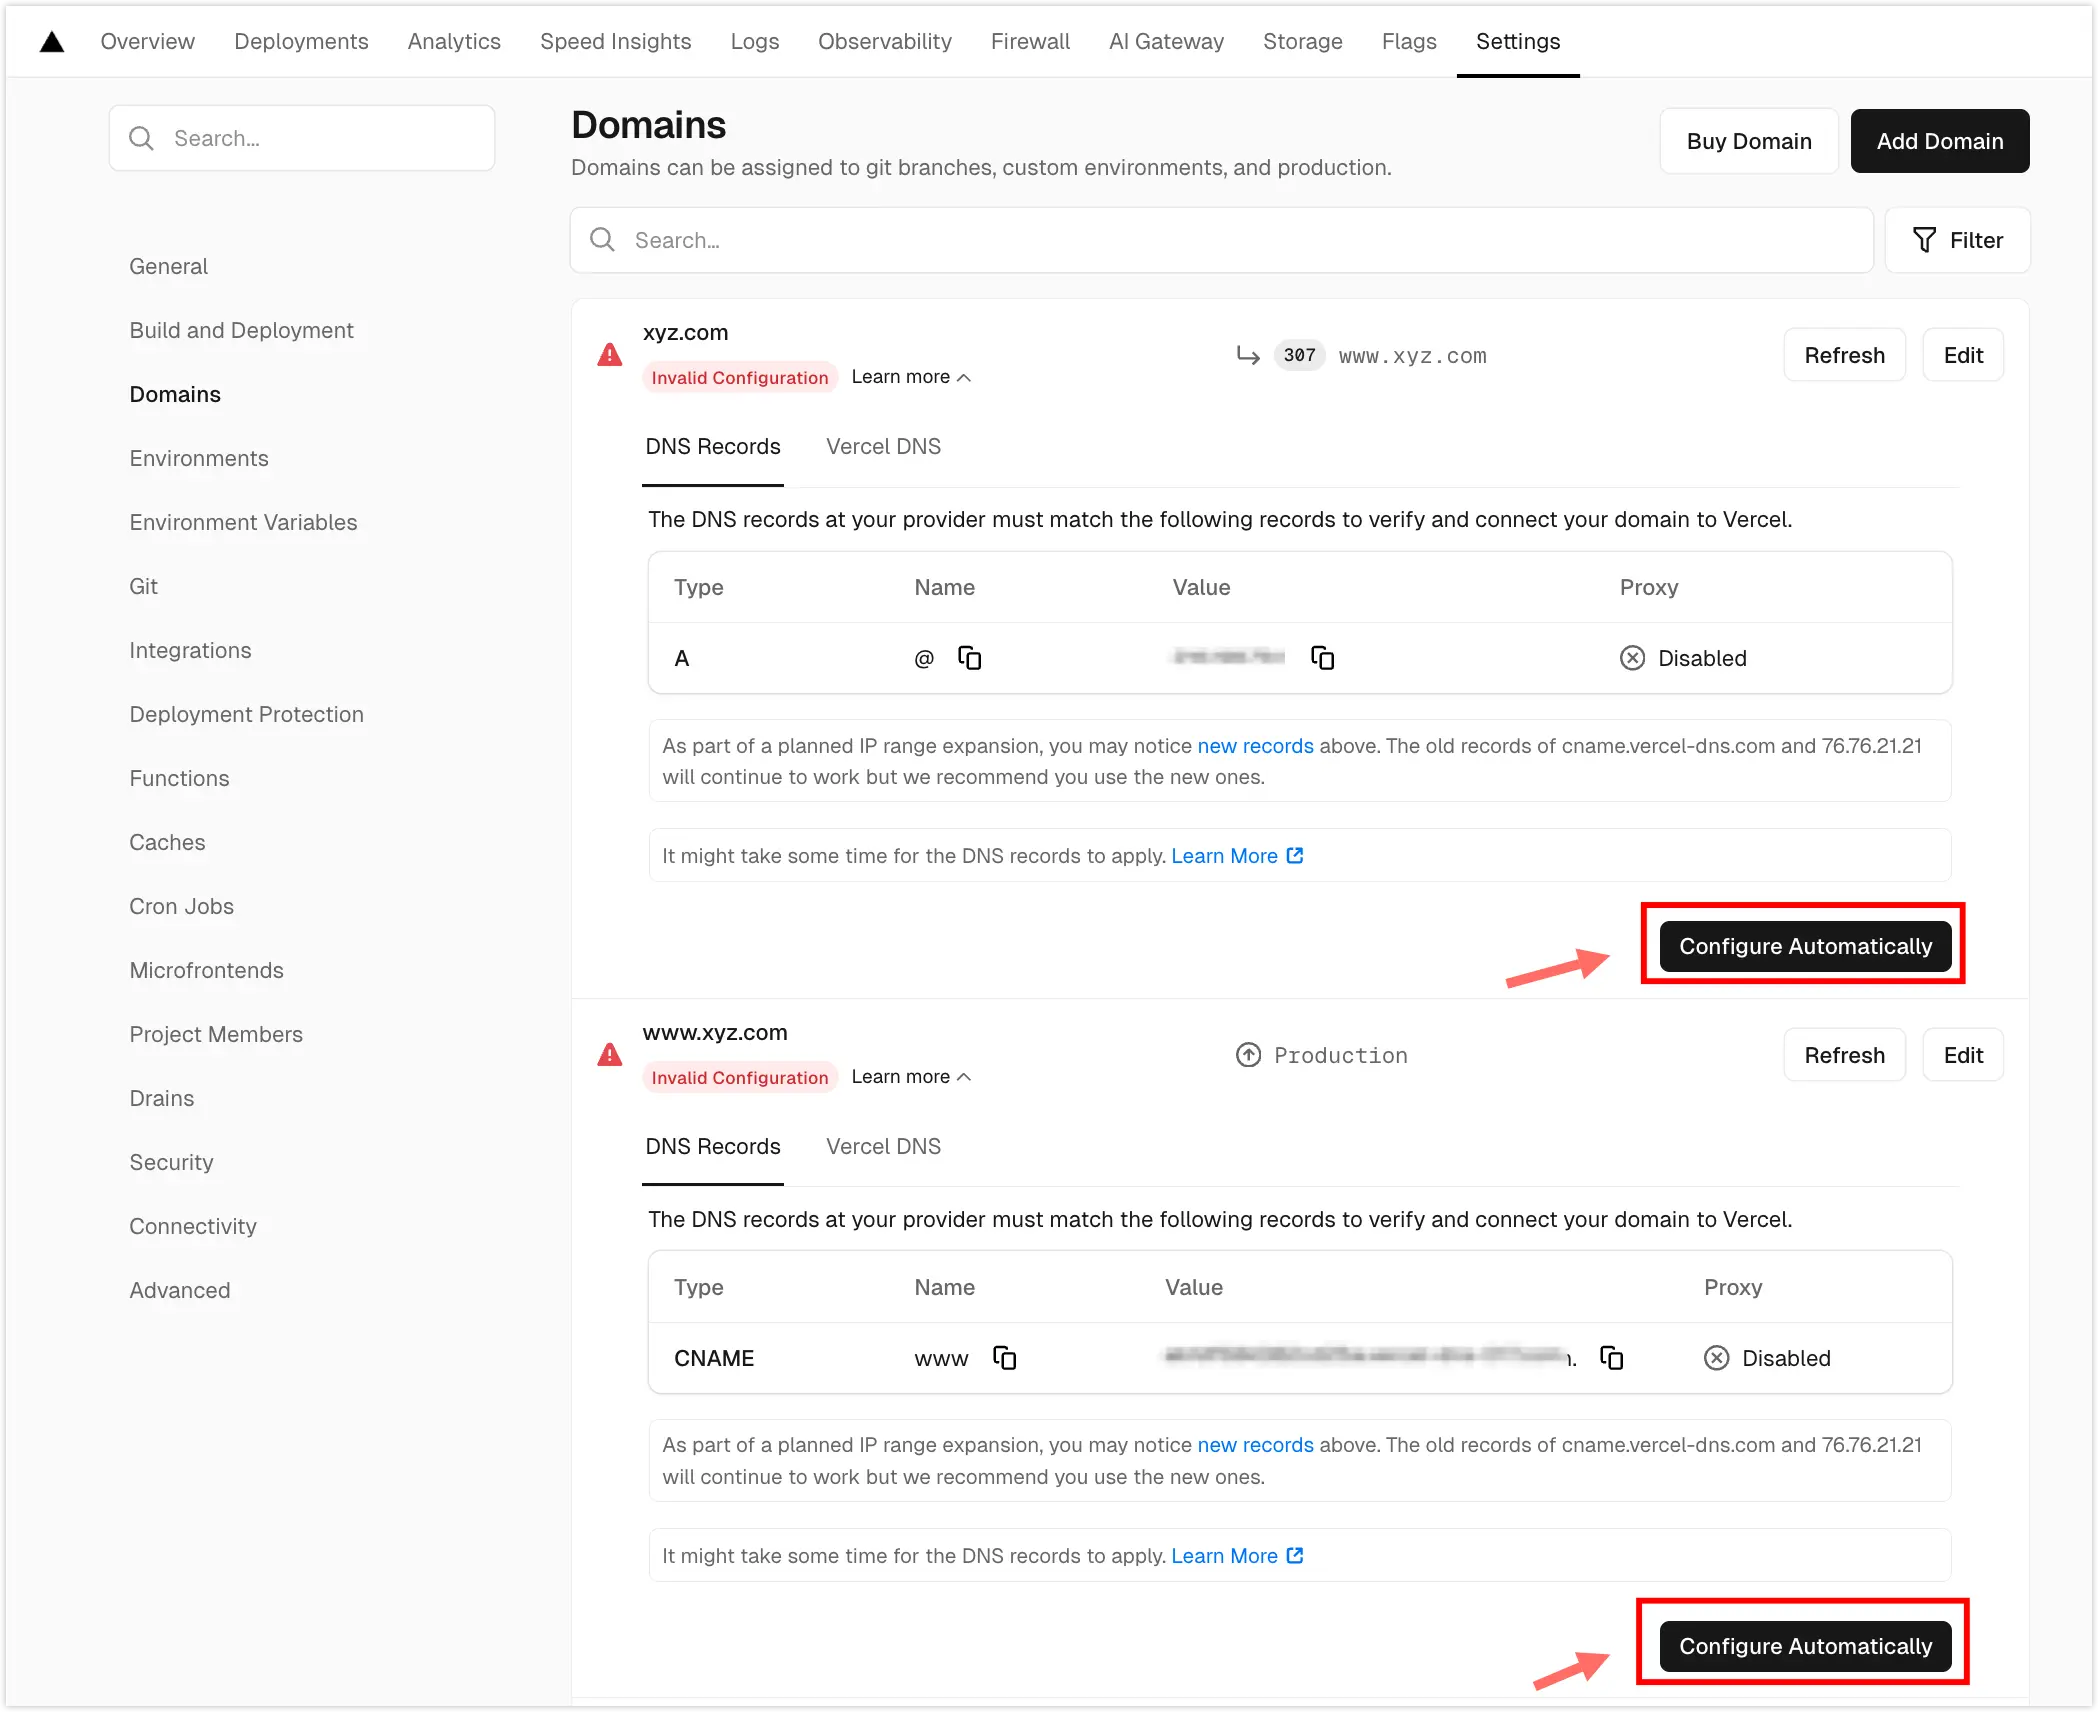
At this point, once the DNS resolution takes effect, you can access the deployed website via your custom domain.
5. Use Cloudflare DNS Proxy
In the DNS/Records panel, toggle the Proxy status switch to accelerate web access speed.
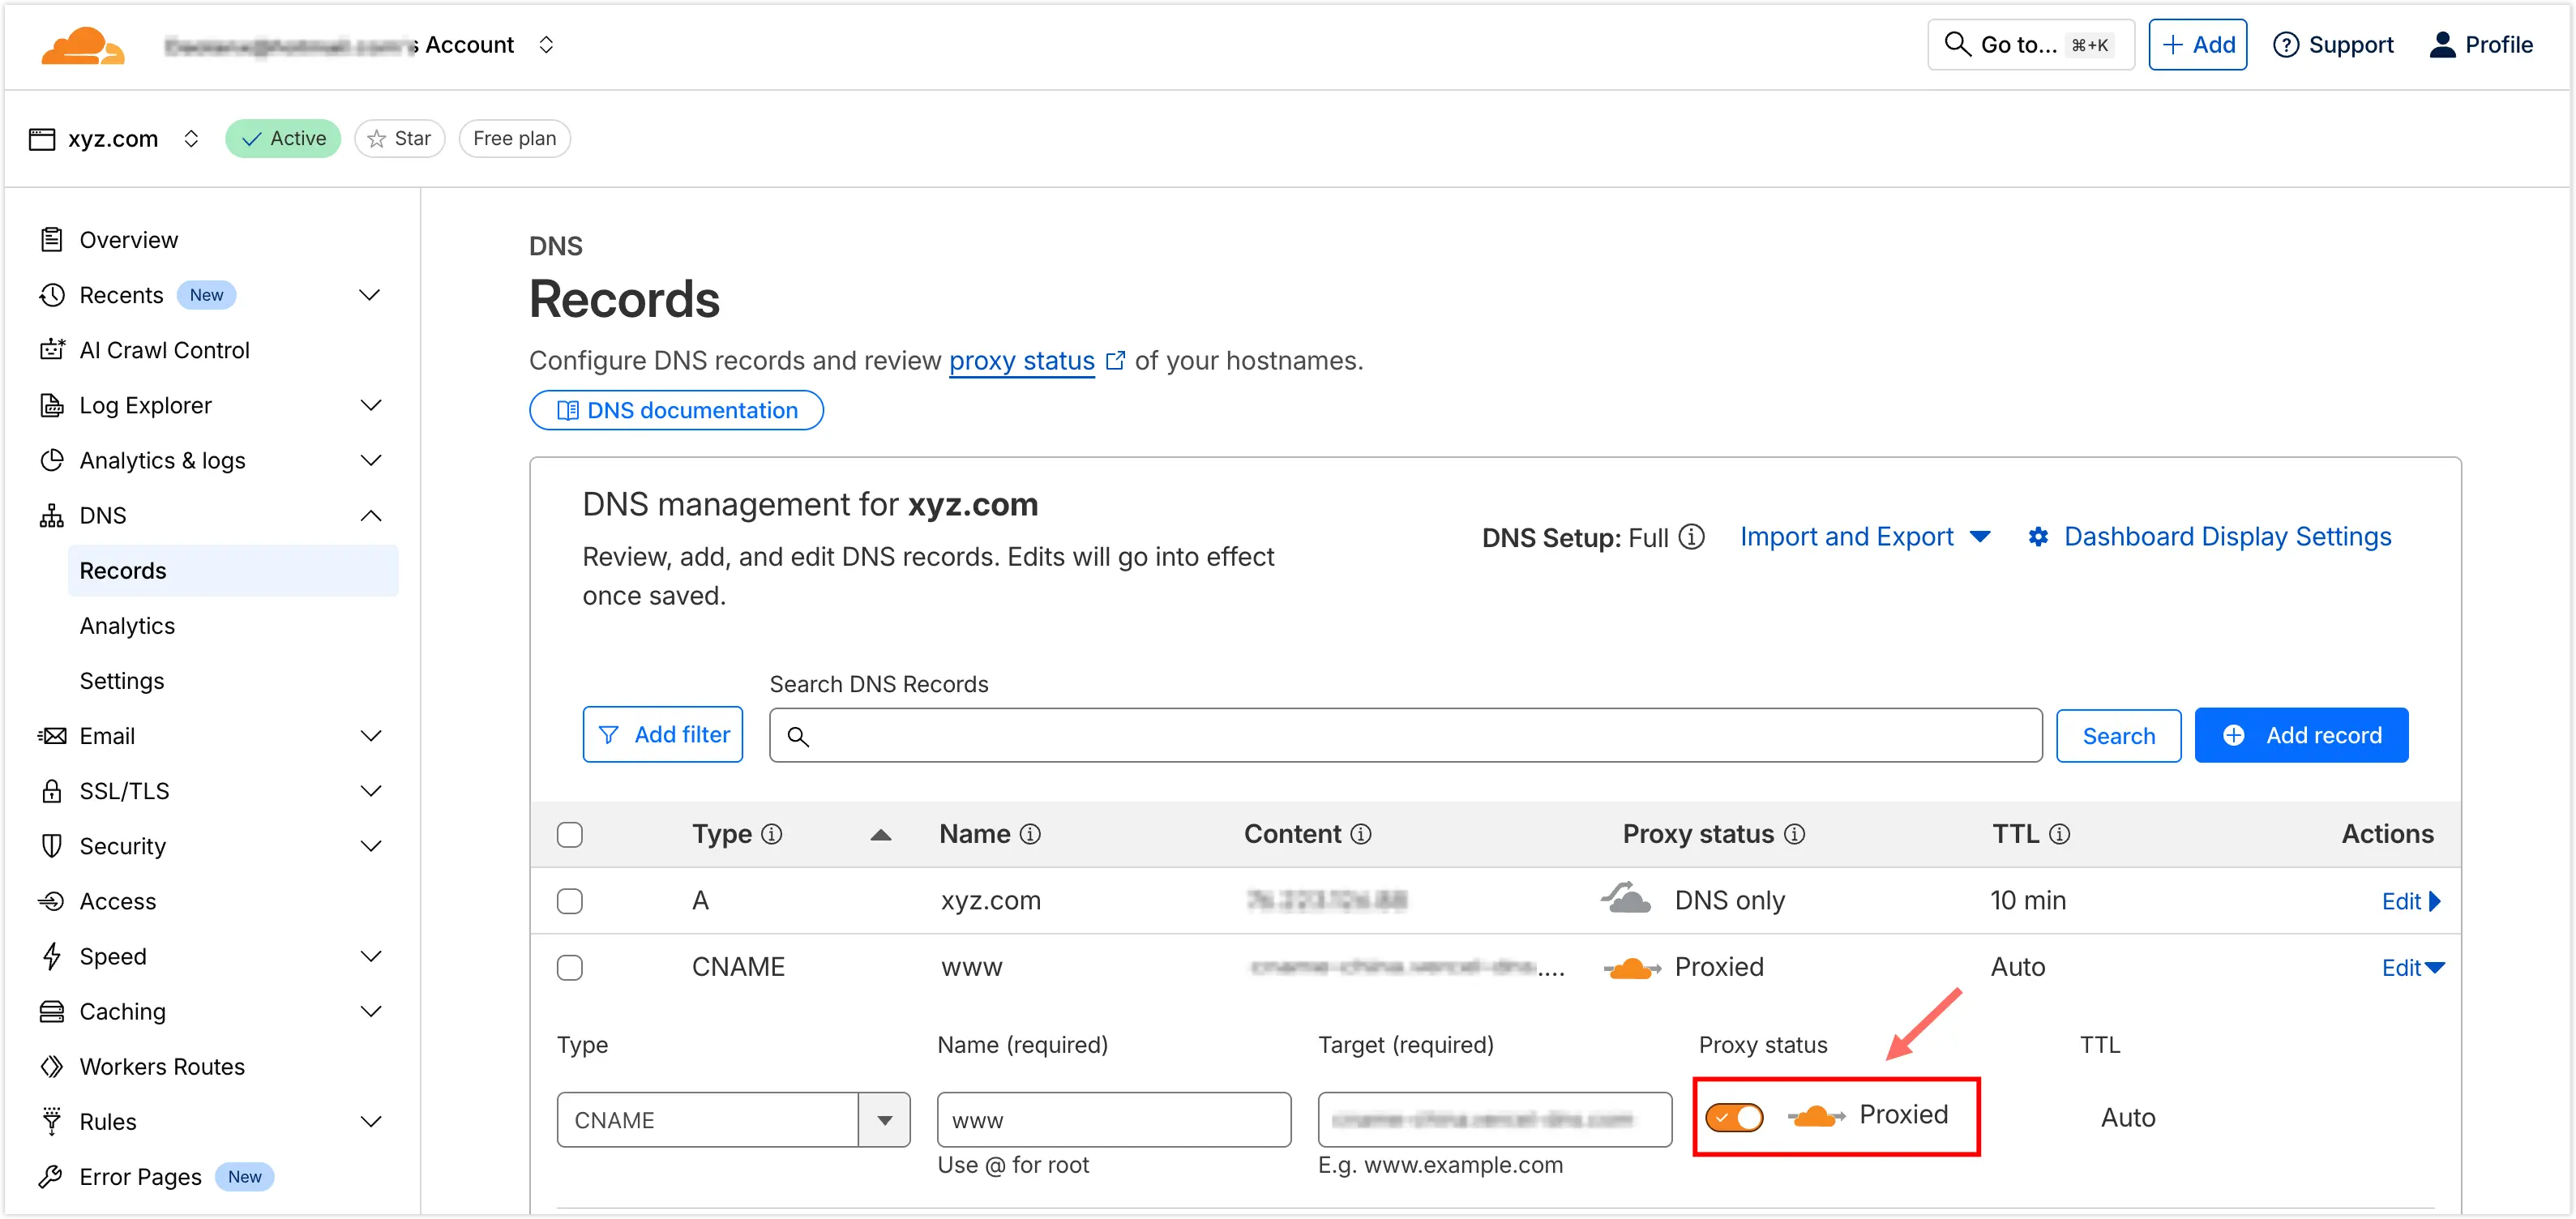
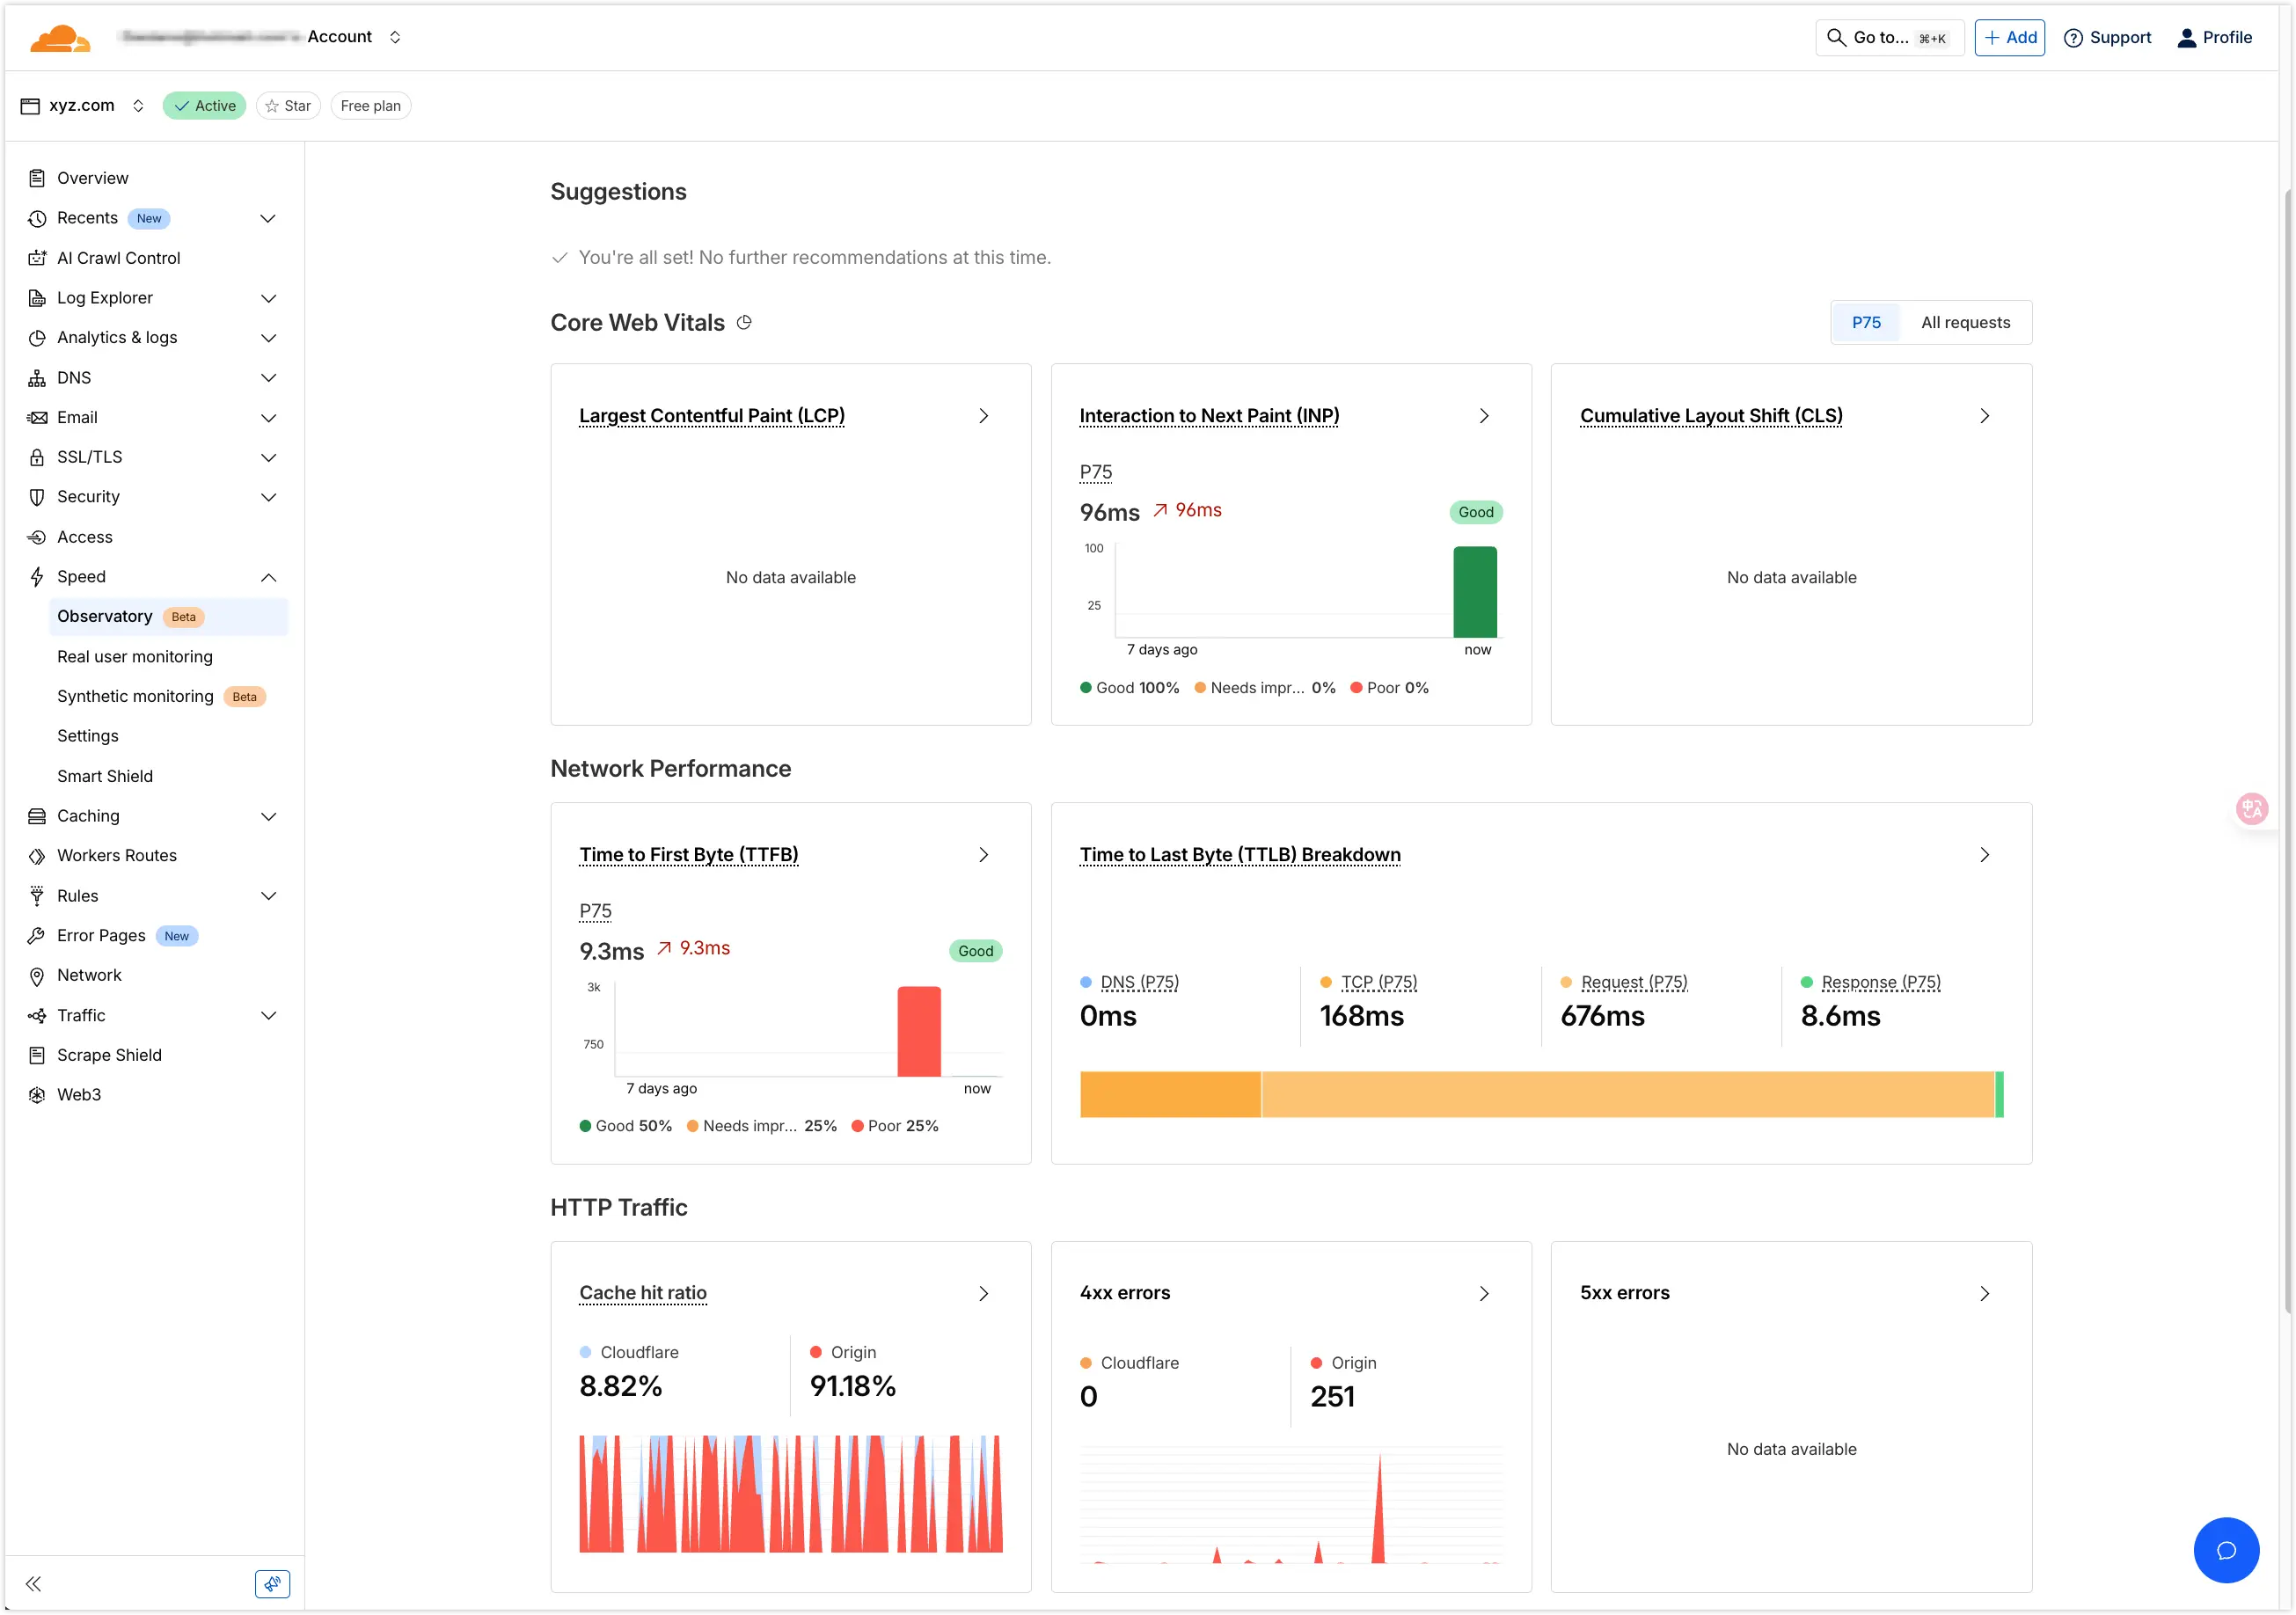
Finally, verify the acceleration effect in the Speed/Observatory panel.